
MPV LX V6-2.5L DOHC (2000)
Front Door Panel: Service and Repair
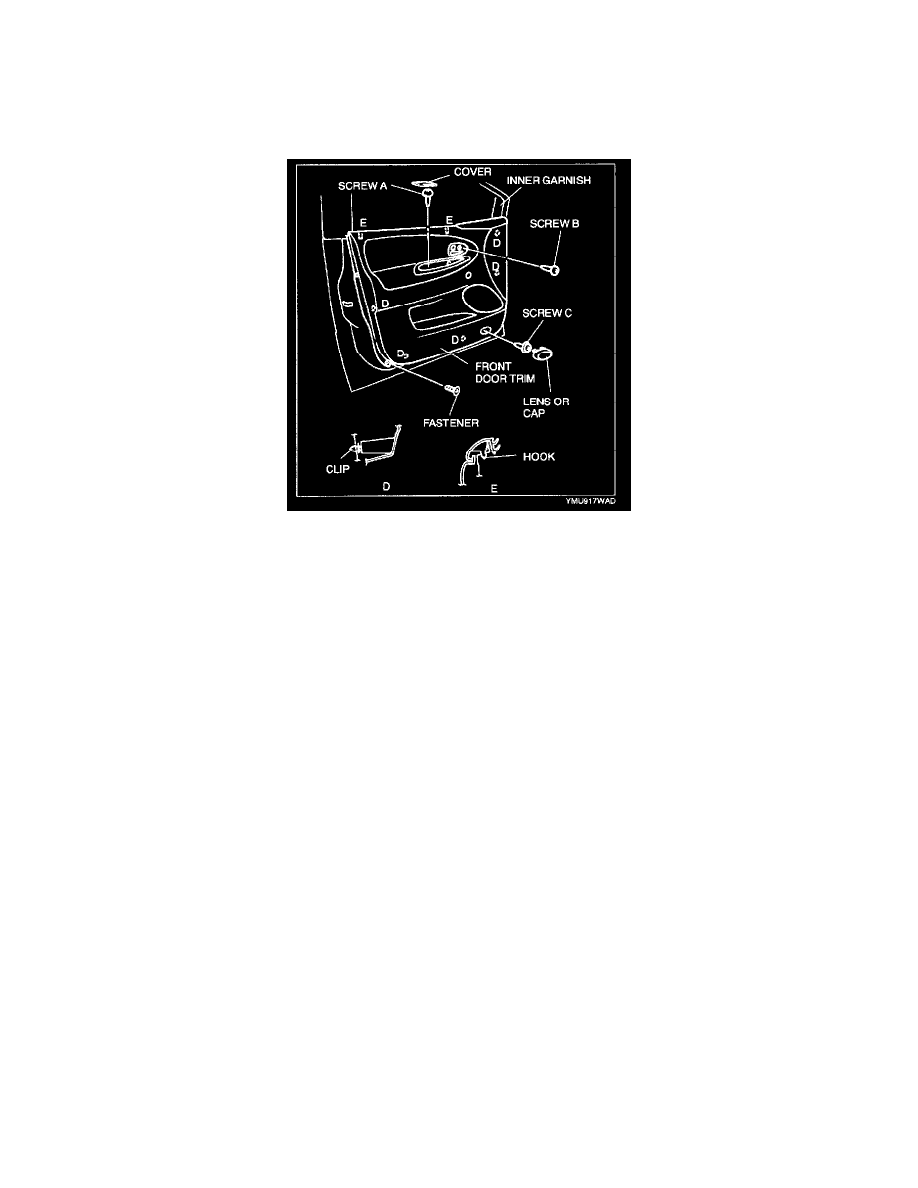
FRONT DOOR TRIM REMOVAL/INSTALLATION
1. Disconnect the relative battery cable if equipment with power window.
2. Remove the inner garnish.
3. Remove the regulator handle if equipped.
4. Remove the fasteners.
5. Remove the cover.
6. Remove the screw A.
7. Remove the screw B.
8. Remove the lens or cap.
9. Remove the screw C.
10. Disengage clips D from the body using a fastener remover.
11. Pull the front door trim upward, then disengage hooks E from the body.
12. Extract the inner handle from the front door trim.
13. Disconnect the door lock switch connector and the power window main switch connector if equipped. (driver's side)
14. Disconnect the power window sub switch connector if equipped. (passenger's side)
15. Remove the courtesy light if equipped.
16. Remove the front door trim.
17. Install in the reverse order of removal.