
MPV LX V6-2.5L DOHC (2000)
Transmission Position Switch/Sensor: Adjustments
TRANSAXLE RANGE (TR) SWITCH ADJUSTMENT
1. Disconnect the negative battery cable.
2. Remove the battery, battery tray, and battery carrier.
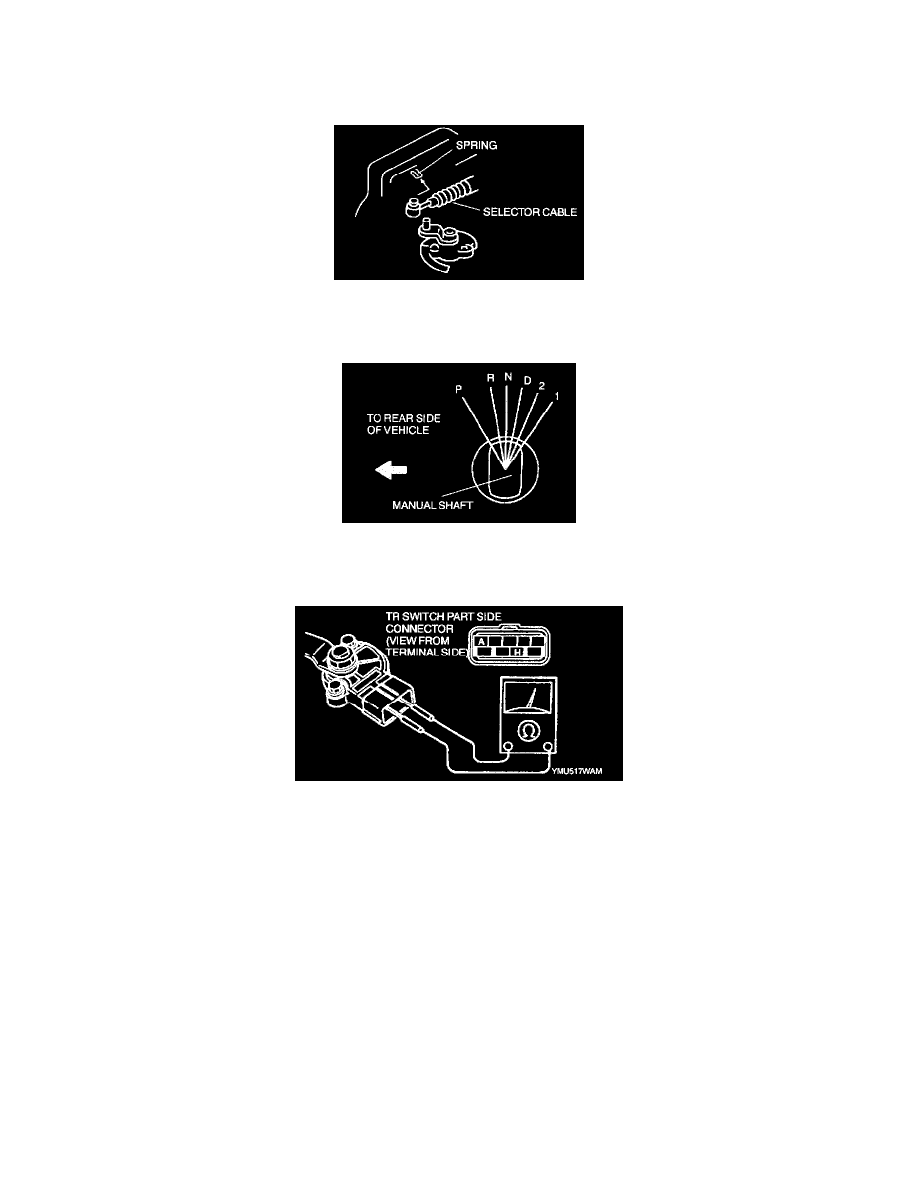
3. Remove the spring and disconnect the selector cable.
Note Do not reuse the clip when any of the hooks are deformed.
4. Rotate the manual shaft to the rear side of the vehicle fully, then return two notches to set the N position.
5. Disconnect the TR switch connector.
6. Loosen the TR switch mounting bolts.
7. Connect an ohmmeter between terminals A and H.
8. Adjust the switch to the point where there is continuity between the terminals.
9. Tighten the TR switch mounting bolts.
Tightening torque
7.9 - 10.7 Nm (80 - 110 kgf.cm, 69.5 - 95.4 inch lbs.)
10. Verify that the selector lever range position and TR switch are aligned.
11. Connect the TR switch connector.
12. Connect the selector cable and install a spring and clip.
13. Install the battery carrier, battery tray, and battery.
14. Connect the negative battery cable.