
MPV LX 4WD V6-3.0L SOHC (1997)
7. Remove the transmission lower mount.
^
Support the transmission with a transmission jack before removing the transmission lower mount.
8. Remove the Oil cooler hose and pipe.
9. Remove the stabilizer bracket.
10. Remove the oil pan.
a. Remove the oil pan mounting bolts.
CAUTION: Pry tools can easily scratch the oil pan contact surfaces. Prying off the oil pan can also easily bend the oil pan flange.
b. Insert a screwdriver between the oil pan and the cylinder block to separate them.
c. Remove the oil pan.
INSTALLATION
1. Install the oil pan.
CAUTION: If the bolts are reused, remove the old sealant from the bolt threads. Tightening a bolt that has old sealant on it can cause thread
damage.
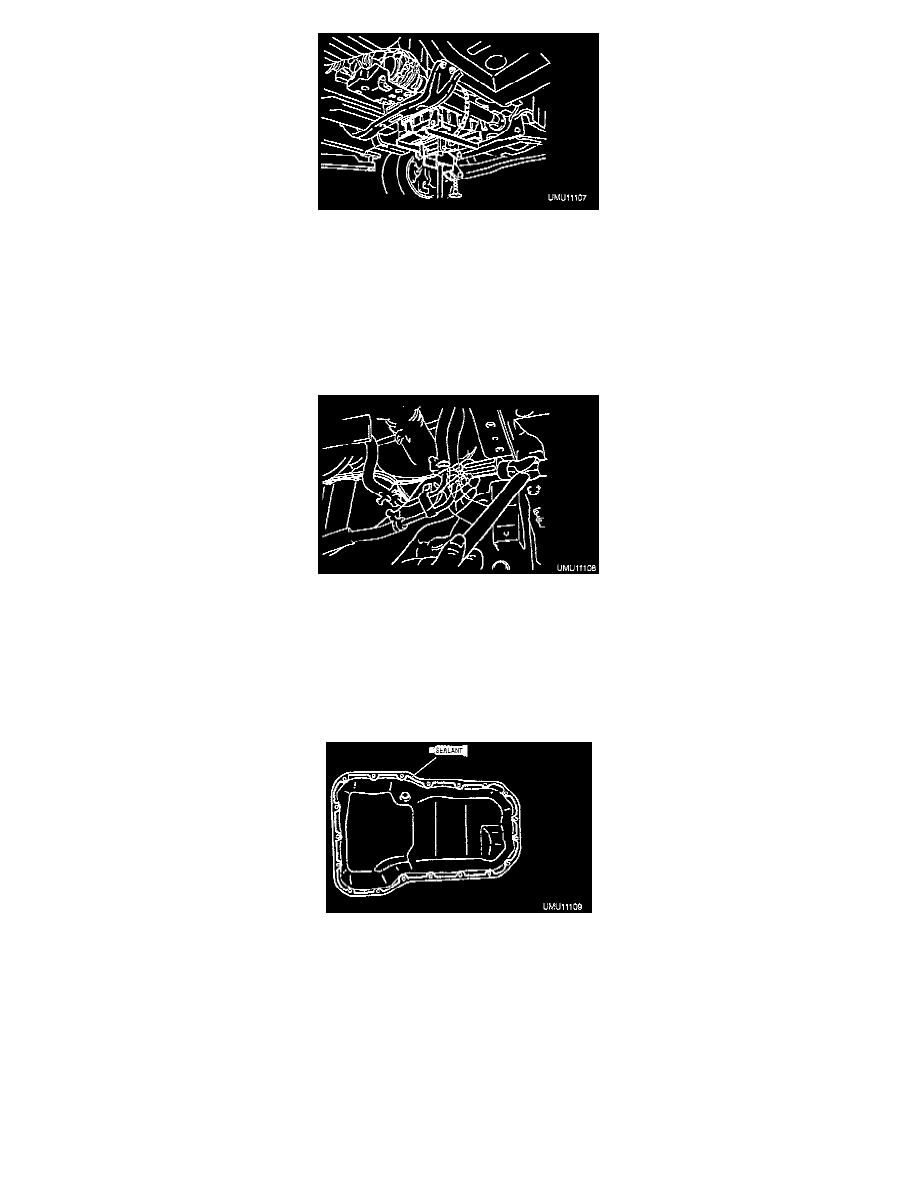
a. Apply silicone sealant to the oil pan along the inside of the bolt holes, overlap the ends, and install the oil pan within five minutes.
b. Tighten the oil pan bolts.
Tightening torque: 6.9-9.8 Nm (61-86 in lbs.)
2. Install the oil drain plug.
3. Install the stabilizer bracket.
4. Install the oil cooler hose and pipe.
5. Install the transmission lower mount.
6. Install the engine mount.
7. Install the fan cowling.
8. Install the fresh air duct.
9. Install the splash shield.
10. Fill the engine oil.