
MPV LX 4WD V6-3.0L SOHC (1997)
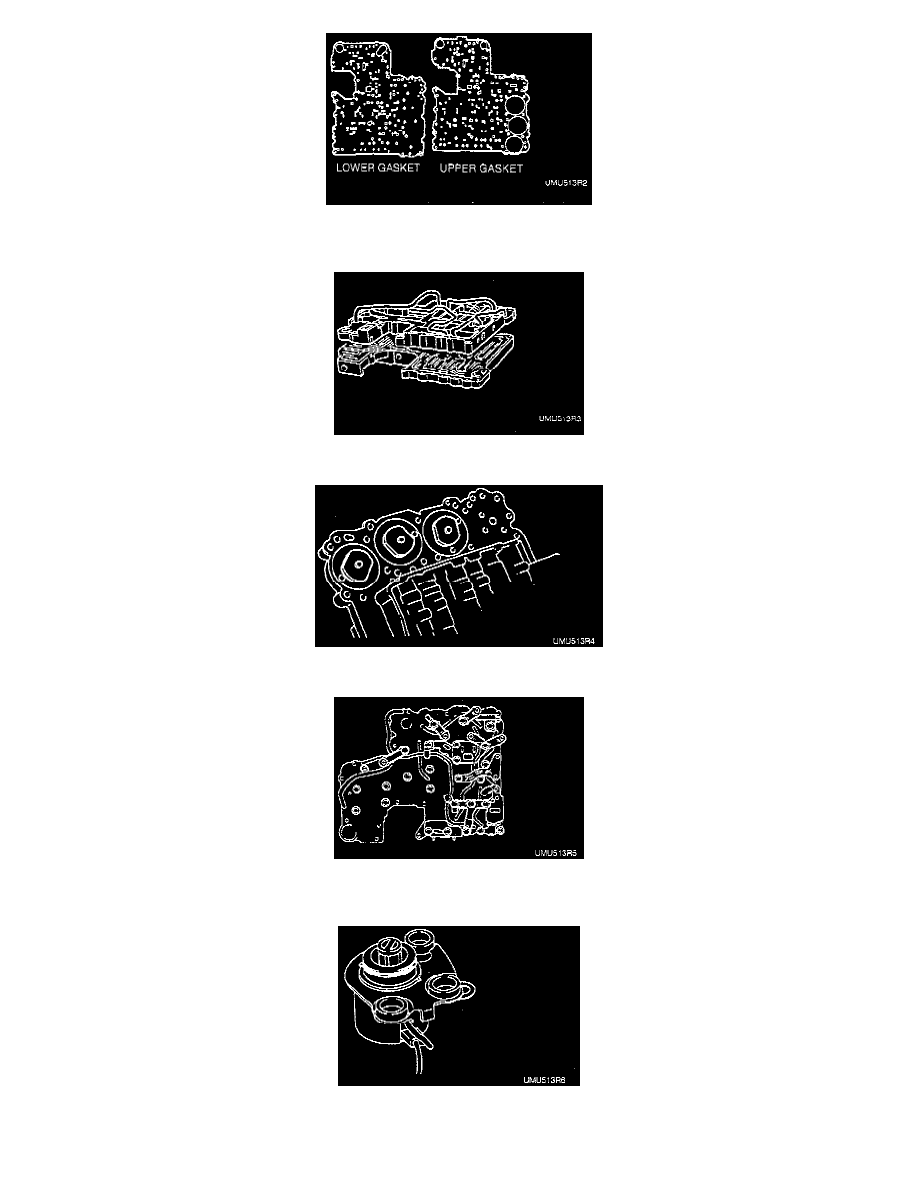
3. Set the new upper and lower gaskets and the separator plate onto the lower valve body. Refer to the illustration to distinguish the two gaskets.
4. Set the lower valve body onto the upper valve body.
5. Remove the holding clip.
6. The support plate locations are as shown.
7. Install the bolts, nuts, support plates, and brackets in their proper positions. Tighten the fasteners evenly and gradually to 6.9 - 8.8 Nm (61 - 78
inch lbs.).
8. Install a new O-ring onto the torque converter clutch solenoid.