
MX-5 Miata L4-2.0L (2008)
Brake Bleeding: Service and Repair
AIR BLEEDING
Caution
^
Brake fluid will damage painted surfaces. Be careful not to spill any on painted surfaces. If it is spilled, wipe it off immediately.
Note
^
Keep the fluid level in the reserve tank at 3/4 full or more during the air bleeding.
^
Begin air bleeding with the master cylinder and then continue with the brake caliper that is furthest away from the master cylinder. Finish by
bleeding air from the master cylinder again.
Brake fluid type
SAE J1703, FMVSS 116 DOT-3
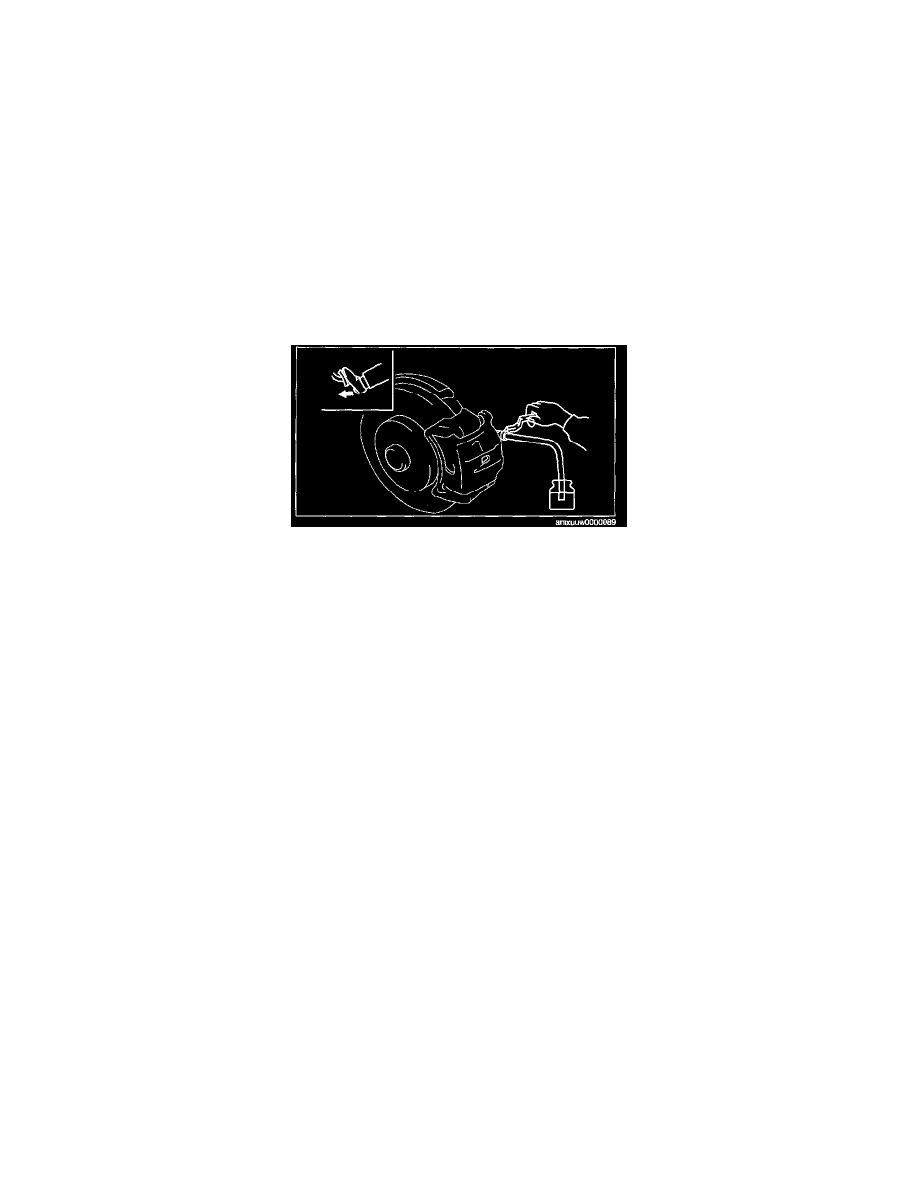
1. Remove the bleeder cap from the brake caliper, and connect a vinyl tube to the bleeder screw.
2. Place the other end of the vinyl tube in a clear container, and fill the container with fluid during air bleeding.
3. Working with two people, one should depress the brake pedal a few times and then depress and hold the pedal down.
4. While the brake pedal is being held down, the other person should loosen the bleeder screw using a commercially available flare nut wrench, and
bleed any fluid containing air bubbles. Once completed, tighten the bleeder screw.
Tightening torque
Front: 6.9-9.8 N-m (71-99 Kgf-cm, 62-86 in-lbf)
Rear: 6.0-8.0 N-m (62-81 Kgf-cm, 54-70 in-lbf)
5. Repeat Steps 3 and 4 until no air bubbles are seen.
6. Perform air bleeding as described in the above procedures for all brake calipers.
7. After air bleeding, inspect the following:
^
Brake operation
^
Fluid leakage
^
Fluid level