
MX-5 Miata LS L4-1.8L DOHC (2001)
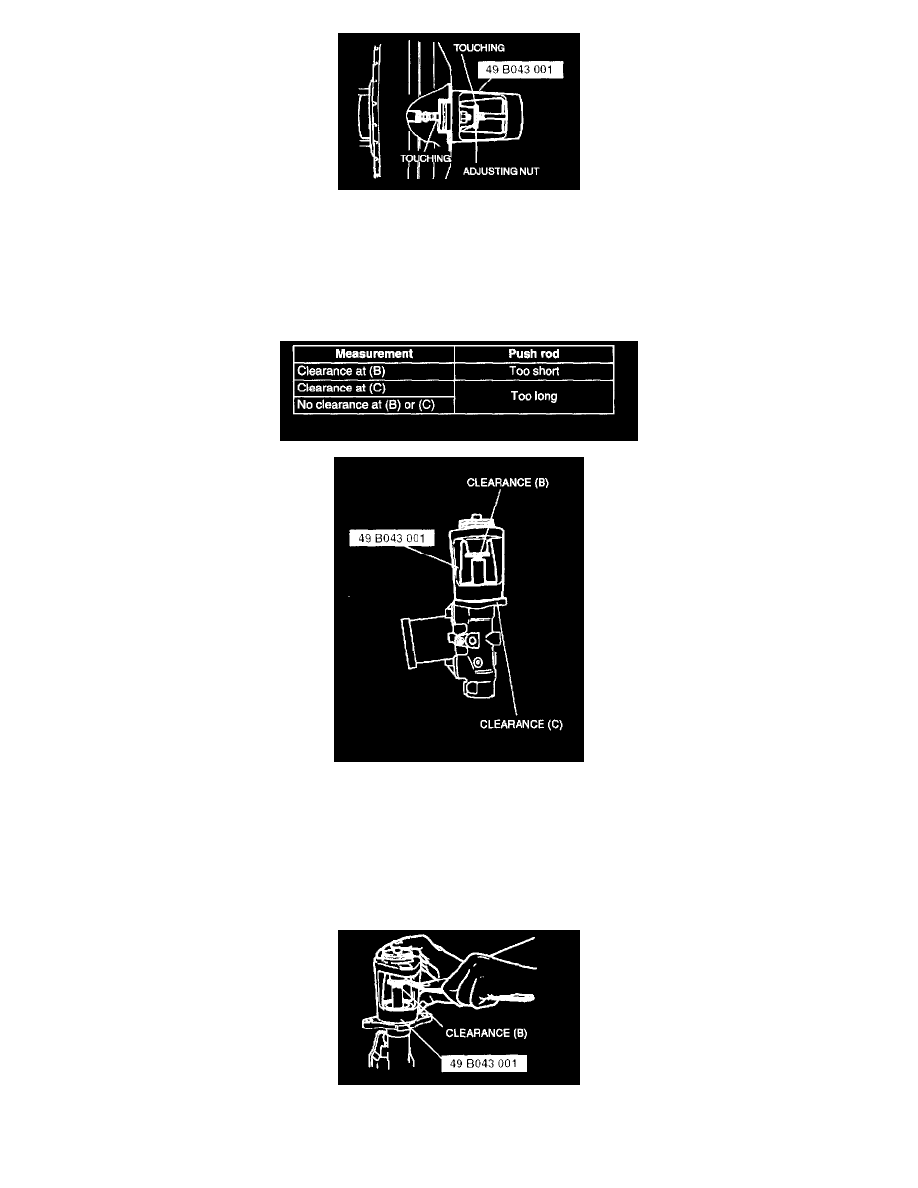
3. Turn the adjusting nut of the SST counterclockwise until the gauge rod just contacts the push rod end of the power brake unit. Push lightly on the
end of the gauge rod to be sure it is seated. Verify that there is no gap between the adjusting nut and SST body.
4. Remove the SST from the power brake unit without disturbing the adjusting nut. Set the SST onto the master cylinder as shown in the figure.
Caution:
^
When pushing the SST gauge rod into the master cylinder piston, only use enough pressure to push the rod to the bottom of the piston. If too
much pressure is applied, a false reading will occur
5. Push lightly on the end of the SST gauge rod to be sure it has contacted the bottom of the master cylinder piston, but do not push so hard that the
piston moves. Note any clearance between the SST body and the adjusting nut (clearance B) or between the body and the master cylinder
(clearance C).
Adjusting the push rod clearance at B
Note: The threads of the push rod are specially designed so that the bolt becomes harder to turn past a certain point. This is to prevent the bolt from
coming loose. Turn the bolt only within this range when adjusting.
1. Push lightly on the end of the SST gauge rod, and measure the clearance between the adjusting nut and the SST body.