
MX-5 Miata Mazdaspeed L4-1.8L DOHC Turbo (2004)
Windshield: Service and Repair
Windshield Removal
WINDSHIELD REMOVAL
1. Remove the rearview mirror.
2. Remove the base.
3. Remove the A-pillar trim.
NOTE: The windshield molding is a replacement part.
4. Remove the windshield molding.
5. Remove the cowl grille.
6. Remove the sunvisor.
7. Remove the striker. (See CONVERTIBLE TOP DISASSEMBLY/ASSEMBLY.) (See DETACHABLE HARDTOP
DISASSEMBLY/ASSEMBLY.)
8. Remove the front header trim.
9. Apply protective tape along the edge of the body to protect it from damage.
10. Apply protective tape to the dashboard to protect it from damage.
Not Reusing Windshield
NOTE: For the areas of the sealant that are difficult to cut, use the SST (piano wire) and follow the procedures under "Reusing Windshield".
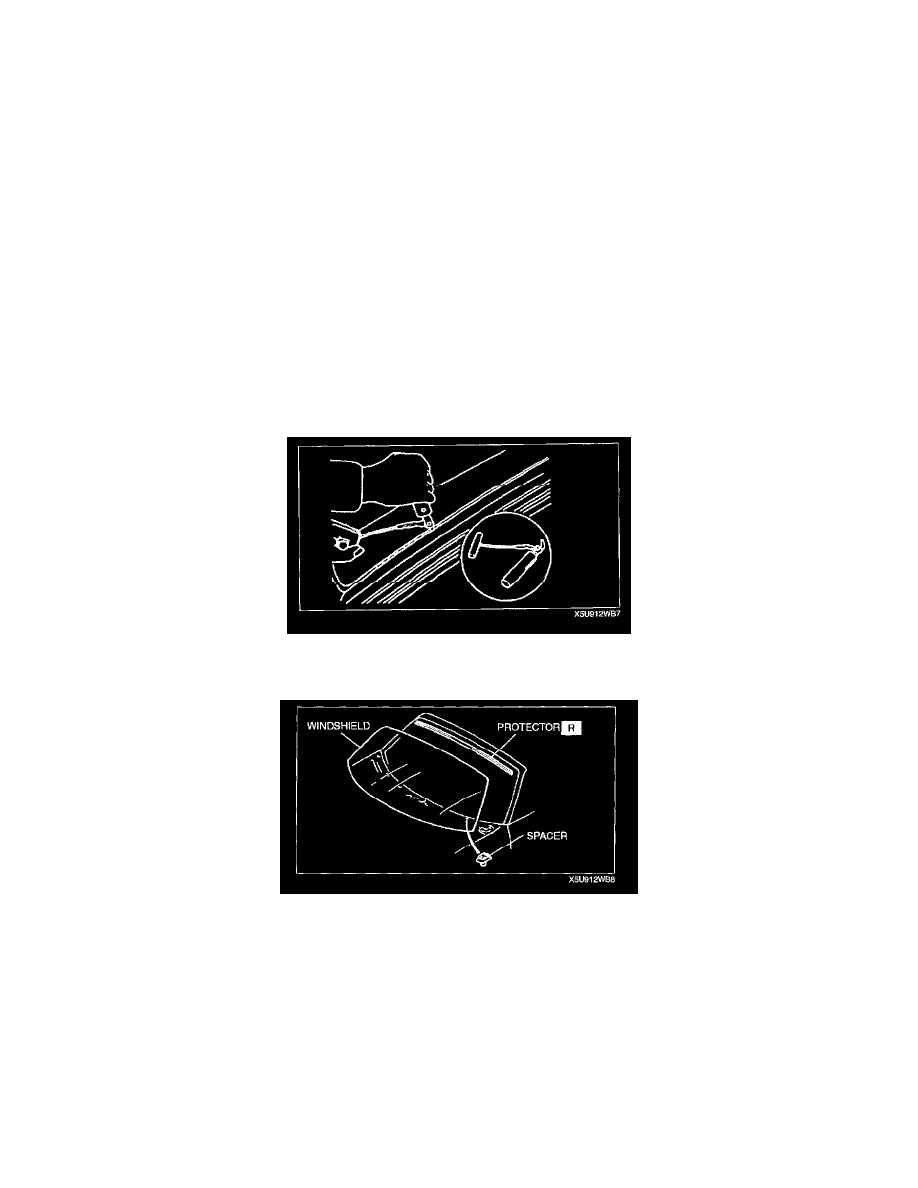
1. Use a tool like that shown in the figure, and insert the blade into the sealant.
2. Pull through the sealant around the edge of the glass.
3. Remove the windshield.
4. Remove the protector.
5. Remove the spacers.
Reusing Windshield
1. Make a hole through the sealant from the inside of the vehicle using an awl.
WARNING: Using a SST (piano wire) with bare hands can cause injury. Always wear gloves when using a SST (piano wire).
2. Pass the SST (piano wire) through the hole.