MX-6 L4-2184cc 2.2L SOHC Turbo F2 (1989)

2.
If water is entering over the sill plate, remove the door panel and check that the plastic sheeting Butyl sealer is pressed firmly against the door
frame. Also, check that no gaps are present between the sheet metal and the plastic.
3.
Confirm that the door drain holes are draining properly and are not obstructed.
Note:
If Butyl sealer is hard or non-pliable, new sealer will need to be applied to the plastic sheeting to properly seal water leaking from these areas.
Location III
LOCATION III: TRUNK COMPARTMENT AND UNDER REAR SEAT
Location of Water Leak Source
1.
At least 12 minutes should he spent during initial hose testing, because the water may have to move through several body seams before being
detected.
2.
Turn the water pressure to the hose so that a 12" to 18" stream of water is present while the hose is in a vertical position.
3.
Carpet, side panels and rear seat bottom may have to be removed to locate the source of the leaks.
4.
Lower the rear seat backs. From inside the vehicle, close the door and, using a flashlight, look for water leaks during the hose test.
5.
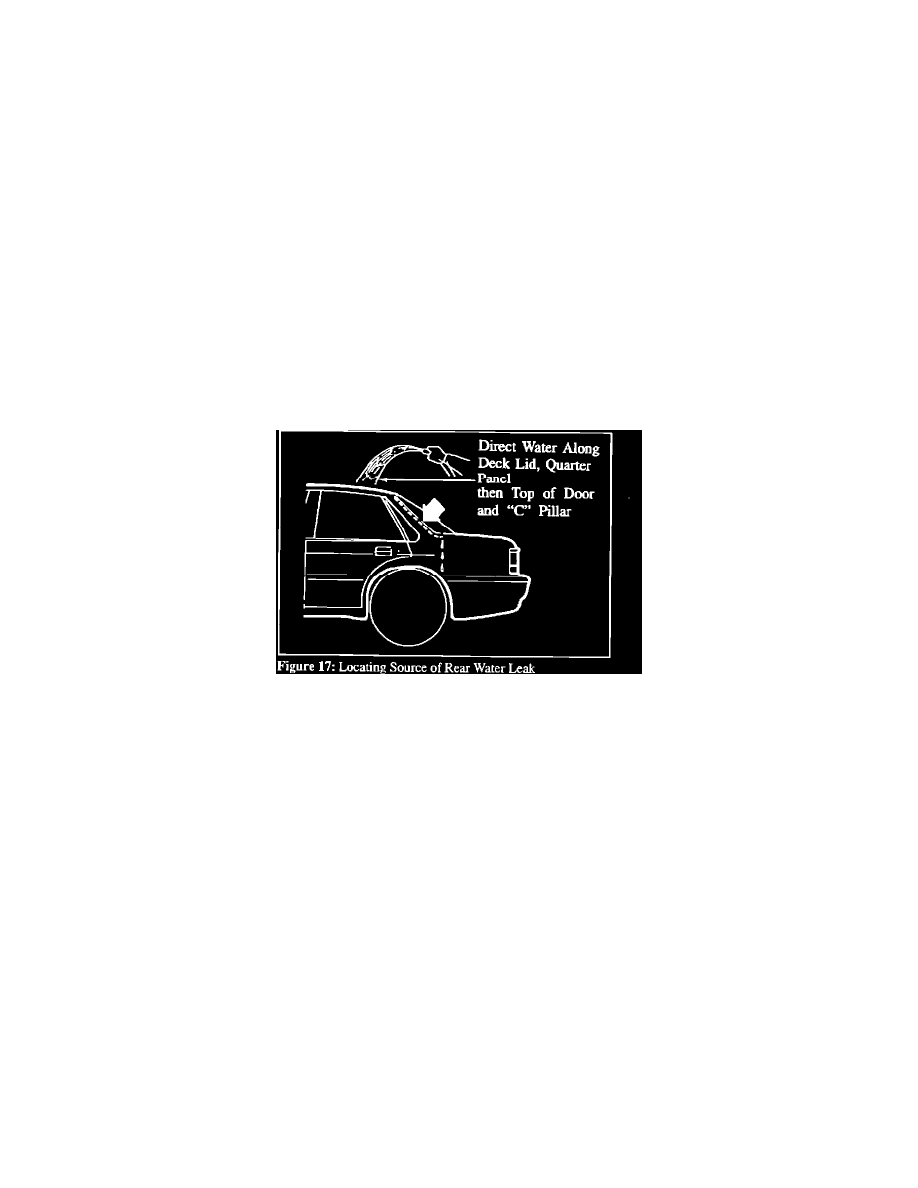
Have an assistant direct the water stream over the entire rear of the vehicle, concentrating on the following areas: Figure 17.
-
Along the deck lid to body gap.
-
Up each "C" pillar and across the upper portion of the rear window.
-
Along the key lock cylinder, rear deck lid finisher and combination lamps.
-
Along the fuel filler door-to-body gap.
6.
Have an assistant direct the water stream over the entire inner wheel well area concentrating on the following areas:
