MX-6 LS V6-2.5L DOHC (1997)

Evaporator Case: Service and Repair
Removal and Installation
Removal / Installation
1. Discharge the refrigerant from the system.
2. Remove the glove compartment cover and undercover.
3. Remove the A/C duct.
4. Disconnect the A/C amplifier connector.
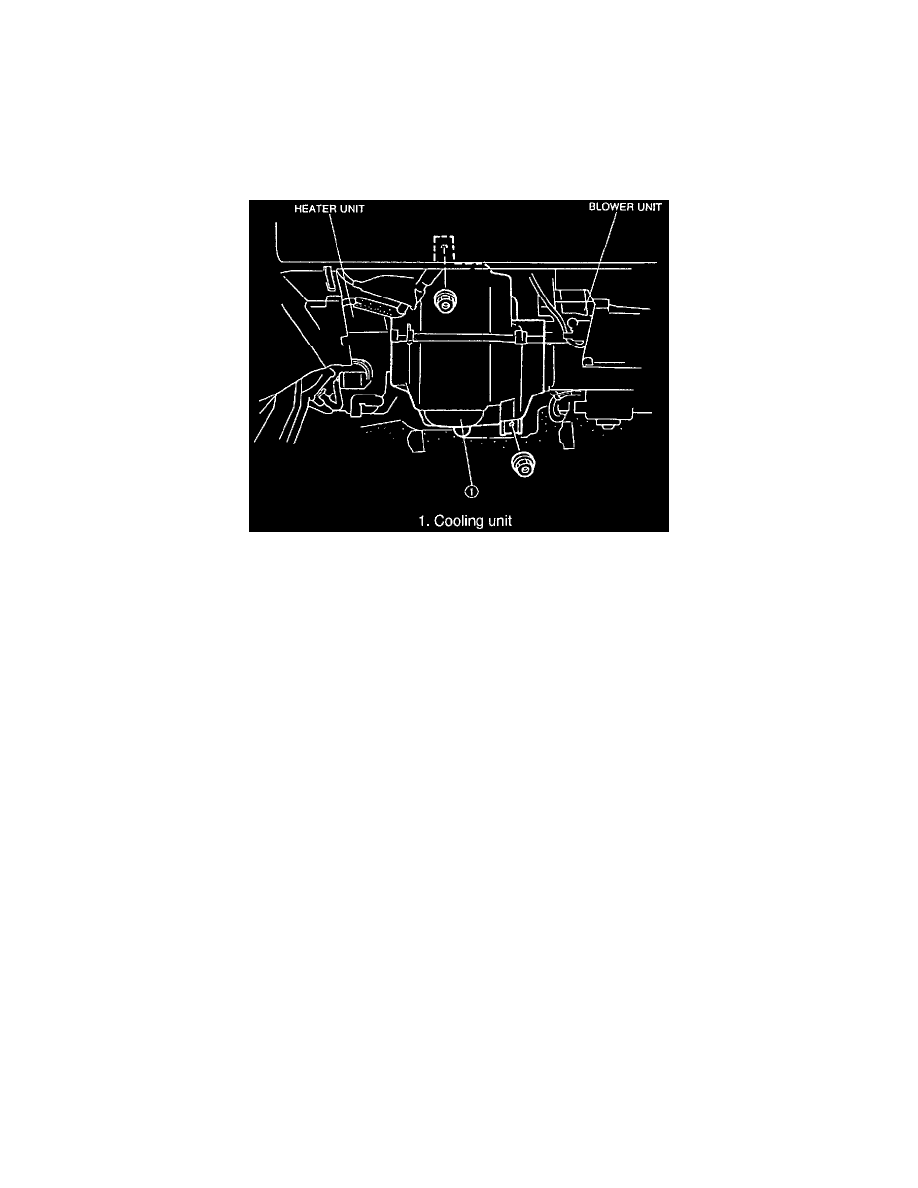
5. Remove as shown in the figure.
6. Install in the reverse order of removal. Position the unit so that its connections match those of the heater unit and blower unit. Apply clean
compressor oil to the 0-rings before connecting the fittings. Do not apply compressor oil to the fitting nuts. When installing a new cooling unit,
add 50 ml {50 cc, 1.7 fl oz} of compressor oil through the high-pressure side of the A/C compressor.
1. Cooling Unit
Tightening torque
Outlet pipe: 20-29 N.m (2.0-3.0 kgf.m, 15-22 ft.lbf}
Inlet pipe: 10-19 N.m {1.0-2.0 kgf.m, 14 ft.lbf}
