
Protege L4-2.0L DOHC (2003)
NOTE: A checker tab is integrated with the quick release connector for new plastic fuel hoses. The checker tab will be released from the quick
release connector after it is completely engaged with the fuel pipe.
14. Inspect the plastic fuel hose and fuel pipe sealing surface for damage and deformation, and replace as necessary.
-
If the quick release connector O-ring is damaged or has slipped, replace the plastic fuel hose.
15. Reconnect the fuel main hose to the fuel main pipe until a click is heard.
16. Pull the quick release connector by hand and verify that it is installed securely.
17. Complete the "AFTER REPAIR PROCEDURE".
Fuel Pump Maximum Pressure Inspection
WARNING: Fuel line spills and leakage are dangerous. Fuel can ignite and cause serious injuries or death and damage. Always carry out the
following procedure with the engine stopped.
CAUTION: Disconnecting/connecting the quick release connector without cleaning it may possibly cause damage to the fuel pipe and quick release
connector. Always clean the quick release connector joint area before disconnecting/connecting, and make sure that it is free of foreign material.
NOTE: Perform the following test only when directed.
1. Complete the "BEFORE REPAIR PROCEDURE".
2. Disconnect the negative battery cable.
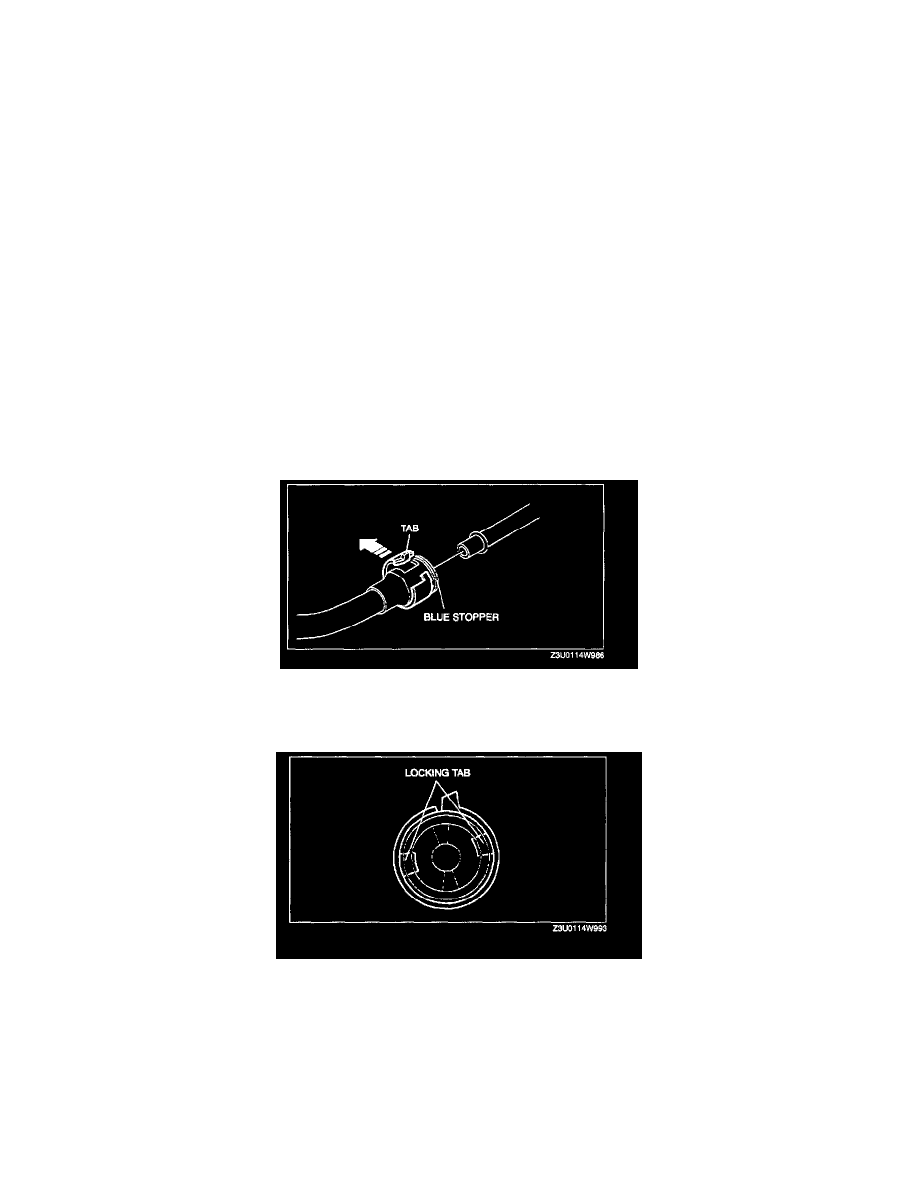
3. Disconnect the quick release connector from the pulsation damper as follows:
1. Push the tab on the orange locking coupler 90° until it stops.
2. Pull the fuel hose straight back.
NOTE:
-
The blue stopper may be removed from the quick connector. Take care not to loose it. Reinstall it to the quick release connector before
reconnecting the fuel line.
-
The orange locking coupler has two internal locking tabs which retrain the pulsation damper pipe. Be sure that the tab on the locking
coupler is rotated until it stops to release two internal locking tabs.