Protege L4-2.0L DOHC (2003)

NOTE: A checker tab is integrated with the quick release connector for new plastic fuel hoses. The checker tab will be released from the quick
release connector after it is completely engaged with the fuel pipe.
13. Inspect the plastic fuel hose and fuel pipe sealing surface for damage and deformation, and replace as necessary.
-
If the quick release connector O-ring is damaged or has slipped, replace the plastic fuel hose.
14. Reconnect the fuel main hose to the fuel main pipe until a click is heard.
15. Pull the quick release connector by hand and verify that it is installed securely.
16. Complete the "AFTER REPAIR PROCEDURE".
Fuel Pump Unit Inspection
Continuity Inspection
NOTE: Perform the following test only when directed.
1. Disconnect the negative battery cable.
2. Remove the rear seat cushion.
3. Remove the service hole cover.
4. Disconnect the fuel pump unit connector.
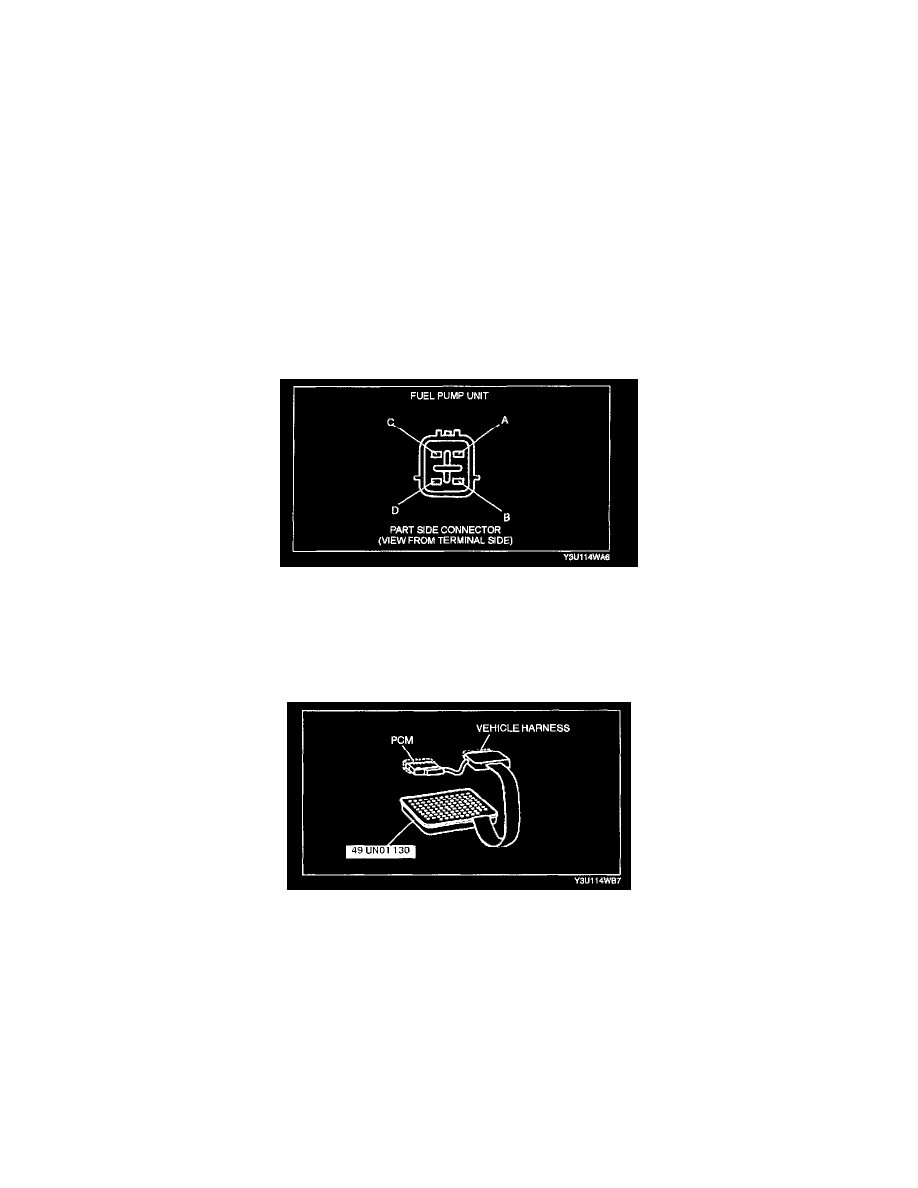
5. Inspect for continuity between fuel pump unit connector terminals B and D.
-
If there is no continuity, replace the fuel pump body.
-
If as specified, carry out the "Circuit Open/ Short Inspection".
Circuit Open/Short Inspection
1. Remove the PCM.
2. Connect the SST (104 Pin Breakout Box) to the PCM as shown.
3. Tighten the connector attaching screw.
Tightening torque
7.9 - 10.7 N.m {80 - 110 kgf.cm, 69.5 - 95.4 in.lbf}
