
Protege DX L4-1.6L DOHC (2000)
Lower Side Moulding / Trim: Service and Repair
REMOVAL
WARNING: Using a razor with bare hands can cause injury. Always wear gloves when using a razor.
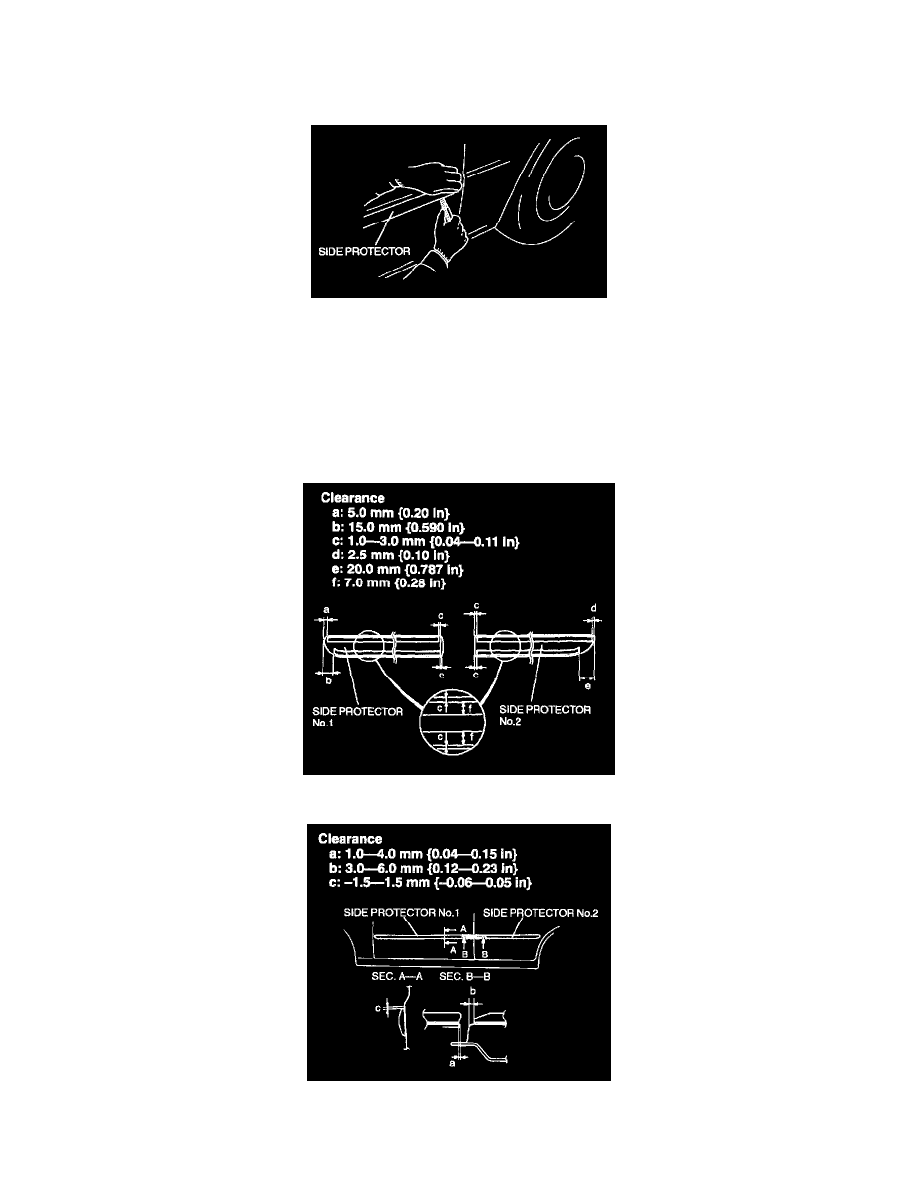
1. Pry the side protector end
20 - 30 mm {0.8 - 1.1 in} using a flathead screwdriver or a razor.
2. Pull the side protector toward you, then remove it.
NOTE: The side protector is installed with double-sided adhesive tape. If the side protector is difficult to remove, soften the double-sided
adhesive tape using a hot air blower.
INSTALLATION
1. Remove the adhesive remaining on the side protector (if it will be reused) and the body using a razor.
2. Remove any grease or dirt from the adhesion surface of the side protector (if it will be reused) and the body.
3. Attach double-sided adhesive tape to the side protector as shown (if it will be reused).
4. Peel off the backing paper from the double-sided adhesive tape and attach the side protector onto the body as shown.