
RX7 2RTR-1308cc 1.3L MFI (1991)
Oil Pan: Service and Repair
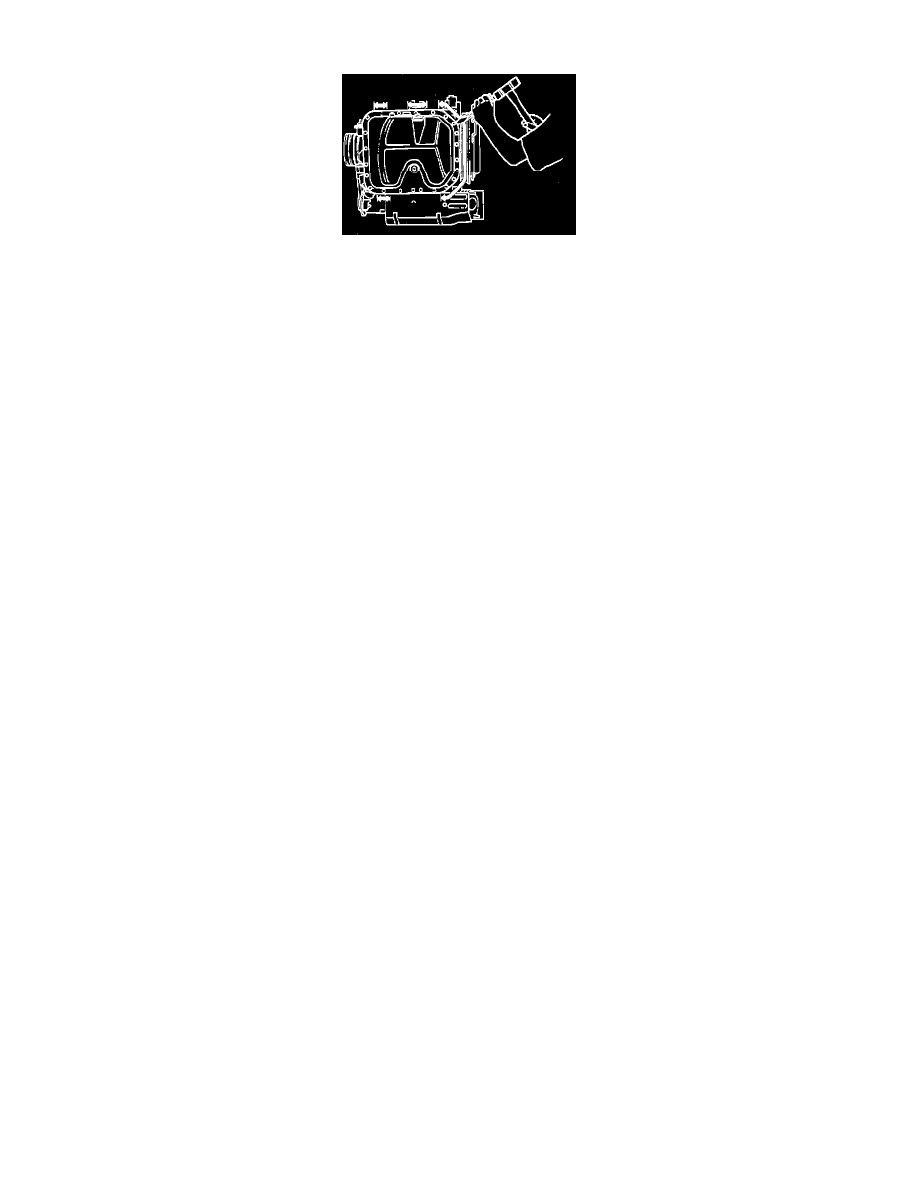
Fig. 50 Removing Oil Pan
1.
Disconnect battery ground cable, then raise and support vehicle and drain engine oil.
2.
Remove cooling fan, then the engine under cover.
3.
Disconnect electrical connectors at oil level sensor and oil thermo unit.
4.
Remove engine mount attaching nuts and raise engine 1.6-2.4 inches (40-60mm).
5.
Remove oil pan attaching bolts.
6.
Remove right side engine mount and the oil pan. To separate oil pan, insert suitable tool only into areas shown, Fig. 50.
7.
Clean mating surfaces of housings and oil pan.
8.
On oil pans without gasket, apply a 0.16-.24 inch (4-6mm) diameter bead of suitable sealant in continuous bead on oil pan, rimming inside of
bolt holes and with the ends overlapping.
9.
On oil pans with gaskets, apply a 0.16-0.24 inch (4-6mm) diameter bead of suitable sealant around rim of oil pan and housing side of new
gasket, inside bolt holes, in continuous bead with ends overlapping. Install oil pan within 30 minutes after sealant is applied.
10.
Install oil pan and right engine mount as an assembly, tightening bolts gradually. Torque oil pan bolts and engine mount bolt to specifications.
11.
Reverse remainder of procedure to complete installation, then fill crankcase, start engine and check for leaks.