
RX7 2RTR-1308cc 1.3L MFI (1991)
Evaporator Case: Service and Repair
Removal and Installation
Cooling Unit Removal
1. Disconnect the negative battery cable.
2. Discharge the refrigerant system.
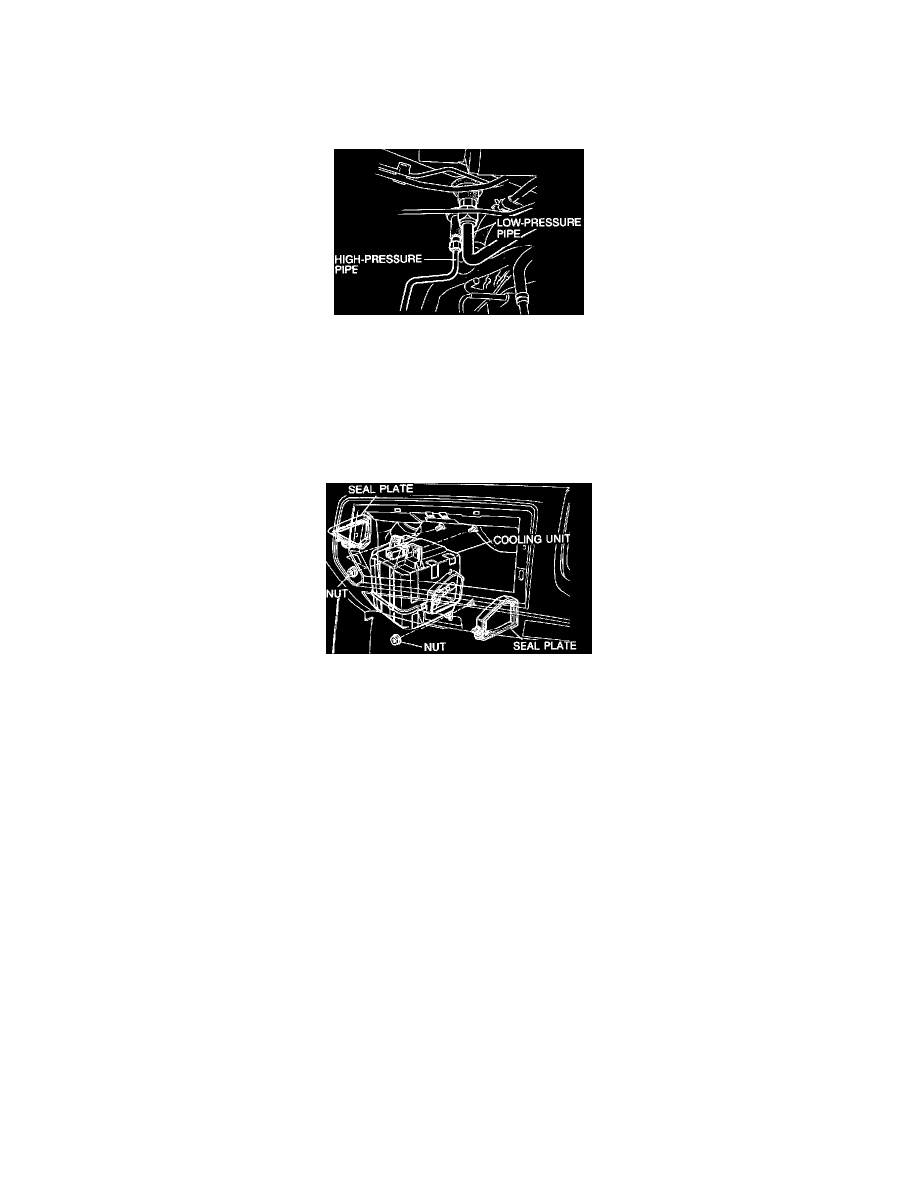
3. Disconnect the low-pressure pipe and high-pressure pipe from the cooling unit.
Note: Immediately plug all open fittings to keep moisture out of the system.
4. Remove the grommets.
5. Remove the glove box and lower panel.
6. Disconnect the drain hose.
7. Disconnect the thermoswitch connector.
8. Remove the seal plates.
9. Remove the nuts and remove the cooling unit.
Installation
-
Install in the reverse order of removal, noting the following.
Note
a) Adjust and position the cooling unit so that its connections match those of the heater unit and the blower unit.
b) Apply compressor oil to the 0-rings on the fittings.
c) Do not apply compressor oil to the fitting nuts.
d) If the evaporator is replaced, add compressor oil to the compressor.
Compressor oil: 25 - 30 cc (1.5 - 1.8 cu in)
Tightening torque
Low-pressure pipe: 29 - 34 N.m (3.0 - 3.5 m-kg, 22 - 25 ft-lb)
High-pressure pipe: 12 - 15 N.m (1.2 - 1.5 m-kg, 8.7 - 11 ft-lb)