
RX7 2RTR- 1308cc 1.3L FI (1987)
Selector Shaft: Adjustments
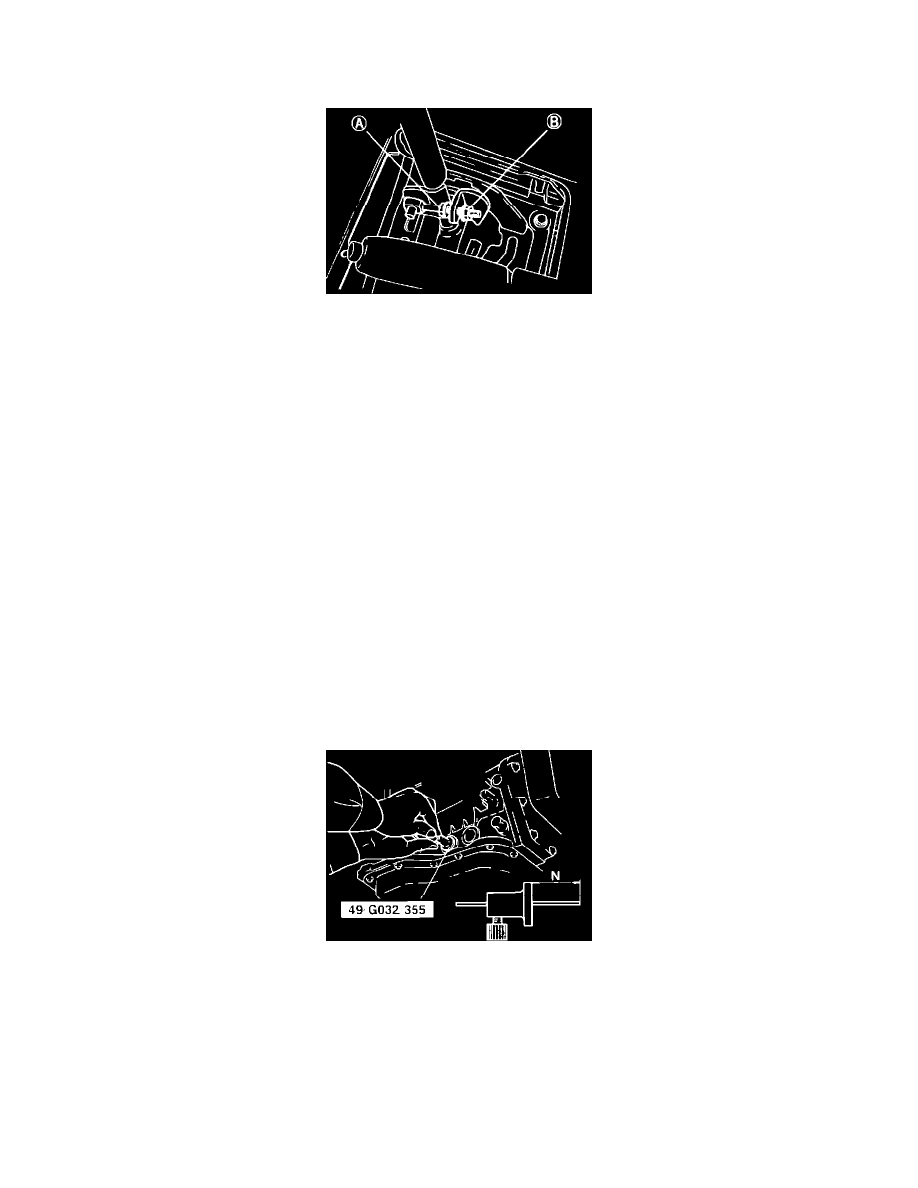
SELECTOR LEVER ADJUSTMENT
Fig. 10 Selector lever adjustment. 1986-88 RX-7
1.
Position locknuts ``A'' and ``B'' as shown, Fig. 10.
2.
Move gearshift lever to ``P'' position, then shift transmission selector lever to ``P'' range.
3.
Hand tighten nut until locknut ``A'' just contacts adjuster lever.
4.
Back off locknut ``A'' one full turn, then torque locknut ``B'' to 70-96 inch lbs.
5.
Ensure a click is heard at each range when gearshift lever is moved from ``P'' to ``1''.
6.
Ensure shift range indications are properly aligned and button returns smoothly when used to shift the selector.
NEUTRAL SAFETY SWITCH ADJUSTMENT
1.
Shift selector lever to N range.
2.
Raise and support vehicle.
3.
Remove transmission manual lever retaining nut and lever.
4.
Loosen three neutral switch attaching bolts and remove screw from alignment pin hole at the bottom of the switch.
5.
Rotate switch and insert an alignment pin through alignment pin hole and into hole in internal rotor. The alignment pin should be 0.059 inch (1.5
mm) diameter for 1984 B2000 and B2200 models, or 0.078 inch (2.0 mm) for all other models.
6.
Tighten two switch attaching bolts and remove alignment pin.
7.
Reinstall alignment pin hole screw in switch body.
8.
Position transmission manual lever on manual lever shaft and secure with flat washer and nut.
9.
Check switch for proper operation. The engine should start only with transmission selector lever in N or P.
VACUUM DIAPHRAGM ROD
1.
Remove vacuum diaphragm rod and O-ring from transmission body.
Fig. 13 Measuring vacuum diaphragm rod
2.
Measure N dimension, Fig. 13, using tool 49G032355 or equivalent and a scale.