
Tribute 2WD L4-2.3L (2005)
Condenser HVAC: Service and Repair
CONDENSER CORE
Removal and Installation
NOTE: Installation of a new suction accumulator is not necessary when repairing the air conditioning system except when there is physical evidence of
system contamination from a failed A/C compressor or damage to the suction accumulator.
NOTE: If an A/C condenser core leak is suspected, the A/C condenser core must be leak tested before it is removed from the vehicle. See A/C
EVAPORATOR/CONDENSER ON-VEHICLE LEAK TEST.
1. Recover the refrigerant. See DISCHARGING AND RECOVERY.
2. Remove the front bumper cover.
CAUTION: Plug all ports to prevent contamination from dirt or moisture.
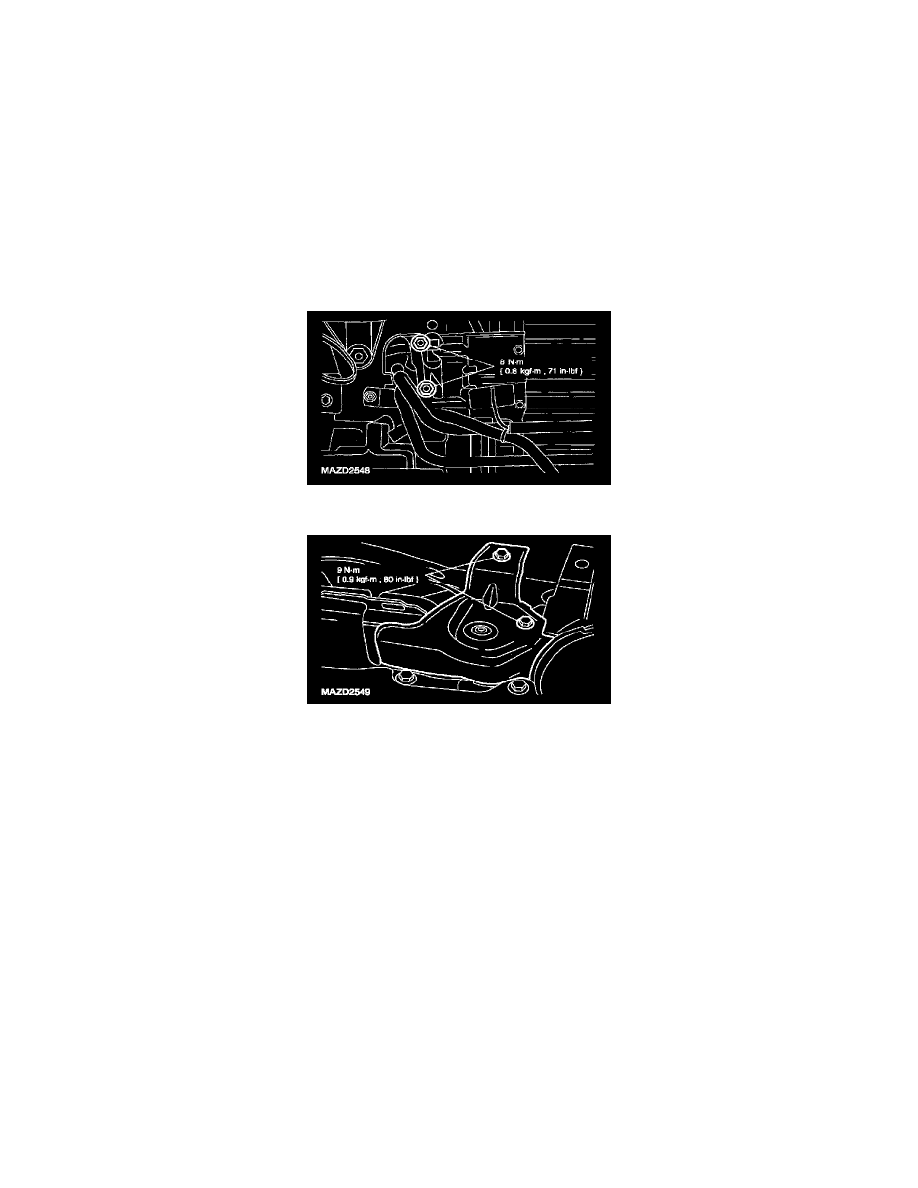
3. Remove the nuts from the two condenser core A/C line fittings.
4. Remove the screws and the A/C condenser core brackets.
NOTE: When removing the A/C condenser core, disconnect the two A/C line fittings from the A/C condenser core.
5. Remove the A/C condenser core.
6. To install, reverse the removal procedure.
-
Lubricate the new A/C condenser core with the correct amount of PAG Compressor Oil. See REFRIGERANT OIL ADDING.
-
Lubricate the O-ring seals with PAG Compressor Oil.