
Tribute 4WD L4-2.3L Hybrid (2008)
1. With vehicle in NEUTRAL, position it on a hoist. See See: Maintenance/Vehicle Lifting/Service and Repair/Lifting.
2. Drain the cooling system. See - See: Coolant/Service and Repair/Removal and Replacement.
3. Drain the motor electronics cooling system. See - See: Coolant/Service and Repair/Procedures/Motor Electronics Cooling System Draining And
Filling.
4. Remove the cooling fan motor and shroud. See - See: Radiator Cooling Fan/Radiator Cooling Fan Motor/Service and Repair.
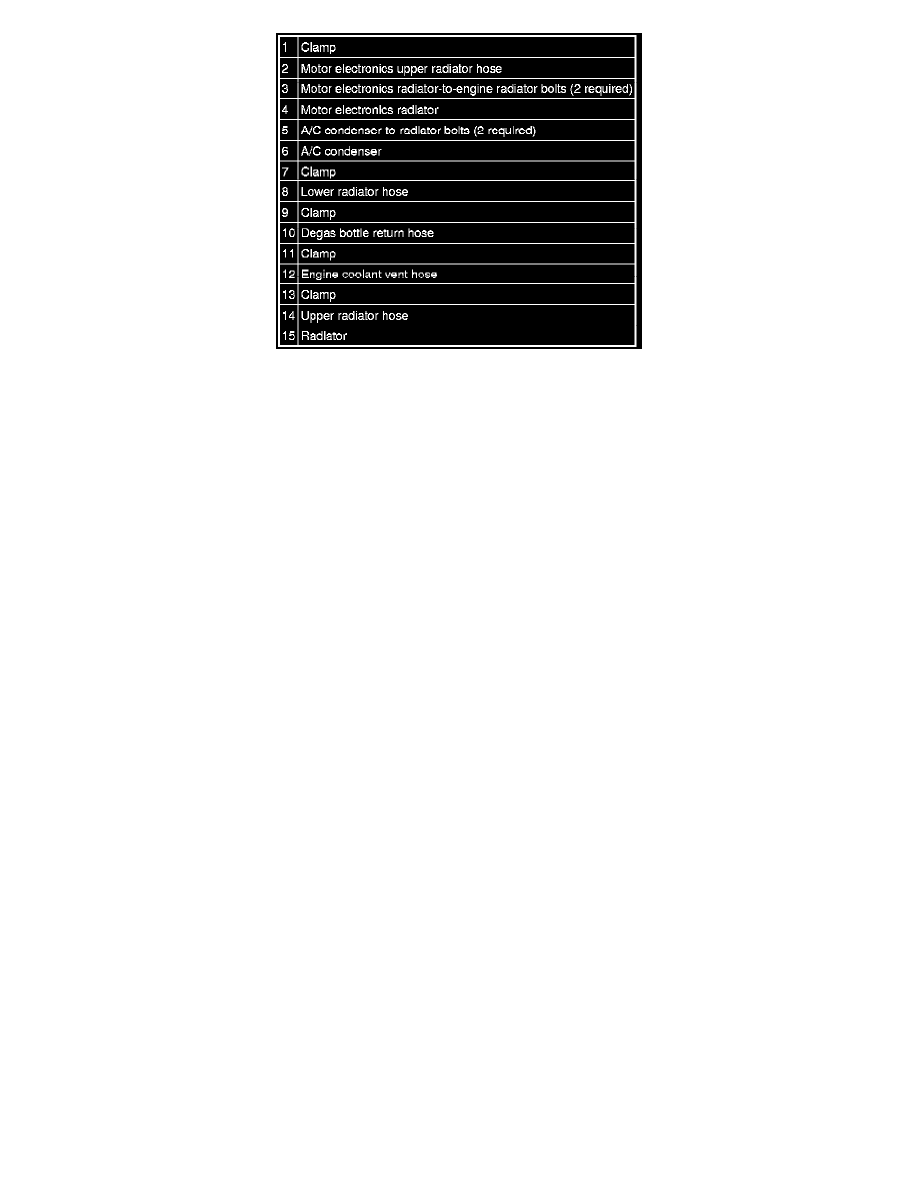
5. Disconnect the upper hose from the motor electronics radiator.
6. Remove the 2 motor electronics radiator-to-engine radiator bolts and position the motor electronics radiator aside.
-
To install, tighten to 6 Nm {0.6 kgf-m, 53 in-lbf}.
7. Remove the 2 A/C condenser-to-radiator bolts and position the A/C condenser aside.
-
To install, tighten to 10 Nm {1.0 kgf-m, 89 in-lbf}.
8. Disconnect the lower radiator hose from the radiator.
9. Disconnect the degas bottle return hose from the radiator.
10. Disconnect the engine coolant vent hose from the radiator.
11. Disconnect the upper radiator hose from the radiator.
12. Remove the radiator.
13. To install, reverse the removal procedure.
14. Fill and bleed the cooling system. See - See: Coolant/Service and Repair/Removal and Replacement.
15. Fill and bleed the motor electronics cooling system. See - See: Coolant/Service and Repair/Procedures/Motor Electronics Cooling System
Draining And Filling.