
Tribute 4WD L4-2.3L Hybrid (2008)
-
To install, tighten to 6 Nm {0.6 kgf-m, 53 in-lbf}.
5. Remove the LH D-pillar trim panel. See See: Body and Frame/Interior Moulding / Trim/Trim Panel/Service and Repair/C-Pillar Trim Panel
Removal/Installation.
NOTE: The D-pillar bracket will remain in place.
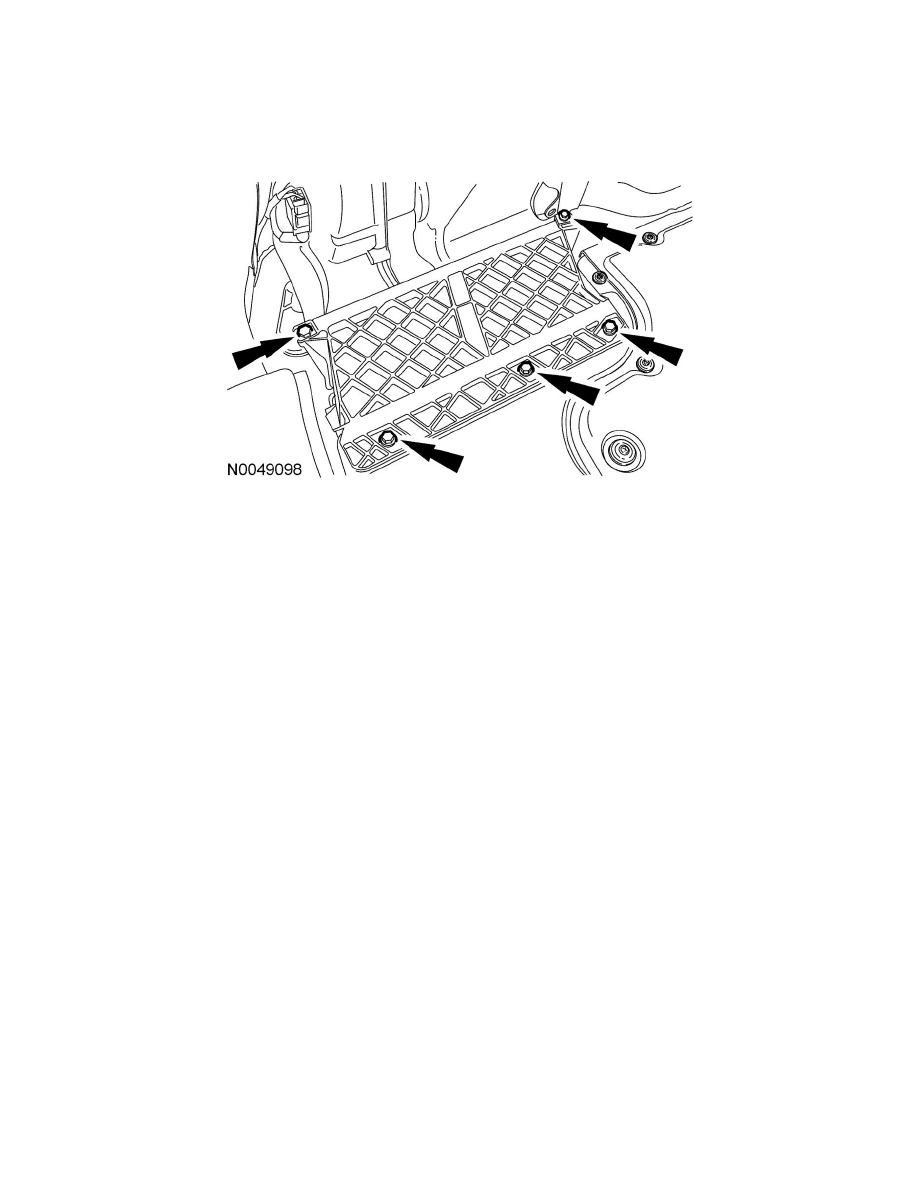
6. Remove the 4 battery airflow duct screws, the 1 pin-type retainer and the battery airflow duct assembly.
-
To install, tighten to 2 Nm {0.2 kgf-m, 18 in-lbf}.
NOTE: When installing, tighten the screws on the high-voltage traction battery (HVTB) first to make sure the duct is sealed correctly.
7. Remove the 2 auxiliary climate control fresh air inlet duct nuts.
-
To install, tighten to 7 Nm {0.7 kgf-m, 62 in-lbf}.
8. Remove the 2 auxiliary climate control housing bolts.
-
To install, tighten to 7 Nm {0.7 kgf-m, 62 in-lbf}.
9. Disconnect the 2 auxiliary harness electrical connectors.
10. Disconnect the auxiliary evaporator discharge air temperature sensor electrical connector.
11. Remove the auxiliary climate control housing.
12. To install, reverse the removal procedure.
-
Install new O-ring seals.
-
Lubricate the refrigerant system with the correct amount of clean PAG oil. See See: Service and Repair/Refrigerant Oil Adding.
NOTE: The auxiliary climate control housing must be installed behind the lower portion of the D-pillar bracket. When installed correctly, the auxiliary
climate control housing bolt will go through the D-pillar bracket first, then through the housing mounting location.
13. Evacuate, leak test and charge the refrigerant system. See See: Service and Repair/Air Conditioning (A/C) System Evacuation And Charging