
Tribute 4WD L4-2.3L Hybrid (2008)
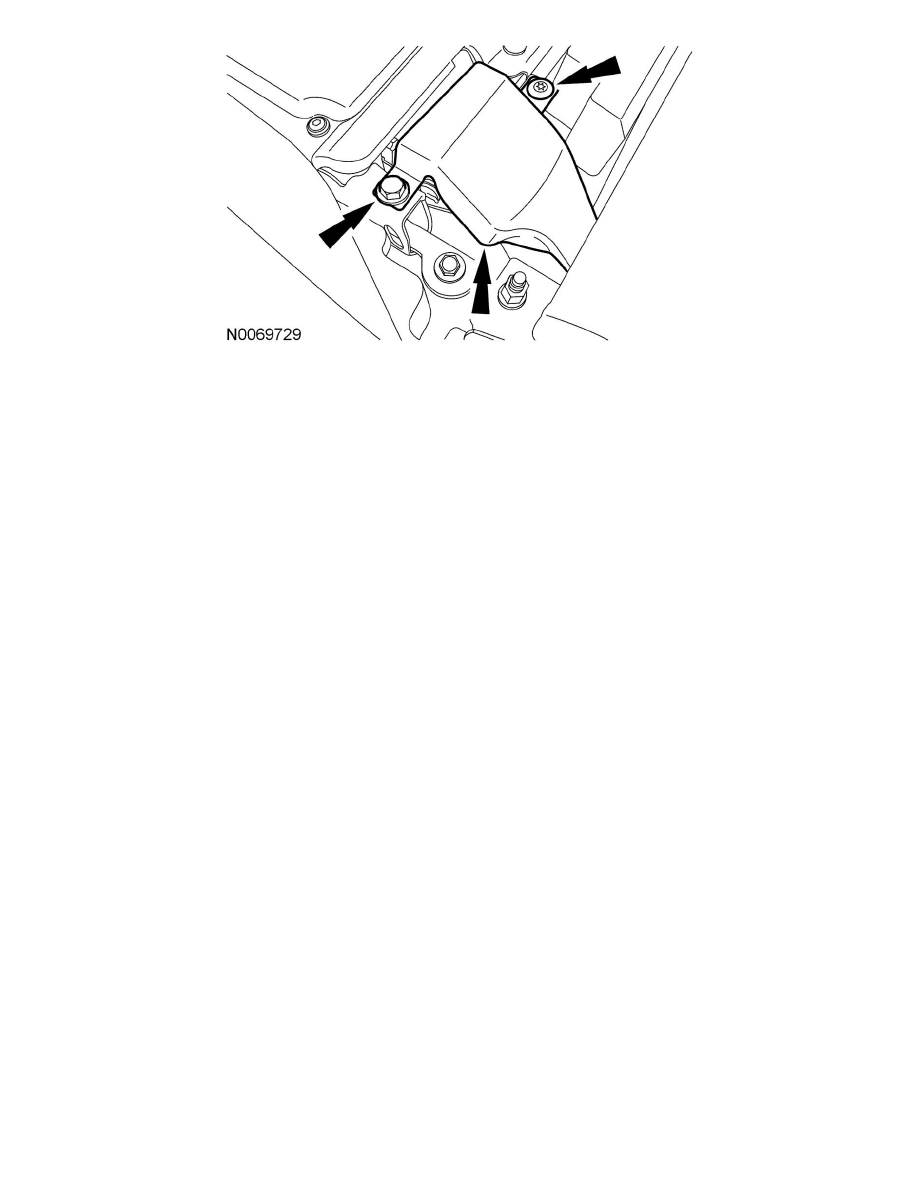
7. Fold the right rear seat backrest down and remove the high-voltage cables shield bolt.
-
To install, tighten to 9 Nm {0.9 kgf-m, 80 in-lbf}.
8. Remove the high-voltage cables shield.
9. Press the locking tab down and rotate the locking lever upward until the aligning dowels are disengaged from the locking lever to remove the
high-voltage cables electrical connector.
10. Remove the 9 HVTB bolts.
-
To install, tighten to 55 Nm {5.5 kgf-m, 41 ft-lbf}.
NOTE: Hand-start all of the bolts before tightening them to specification.
NOTE: The attaching bolts have a conductive coating on them and are serrated under the head flange. These features ground the HVTB to the vehicle,
which is required for electro-magnetic compatibility (EMC). If a bolt(s) is lost or damaged, a new bolt(s) must be installed with the identical type of bolt.
11. Remove the cap plug to expose the center (rear) lifting attachment point.
NOTE: Make certain to reinstall this plug during the HVTB installation procedure to avoid NVH issues.
12. Attach 3 M10 x 1.5 x 35 eyebolts to the 3 HVTB lift points. Install nuts onto the eye bolts to gain the correct eyebolt height. Obtain the eyebolts
locally.