
Tribute 4WD L4-2.5L Hybrid (2009)
Rear Subframe: Service and Repair
-
SUBFRAME - REAR, REMOVAL/INSTALLATION
Removal/Installation
All Vehicles
CAUTION:Suspension and subframe fasteners are critical parts because they affect performance of vital parts and systems and their failure can result in
major service expense. A new part with the same part number must be installed if installation becomes necessary. Do not use a replacement part of lesser
quality or substitute design. Torque values must be used as specified during reassembly to make sure of correct retention of these parts.
1. Raise and support the vehicle. See See: Maintenance/Vehicle Lifting/Service and Repair/Lifting.
Vehicles With All Wheel Drive {AWD}
1. Remove the rear axle assembly. See See: Transmission and Drivetrain/Differential Assembly/Service and Repair.
2. Remove the 4 bolts and position the 4 rear control arms aside.
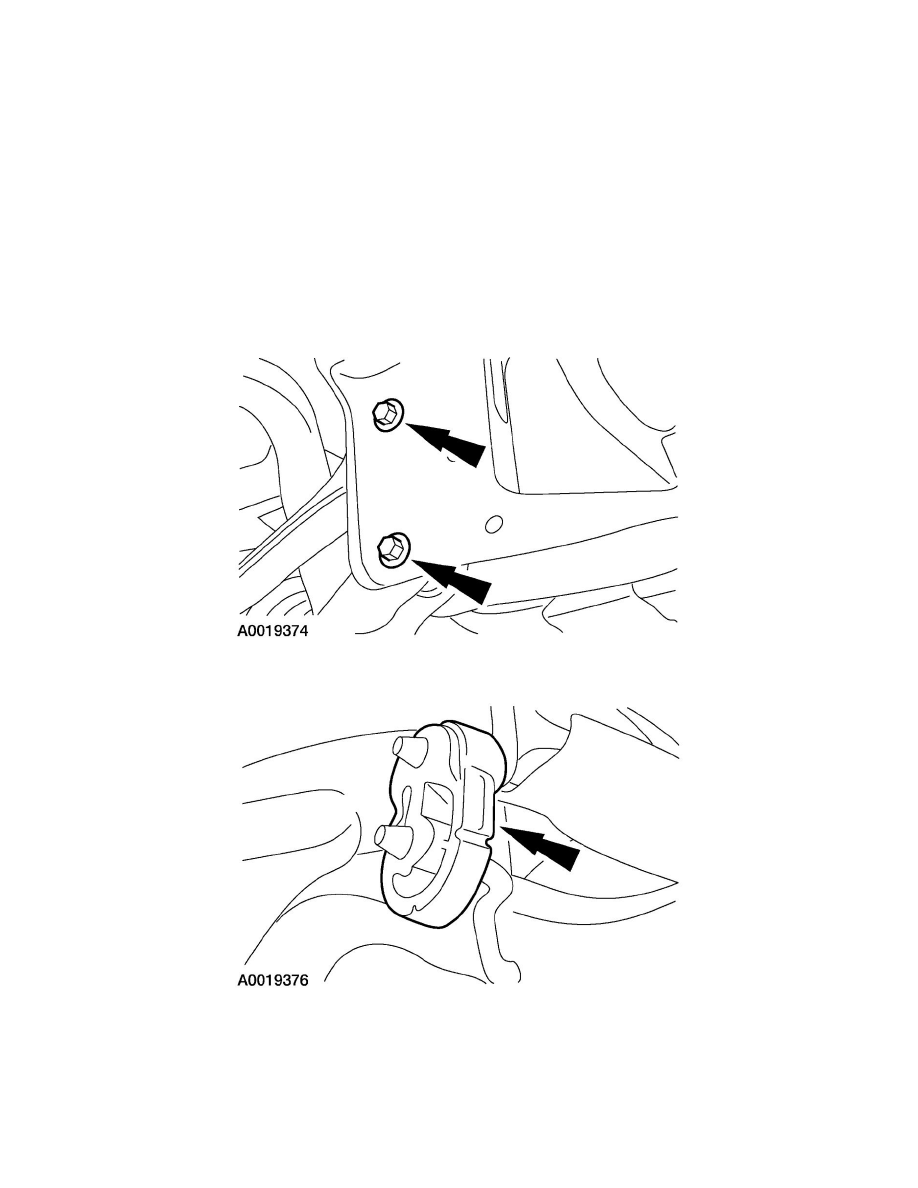
3. Remove and discard the exhaust hanger from the subframe.
4. With an assistant, remove the 4 bolts and the rear subframe.
All Vehicles
1. With an assistant, position the rear subframe and install the bolts.