
Tribute 4WD L4-2.5L Hybrid (2009)
4. Loosen the RR bleeder screw until a stream of brake fluid comes out. While an assistant maintains pressure on the brake pedal, tighten the RR
bleeder screw.
-
Repeat until clear, bubble-free fluid comes out.
-
Refill the brake master cylinder reservoir as necessary.
5. Tighten the RR bleeder screw to specifications. Remove the rubber hose and install the bleeder screw cap.
-
Tighten to 16 Nm {1.6 kgf-m, 142 in-lbf}.
6. Repeat Steps 2 through 5 for the LR bleeder screw.
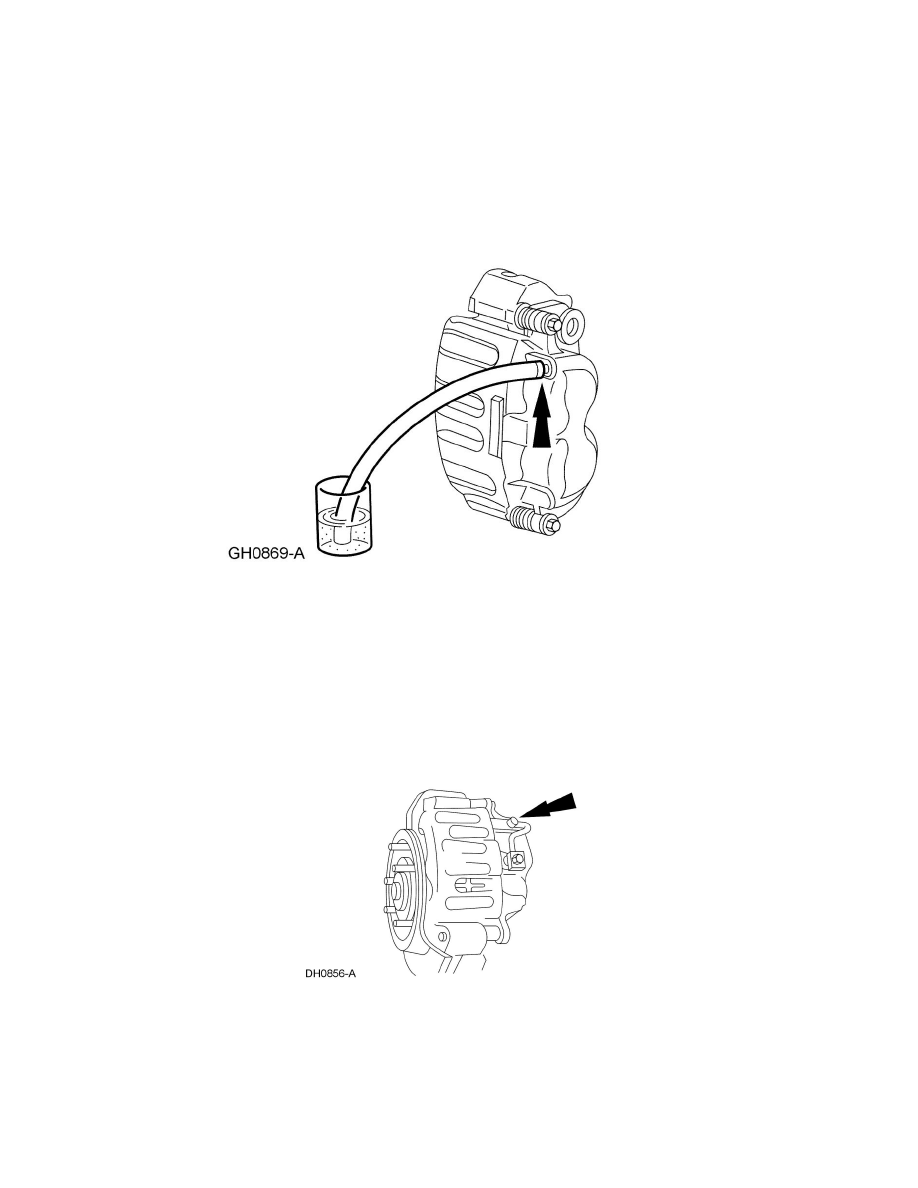
7. Remove the RF bleeder cap and place a box-end wrench on the bleeder screw. Attach a rubber drain hose to the RF bleeder screw and submerge
the free end of the hose in a container partially filled with clean, specified brake fluid.
8. Have an assistant pump and then hold firm pressure on the brake pedal.
9. Loosen the RF bleeder screw until a stream of brake fluid comes out. While an assistant maintains pressure on the brake pedal, tighten the RF
bleeder screw.
-
Repeat until clear, bubble-free fluid comes out.
-
Refill the brake master cylinder reservoir as necessary.
10. Tighten the RF bleeder screw to specifications. Remove the rubber hose and install the bleeder screw cap.
-
Tighten to 16 Nm {1.6 kgf-m, 142 in-lbf}.
11. Repeat Steps 7 through 10 for the LF bleeder screw.
Pressure Bleeding