
Tribute 4WD L4-2.5L Hybrid (2009)
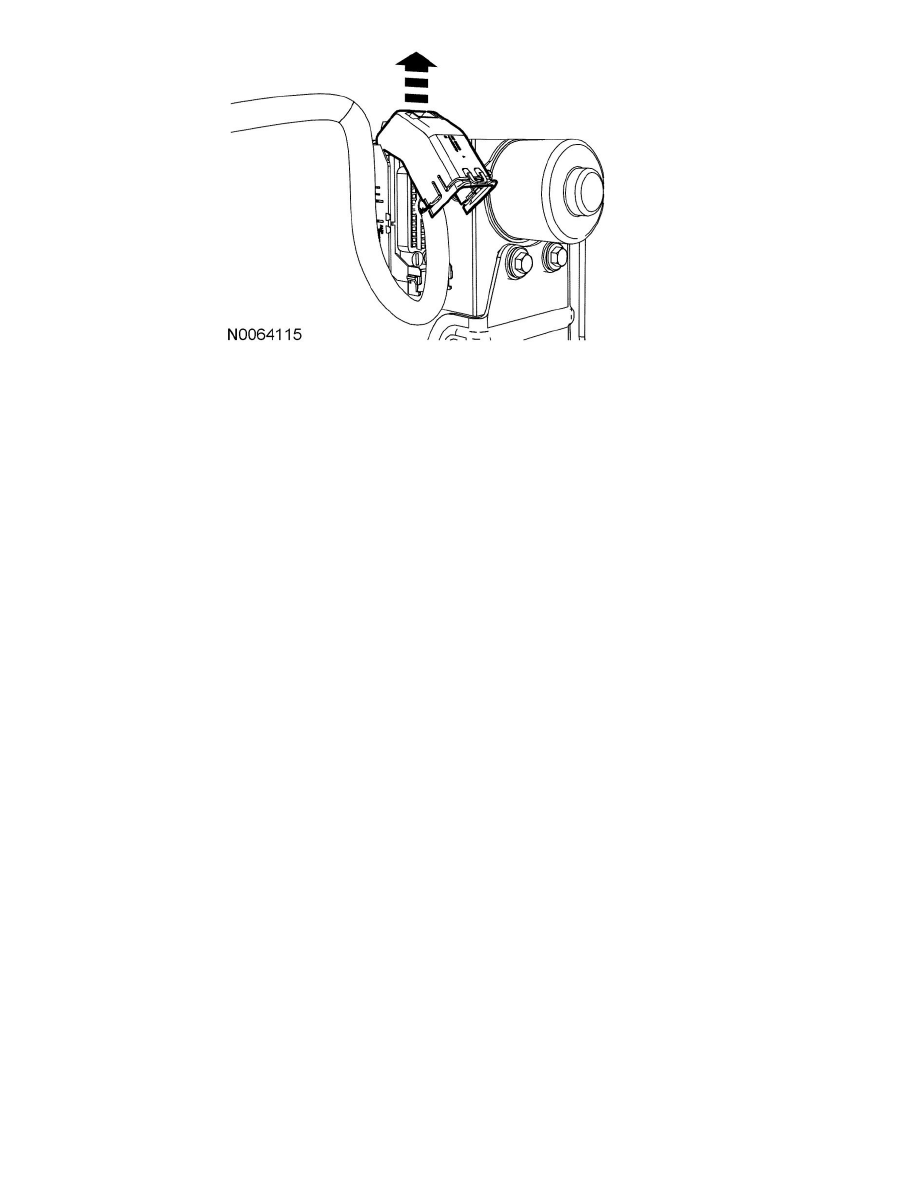
2. Disconnect the electrical connector by rotating the protective cover.
3. Disconnect the master cylinder brake tube fittings from the HCU.
-
To install, tighten to 23 Nm {2.3 kgf-m, 17 ft-lbf}.
4. Disconnect the brake tube-to-HCU fittings (12 mm).
-
To install, tighten to 15 Nm {1.53 kgf-m, 133 in-lbf}.
NOTE:Note the order of the brake tubes.
5. Remove the 3 HCU bracket-to-frame bolts.
-
To install, tighten to 20 Nm {2.0 kgf-m, 177 in-lbf}.
6. Disconnect the brake tube from the routing clip located at the bottom of the HCU bracket.
7. Remove the HCU assembly.
8. To install, reverse the removal procedure.
-
Bleed the brake system. See See: Brake Bleeding/Service and Repair/Brake System Bleeding.
NOTE:Use care not to cross the tubes during installation. If the brake tubes are crossed, the ABS module will set DTCs during an ABS event.