
Tribute 4WD L4-2.5L Hybrid (2009)
Hose/Line HVAC: Service and Repair
Evaporator Outlet Line Removal/Installation
-
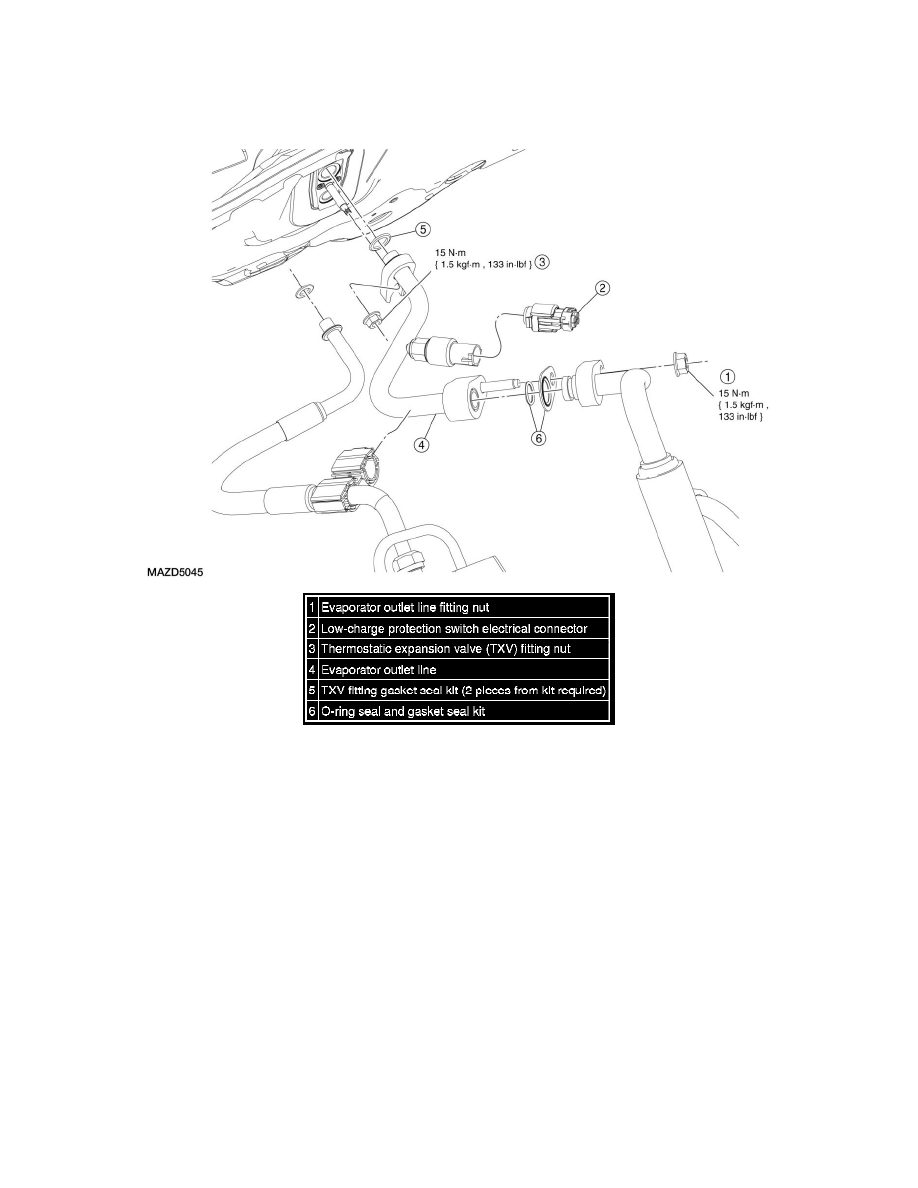
EVAPORATOR OUTLET LINE REMOVAL/INSTALLATION - HYBRID
1. Recover the refrigerant. See See: Heating and Air Conditioning/Service and Repair/Discharging And Recovery.
2. Disconnect the low-charge protection switch electrical connector.
3. Remove the evaporator outlet line fitting nut and disconnect the fitting.
-
Discard the O-ring seal and gasket seal.
-
To install, tighten to 15 Nm {1.5 kgf-m, 133 in-lbf}.
4. Remove the thermostatic expansion valve (TXV) fitting nut and disconnect the fitting.
-
Discard the gasket seals.
-
To install, tighten to 15 Nm {1.5 kgf-m, 133 in-lbf}.
5. Detach the evaporator outlet line from the A/C line bracket.
6. Remove the evaporator outlet line.
7. To install, reverse the removal procedure.
-
Install a new O-ring and new gasket seals.
-
Lubricate the refrigerant system with the correct amount of clean PAG oil. See See: Heating and Air Conditioning/Service and
Repair/Refrigerant Oil Adding.