
Tribute 4WD L4-2.5L Hybrid (2009)
3. Position a suitable lifting device under the fuel tank.
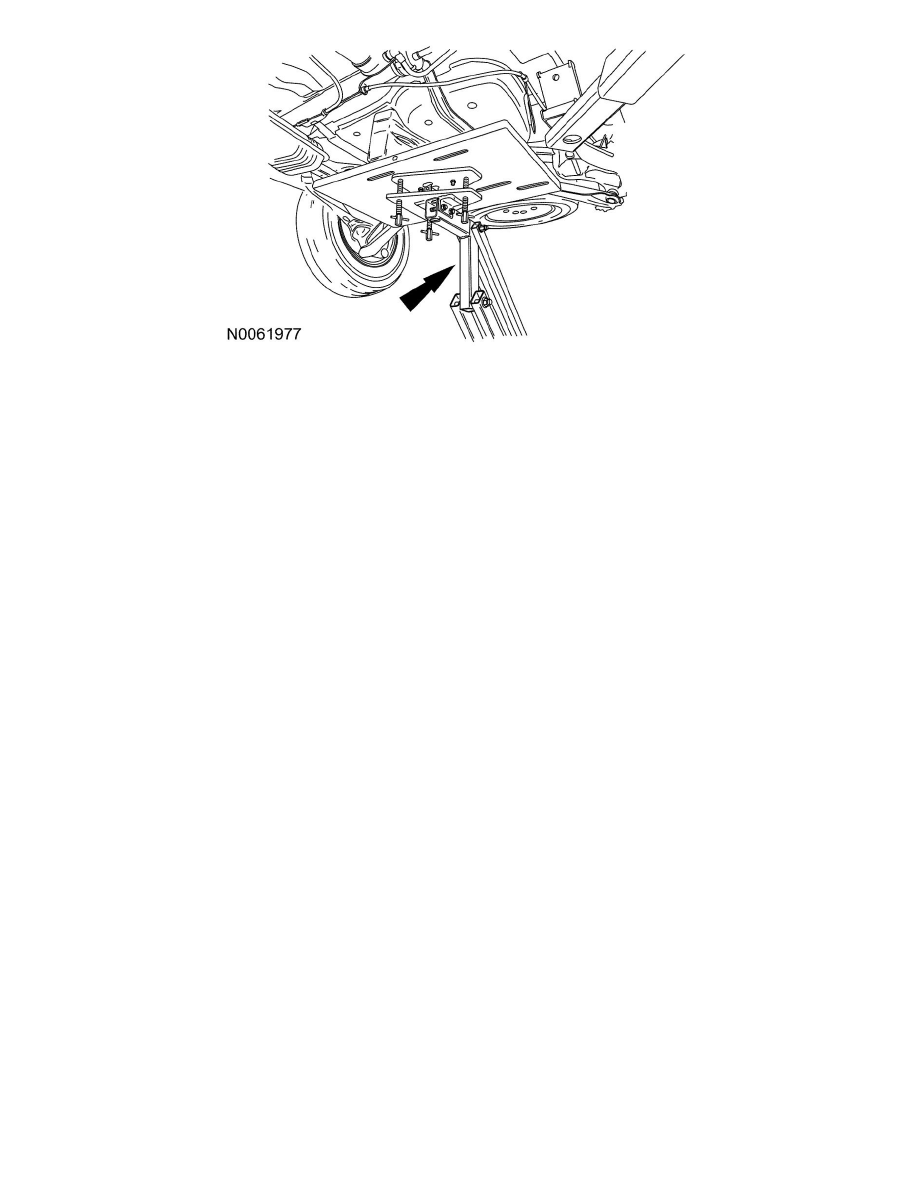
4. Remove the LH fuel tank bolt and strap.
-
To install, tighten to 55 Nm {5.6 kgf-m, 41 ft-lbf}.
5. Partially lower the LH side of the fuel tank enough to access the fuel vapor tube assembly.
6. Disconnect the fuel tank pressure (FTP) sensor electrical connector.
7. Disconnect the fuel vapor tube assembly-to-fuel tank quick connect coupling. See - See: Fuel Delivery and Air Induction/Fuel Line
Coupler/Service and Repair/Quick Release Coupling - Double Locking.
8. Disconnect the fuel vapor tube assembly-to-evaporative emission (EVAP) canister quick connect coupling. See - See: Fuel Delivery and Air
Induction/Fuel Line Coupler/Service and Repair/Quick Release Coupling - Double Locking.
9. Remove the fuel vapor tube assembly.
10. To install, reverse the removal procedure.
-
Carry out a leak test. See See: Testing and Inspection/Component Tests and General Diagnostics.
-
Carry out the evaporative emission repair verification drive cycle. See See: Testing and Inspection/Monitors, Trips, Drive Cycles and
Readiness Codes/Evaporative Emission Repair Verification Drive Cycle.