
Tribute 4WD L4-2.5L Hybrid (2009)
sensor.
NOTE:Do not mount the tire at this time.
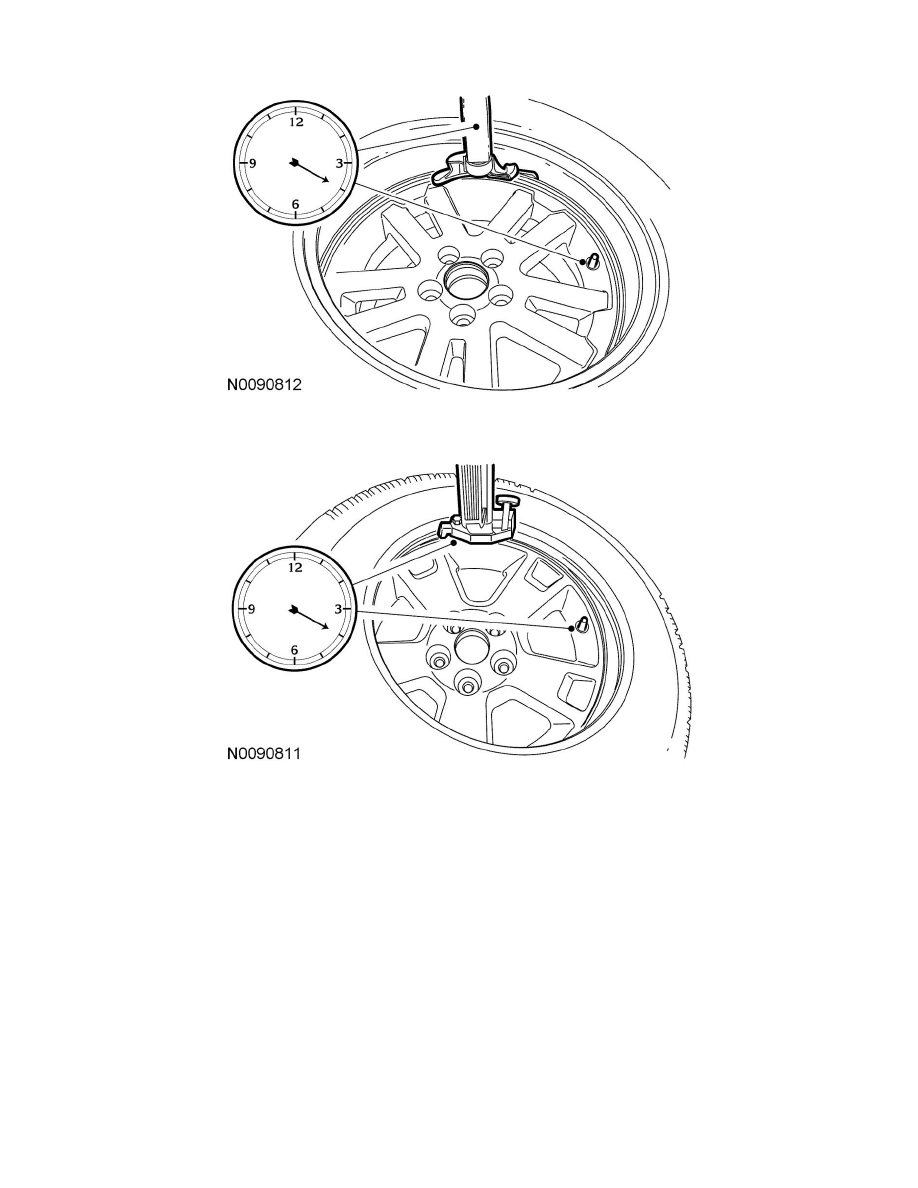
5. Position the wheel to align the valve stem with the machine arm, at the 4 o'clock position, and mount the bottom bead of the tire.
6. Reposition the wheel to align the valve stem with the machine arm, at the 4 o'clock position, and mount the top bead of the tire.
7. Inflate the tire to the pressure specified on the vehicle certification (VC) label located on the driver door or door pillar.
-
Proceed to step 5 if the tire beads do not seat at the specified inflation pressure.
NOTE:Use only a digital tire gauge any time tire pressures are measured to make sure that accurate values are obtained.
8. The following steps should only be carried out if the tire beads cannot be seated by inflating the tire up to the maximum inflation pressure
listed on the tire sidewall.
a. Relubricate the tire bead and wheel bead seat area.
b. Install a remote valve and pressure gauge.
c. Wear eye and ear protection and stand at a minimum of 3.65 m (12 ft) away from the wheel and tire assembly.
d. Inflate tire using the remote valve and tire gauge until the beads have seated or until the pressure gauge is 138 kPa (20 psi) more than
maximum inflation pressure on tire sidewall. If beads have not seated, deflate the tire and proceed to the next step.
e. Place the wheel and tire assembly in an OSHA approved tire safety cage.