
Tribute DX 4WD V6-3.0L DOHC (2002)
seat in the side air bag to floor connector.
NOTE: After diagnosing/repairing a seat system the restraint system WDS or equivalent Tester must be removed before operating the vehicle.
NOTE: A repair is made by installing a new part only. If a new part is installed and the new pan does not correct the condition, install the original part
and carry out the diagnostic procedure again.
NOTE: If a side air bag deployment took place, a new seatback pad, trim cover, and side air bag module must be installed. A new seatback frame
should be installed if necessary.
All vehicles
1. Position the front seats forward.
2. Disconnect the battery ground cable and wait at least one minute. For additional information, refer to BATTERY DISCONNECT.
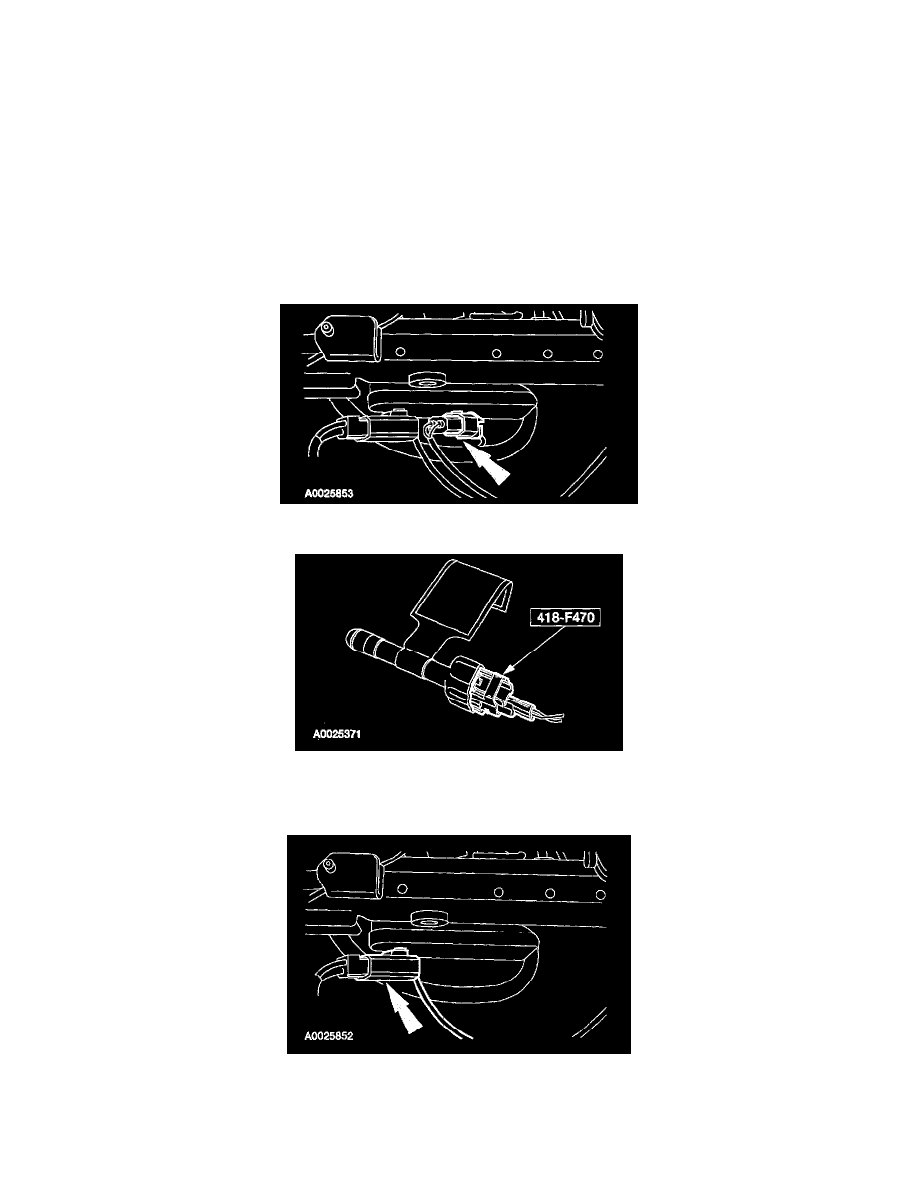
Vehicles with side air bag
3. Disconnect the passenger seat side air bag module electrical connector.
4. Connect the special tool to the passenger seat side air bag module body harness electrical connector.
All vehicles
5. Disconnect the passenger seat safety belt pretensioner electrical connector.