
Tribute DX 4WD V6-3.0L DOHC (2002)
12. Using the special tool, distance the windshield glass from the body.
13. Using the special tool, cut the remaining urethane adhesive and remove the windshield glass.
14. Using a soft brush or vacuum, remove any foreign material or dirt from the pinch weld.
Installation
CAUTION: After installing the urethane installed glass, the vehicle should not be driven until the urethane adhesive has cured. The curing tlme8 at
temperatures above 13 °C (55 °F) and relative humidity above 50% is 12 - 24 hours (Refer to the cure times as temperatures and humidity vary.).
Inadequate curing of the urethane adhesive may adversely affect the strength of the urethane bond.
1. Dry fit the windshield glass, making alignment marks with tape or non-staining grease pencil.
CAUTION: Do not scratch the pinch weld area.
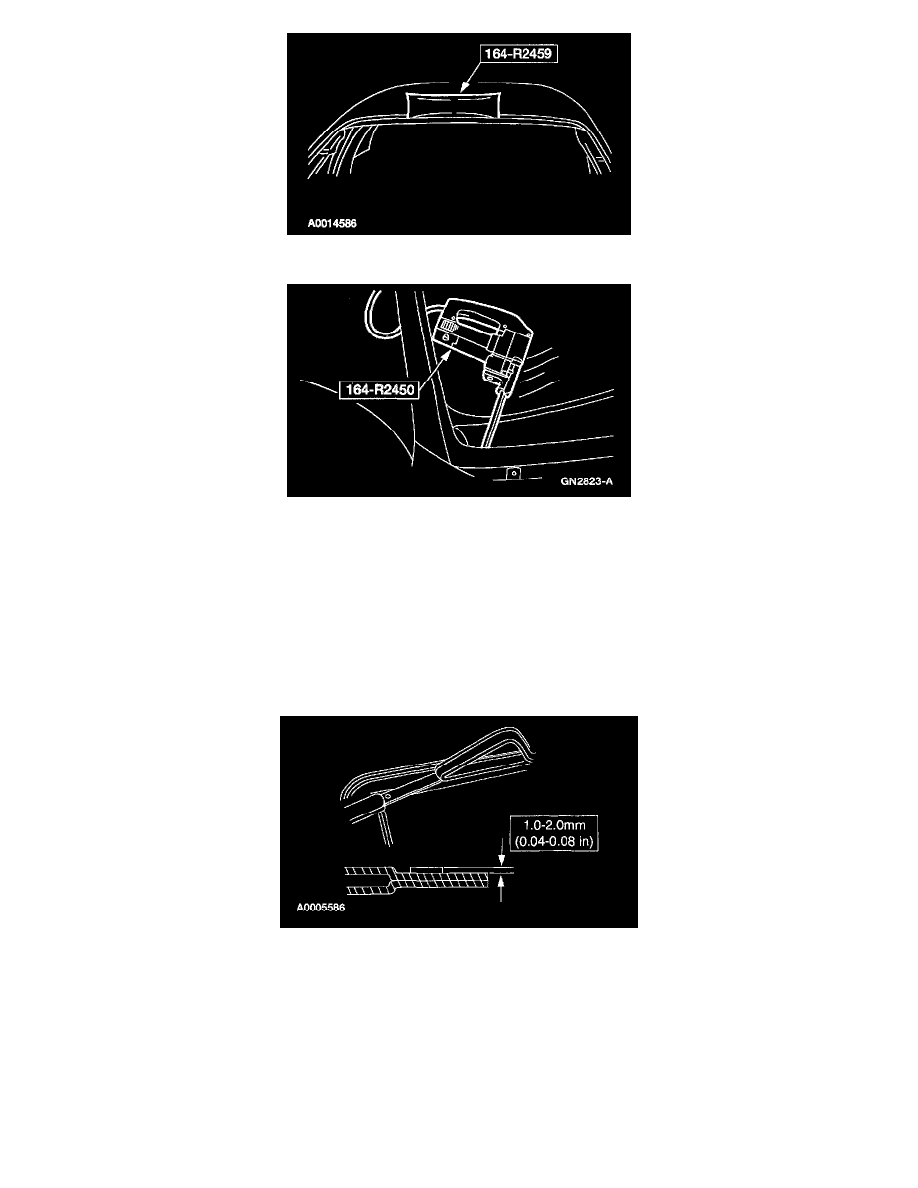
2. Trim the remaining urethane adhesive on the pinch weld to within the specification.
-
The existing urethane adhesive surface should be smooth and free of cuts and contamination.
3. Use a wool applicator to apply Urethane Metal Primer Essex U-413 to any exposed metal on the pinch weld. Allow 6 to 10 minutes to dry.
4. If reinstalling the original windshield glass, remove the excess urethane adhesive and the windshield moulding.
5. Clean the inside of the windshield glass surface with an alcohol-free cleaner making sure the ceramic coated area is clean
NOTE: Wipe off the glass prep immediately after each application because it flash dries.
6. If installing a new windshield glass, apply Urethane Glass Prep Essex U-401 twice around the glass surface to be urethaned.