
Tribute LX 2WD V6-3.0L DOHC (2001)
b. Reposition the subframe to center the locating pins so there is no longer contact with any edge of the locating hole.
NOTE:
THE PINS ARE MORE LIKELY TO CONTACT THE REARWARD SIDE OF THE HOLES. THEREFORE, THE SUBFRAME
ASSEMBLY WILL MOST LIKELY NEED TO BE MOVED FORWARD IN VEHICLE.
c. Tighten the front subframe front nuts. Refer to M53 online instructions or Workshop Manual (section 09-10 SUBFRAME - REAR,
REMOVAL/INSTALLATION).
NOTE:
WHEN INSTALLING THE FRONT SUBFRAME REAR BOLTS, ENSURE BOTH FRONT SUB- FRAME REAR BOLTS ARE FULLY
ENGAGED IN THEIR CAGE NUTS BEFORE TIGHTENING TO SPECIFICATION.
d. Tighten the front subframe rear attachment bolts. Refer to M53 online instructions or Workshop Manual (section 09-10 SUBFRAME - REAR,
REMOVAL/INSTALLATION).
e. Adjust front caster, camber, and toe. Refer to M53 online or Workshop Manual (section 02-11 CAMBER AND CASTER ADJUSTMENT) and
(section 02-11 FRONT TOE ADJUSTMENT).
Creak/Squeak Noise From Rear:
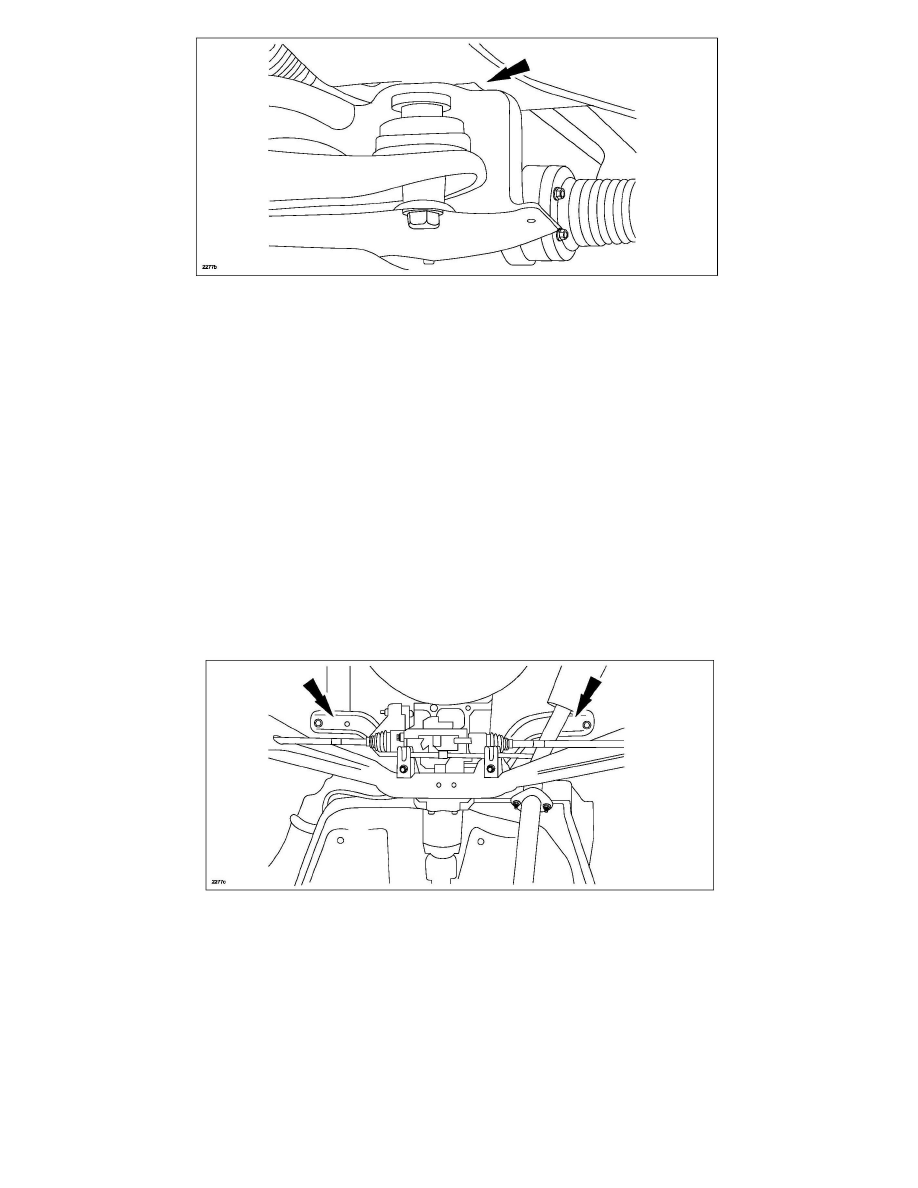
1. Attach chassis ears to the areas indicated. Can the noise be isolated to one or both of these specific locations?
a. No - Do not continue with this procedure. Proceed to MS3 online or Workshop Manual (section 02-01 SYMPTOM TROUBLESHOOTING
CHART - NOISE, VIBRATION AND HARSHNESS (NVH)).
b. Yes - Proceed to Step 2.
2. Suspect the subframe locating pins are contacting the locating holes of the vehicle body.
a. Loosen the four (4) rear subframe bolts.