
Tribute LX 2WD V6-3.0L DOHC (2001)
CAUTION:
^
DO NOT use any type of flame torch or flame heated soldering gun for this procedure. Testing indicated inadequate heat generation at the
tip and the exhaust heat can cause damage to plastic trim parts in the area.
^
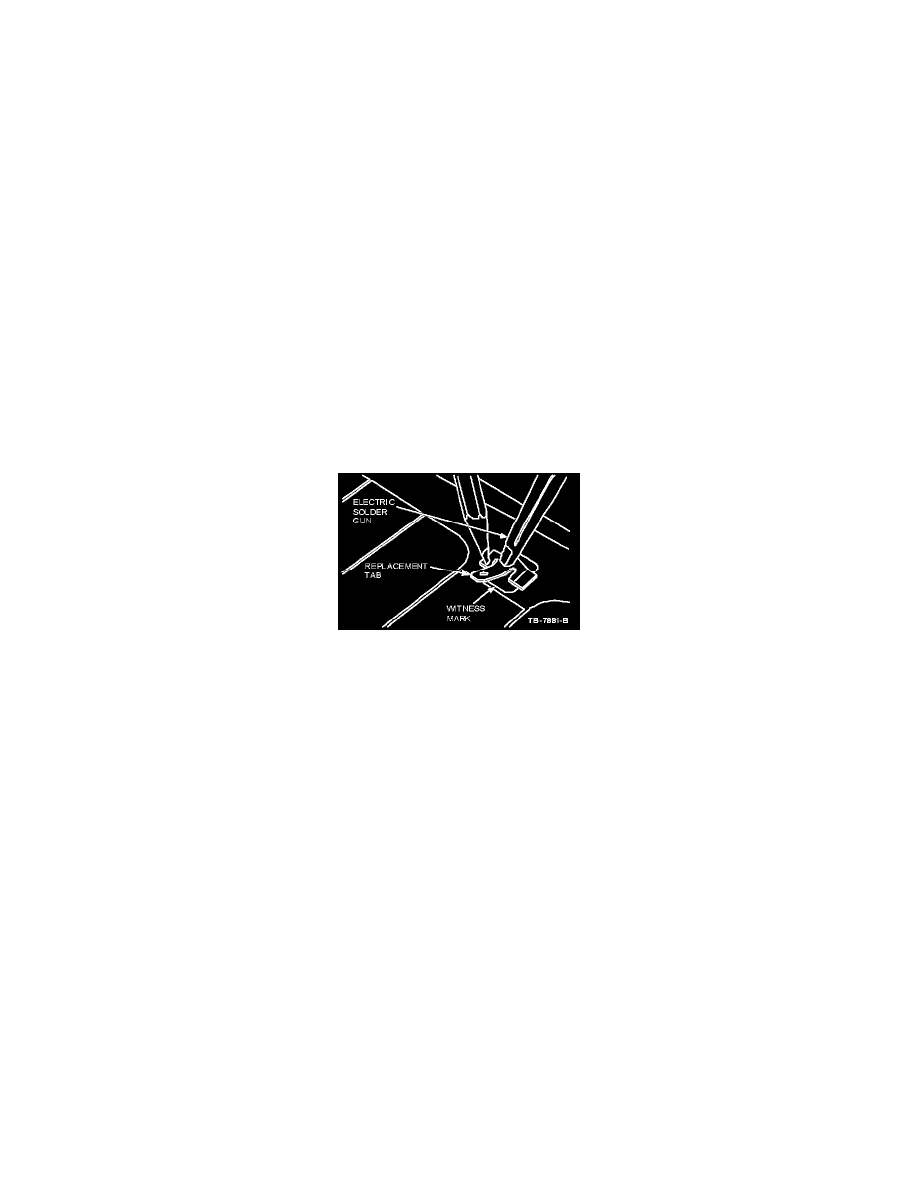
Use only an electric soldering gun with 100 watts or more of power. Before using the soldering gun, be sure to melt a small amount of resin
core solder to the tip. The solder will assist in achieving better heat transfer from the soldering gun tip to the new terminal.
NOTE:
The new terminal has pre-applied solder, flux and temperature sensitive paint. The paint provides a visual indication when the terminal has
reached the proper temperature to melt the solder on the terminal. When the proper temperature is achieved the temperature paint will liquefy
and change color. Use terminal shown below.
1.
Bring vehicle inside and warm it to 60 F (16 C) or above.
NOTE:
The rear window must be at a minimum of 60 F (16 C) before a repair is made. Place protective covering over the rear cargo area and rear
bumper as necessary.
2.
Place the replacement terminal over the original tab location making sure the conductive areas of the terminal makes good contact with a
conductive material.
NOTE:
The replacement tab location should cover the original tab location but still allow the replacement tab to make good contact with a conductive
material.
3.
Hold the terminal in place with an item such as regular lead pencil at a 90 degree angle from the terminal. (Holding at other than a 90-degree angle
may allow the terminal to slip when the solder liquefies).
4.
Place the soldering gun tip on the top of the terminal but not on the painted areas of the tab. Energize the soldering gun and watch for the painted
area of the terminal to liquefy and change color.
NOTE:
^
The paint should liquefy in approximately 25-45 seconds after heating.
^
As soon as the paint color completely changes on either side of the terminal, de-energize the soldering gun and continue to hold the terminal in
place with the soldering gun and pencil for an additional thirty (30) seconds.
5.
Remove the soldering gun and pencil from the terminal. The terminal should be allowed to cool for another two (2) minutes before the wiring lead
is attached to the terminal.
6.
Attach the electrical connector to this terminal, turn on the rear defroster, and verify operation.