
Capri L4-1597cc 1.6L DOHC (1992)
Raise The Staked Portion Of The Locknut
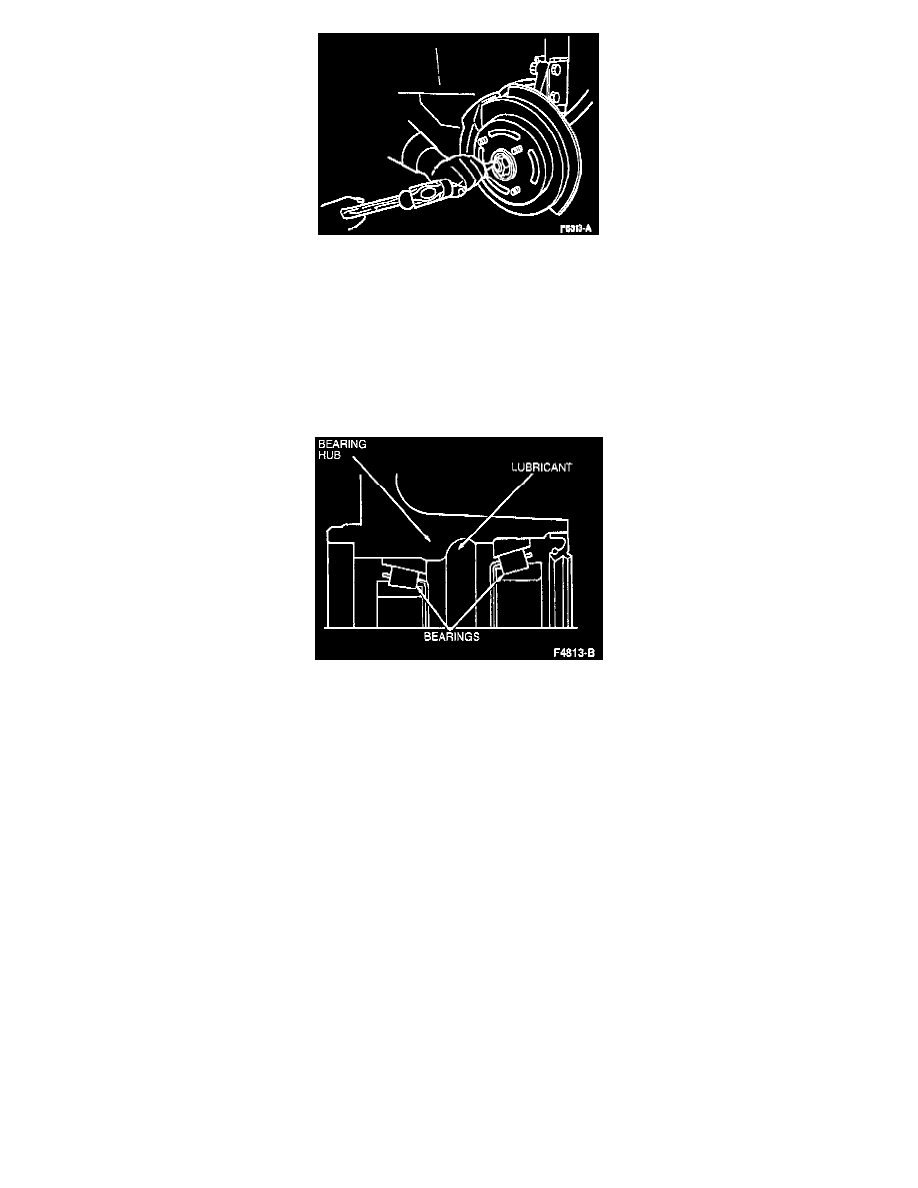
6. Carefully raise the staked portion of the locknut using a small cape chisel.
7. Remove and discard the locknut.
NOTE: The locknuts are threaded LEFT and RIGHT. The LEFT HAND threaded locknut is located on the RIGHT HAND side of the vehicle.
Turn this locknut CLOCKWISE to LOOSEN. The RIGHT HAND threaded locknut is turned COUNTERCLOCKWISE to LOOSEN.
8. Remove washer and outer bearing from the bearing hub.
9. Remove the brake rotor/bearing hub assembly.
Check Hub And Bearings For Lubricant
Installation
1. Make sure the bearings and hub area contain adequate lubricant. If necessary, add Premium Long Life Grease C1AZ-19590-E (ESA-M1C75-B) or
equivalent.
2. Position the brake rotor/bearing hub assembly on the spindle.
CAUTION: Keep the hub centered on the spindle to prevent damage to the grease seal and spindle threads.
3. Install the outer bearing, washer and a new locknut.
4. Adjust the bearing preload as outlined.
5. Install the grease cap.
6. Install the wheel and tire assembly.
7. Lower vehicle.
8. Tighten wheel lug nuts to 90-120 N.m(67-88 lb-ft).
Grease Seal/Bearings
Tool(s) Required:
Description and Tool Number
Seal Replacer ... T87C-1175-A
Removal
1. Remove the brake rotor/bearing hub assembly.
2. Remove the bearing grease seal using a large screwdriver. Discard the seal.
3. Remove the inner bearing from the bearing hub.
NOTE: If the bearings are to be reused, they should be tagged so that they can be installed in their original positions.