
Capri L4-1597cc 1.6L DOHC (1992)
INSTALLATION
1.
Apply an even thin film of Silicone Dielectric Compound to ignitor module mounting face.
2.
Position module and install two retaining screws.
3.
Connect wiring connectors.
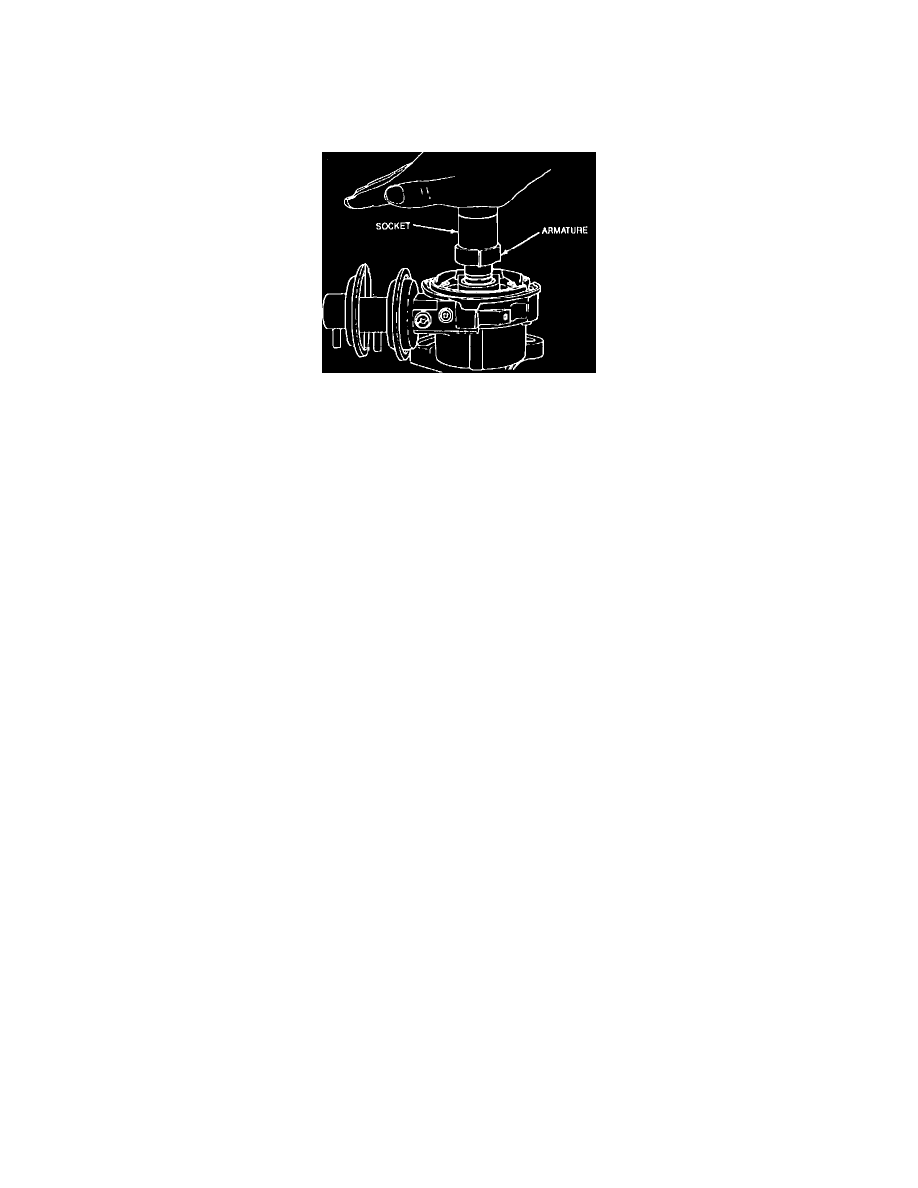
Armature Installation
4.
Using a socket and the palm of your hand, press armature and pin onto upper shaft until it bottoms against shoulder of upper shaft.
5.
Connect module leads in positions noted during disassembly.
6.
Install radio noise suppressor and pick-up unit.
7.
Install dust cover.
8.
Set rotor to position noted during removal. Lubricate O-ring seal with engine oil.
NOTE: If crankshaft is turned while distributor is removed, rotor position noted during removal can no longer be used to correctly time
distributor to camshaft. Distributor drive tang is off-set to allow only one installation position. Insert distributor and rotate rotor until drive tang
falls into slot of camshaft.
9.
Install distributor on rear of cylinder head and align scribe marks.
10.
Install two distributor hold-down bolts.
11.
Install distributor cap and tighten two retaining screws.
12.
Connect coil wire to distributor cap.
13.
Connect electrical connectors.
14.
Connect vacuum hoses to vacuum control unit.
15.
Connect negative battery cable.
16.
Start engine, check and adjust ignition timing as necessary.