
Capri L4-1597cc 1.6L DOHC Turbo (1991)
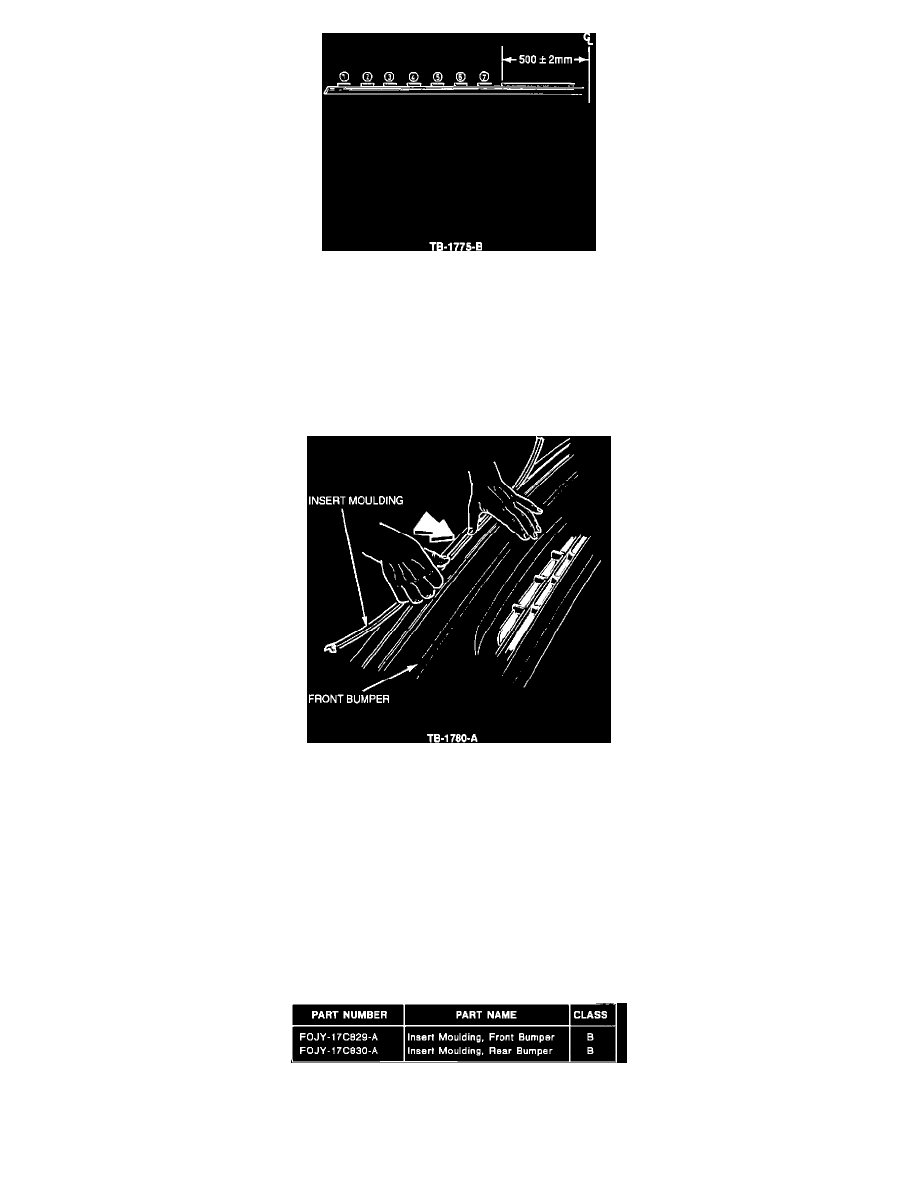
Figure 6
INSTALLATION
1.
Place the replacement insert moulding centrally on the bumper, Figure 6.
NOTE:
MAKE SURE THAT THE DIMENSION BETWEEN POINT A AND THE CENTER LINE OF THE MOULDING IS 500 +/- 2.0 MM.
2.
Put the moulding into the retaining groove and press firmly until fully installed.
Figure 7
3.
Route the insert to the bumper ends, engaging the retaining tabs into the apertures, Figure 7.
4.
Pull the insert toward the bumper end and insert the wedges as done previously.
5.
Inspect the insert moulding to be sure it does not contact the bumper inner flange.
6.
Trim the moulding to clear the flange as required.
7.
Install the bumper side retaining screws.
Misc. Information
OTHER APPLICABLE ARTICLES: None
WARRANTY STATUS:
Eligible Under Basic Warranty Coverage
OPERATION DESCRIPTION
TIME
902204A
Front Bumper Insert -
0.4 Hr.