
Capri L4-1597cc DOHC Turbo (1991) Cooling System Temperature Gauge
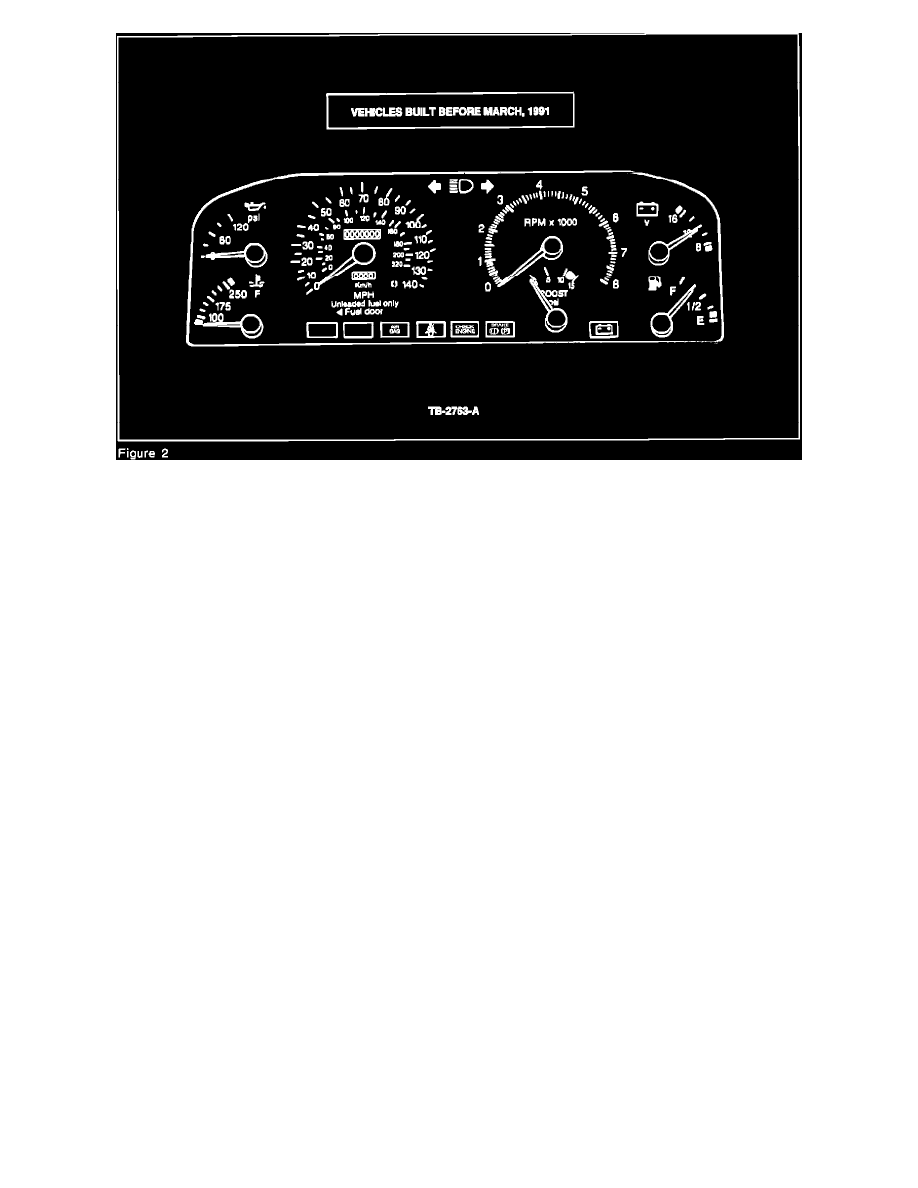
VEHICLES BUILT BEFORE MARCH 1991 HAVE NUMERIC GRAPHICS ON THEIR GAUGES (SEE FIGURE 2) AND THEREFORE,
INSTALLATION OF A NEW TEMPERATURE/OIL PRESSURE GAUGE ASSEMBLY WILL ALSO REQUIRE REPLACEMENT OF THE
VOLT/FUEL GAUGE ASSEMBLY (FOJY-9305-B) IN ORDER FOR ALL GAUGES TO HAVE MATCHING GRAPHICS. (SEE FIGURE 1).
TURBO AND NON-TURBO VEHICLES USE THE SAME TEMPERATURE/OIL AND VOLT/FUEL GAUGES.
SERVICE PROCEDURE
CAUTION:
TO ENSURE PROPER OPERATION OF THE GAUGE, REPLACEMENT SHOULD BE PERFORMED IN A DUST FREE ENVIRONMENT.
ALWAYS WEAR GLOVES TO PREVENT PUTTING FINGER PRINTS ON THE INSTRUMENT CLUSTER.
REMOVAL - TEMPERATURE/OIL PRESSURE GAUGE ASSEMBLY:
1.
Remove the instrument cluster as outlined on page 13-01-9 of the 1992 Capri Service Manual.
2.
Push down the eight (8) clips located at the top and bottom of the instrument cluster, remove the front cover from the housing.
3.
Remove the six (6) screws from the backside of the housing which attach the Temperature/Oil pressure gauge assembly.
4.
Slightly lift the front facia of the speedometer and remove the Temperature/Oil pressure gauge assembly.
INSTALLATION - TEMPERATURE/OIL PRESSURE GAUGE ASSEMBLY: