
Capri L4-1597cc 1.6L DOHC Turbo (1991)
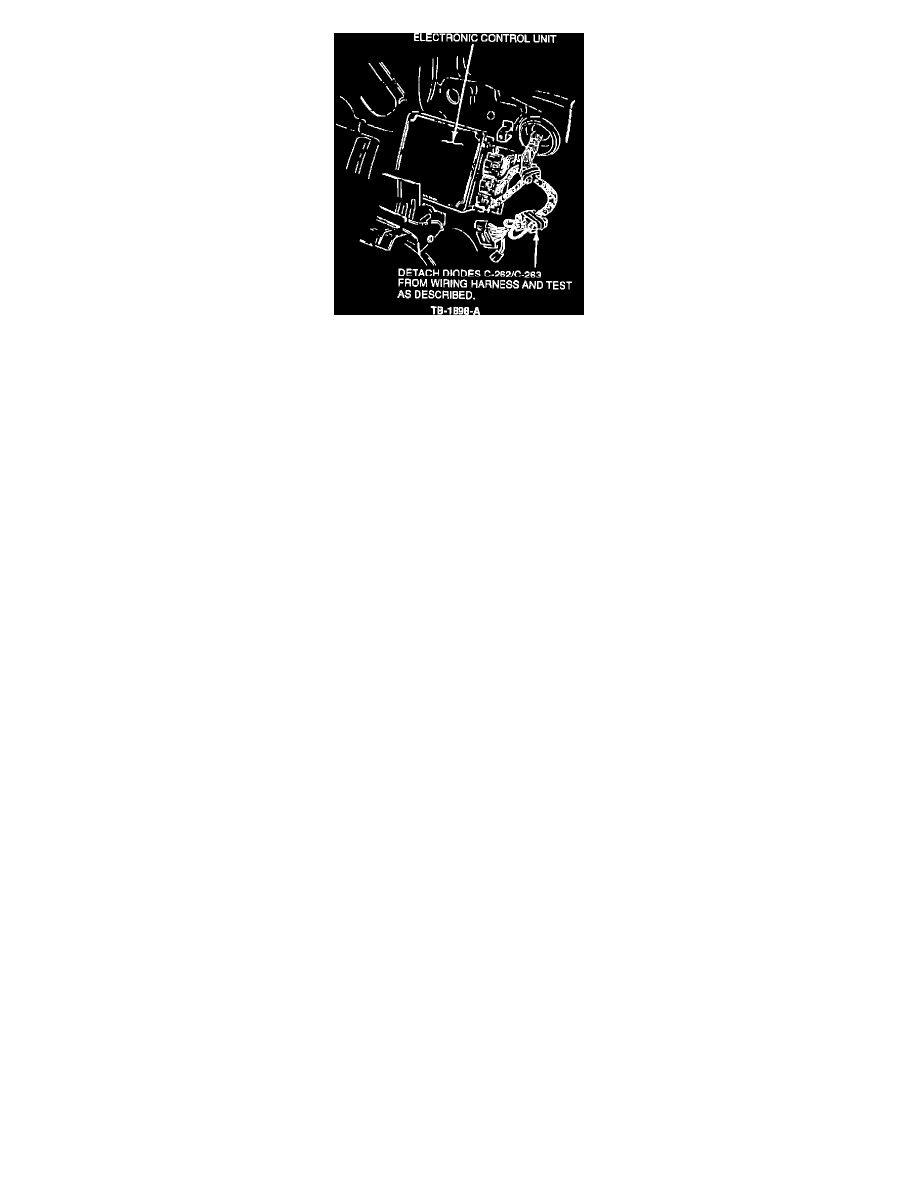
Figure 2
REMOVAL
1.
Disconnect the battery.
2.
Disconnect the wiring connectors from the front of the fuse panel.
a.
Remove the the fuse panel retaining nuts.
b.
Move the fuse panel to access the main wiring harness.
3.
Unwrap the electrical insulation tape holding the diode to the main wiring harness.
4.
Disconnect the diode from the two pole wiring connectors. There are two (2) types of diode assemblies used...
^
A grey rectangular moulded plastic assembly. This diode does not have a connector locking feature and may be separated from the wiring
connector by gently pulling the diode assembly out of the connector.
^
A blue rectangular moulded plastic assembly. This diode has a connector locking feature which must be depressed to allow the diode
assembly to detach from the wiring connector.
5.
Use an ohmmeter to be sure that the diode conducts current in one direction only.
NOTE:
IF THE DIODE IS SHORT CIRCUITED, IT WILL CONDUCT IN BOTH DIRECTIONS. IF THE DIODE IS OPEN CIRCUITED, IT
WILL NOT CONDUCT IN EITHER DIRECTION.
INSTALLATION
1.
Install the replacement diode assembly to the wiring connector.
2.
Attach the diode assembly to the main wiring harness using electrical tape or a cable tie. Be sure the diode is firmly held to prevent rattles, etc.
3.
Install the fuse panel and retaining hardware. Reconnect the wiring connectors.
4.
Connect the battery.
5.
Check the system by operating the engine. Make sure it stops when the ignition switch is turned off while the car doors are open.
Turbo Overboost Testing