Capri V8-302 5.0L (1982)

NOTE: Contact cement or equivalent is recommended to hold the seals and gaskets in position during assembly.
Coat the gasket surfaces of the block and cover with sealer or equivalent, and position a new gasket on the block.
7. Position the cylinder front cover on the cylinder block. Use care when installing the cover to avoid seal damage or possible gasket mis-location.
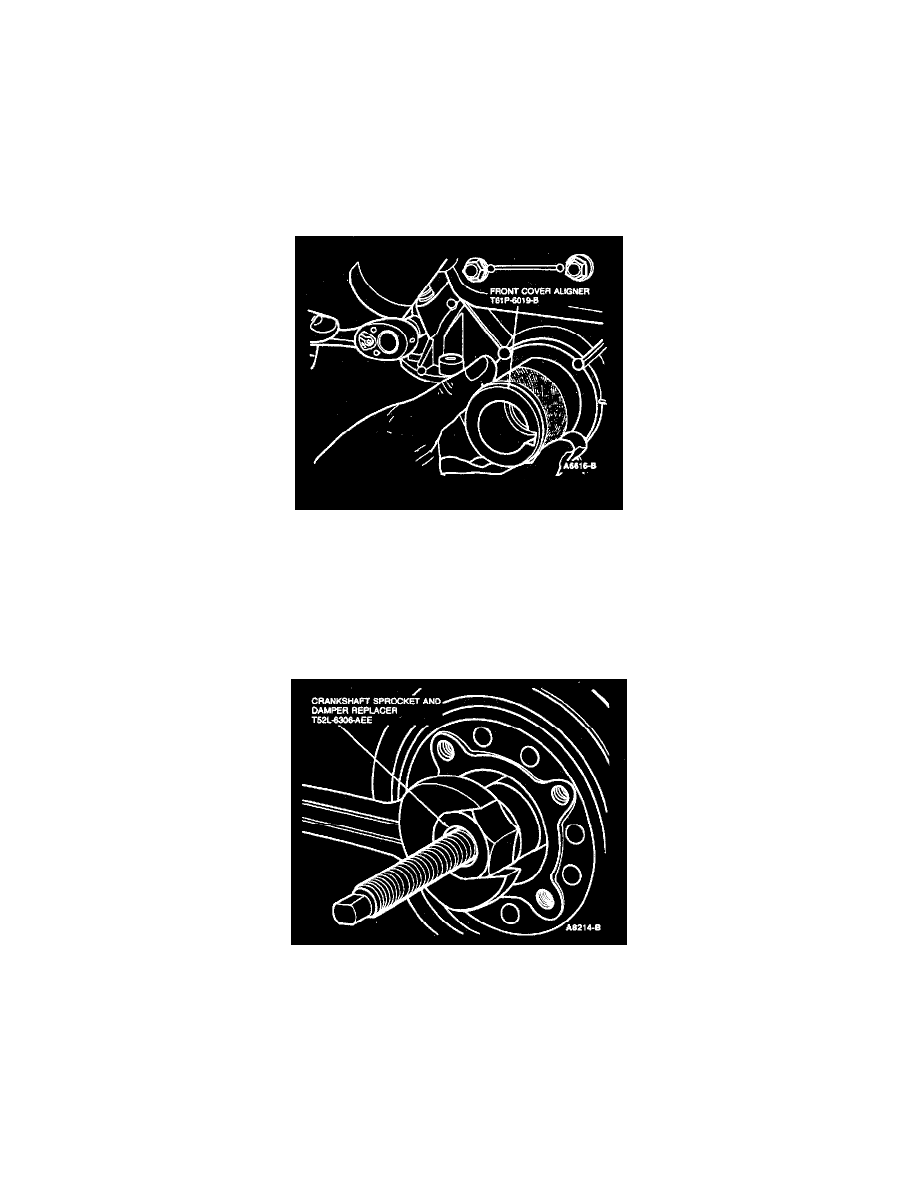
8. Install the cylinder front cover to seal alignment tool into proper position.
9. It may be necessary to force the cover downward to slightly compress the pan gasket. This operation can be facilitated by using a suitable tool at
the front cover attaching hole locations.
Timing Cover Aligner
10. Coat the threads of the attaching screws with oil resistant sealer or equivalent and install the screws. While pushing in on the alignment tool,
tighten the oil pan to cover attaching screws to 12-15 Nm (9-11 lb-ft) (Fig. 29). Tighten the cover to block attaching screws to specifications.
Remove the pilot.
11. Apply Ford polyethylene grease or equivalent to the oil seal rubbing surface of the vibration damper inner hub to prevent damage to the seal.
Apply a coating of Ford polyethylene grease or equivalent to the front of the crankshaft for damper installation.
Crankshaft Sprocket And Damper Replacer
12. Line up the crankshaft vibration damper keyway with the key on the crankshaft. Install the vibration damper on the crankshaft (Fig. 30). Install the
capscrew and washer. Tighten the screw to 95-122 Nm (70-90 lb-ft). Install the crankshaft pulley.
13. Install the fuel pump using a new gasket. Connect the fuel pump outlet line.
14. Connect the radiator hose, heater hose and water pump by pass hose at the water pump.
15. Install all the accessory brackets which attach to the water pump. Place the water pump pulley on the water pump shaft.
