Cougar V6-153 2.5L DOHC VIN L SFI (2001)

CAUTION: The A/C refrigerant Analyzer must be used before the recovery of any vehicle's A/C refrigerant. Failure to do so puts shop bulk refrigerant
at risk of contamination. If the vehicle A/C refrigerant is contaminated, refer the customer to return to the repair facility that performed the last A/C
repair. If the customer wishes to pay the additional cost, use the A/C recovery equipment that is designated for recovering contaminated A/C refrigerant.
All contaminated A/C refrigerant must be disposed of as hazardous waste. For all equipment, follow the equipment manufacturers procedures and
instructions.
1. Use R-134a A/C Refrigerant Center to evacuate and recover the A/C system.
-
Follow the equipment manufacture procedures and instructions for use of equipment.
NOTE: Ford Motor Company supports the efficient usage, recovery and recycling of the refrigerant used in passenger car, compact truck, and
light truck air conditioners. Ford recommends the use of a UL-approved recovery/recycling device such as R-134a A/C Refrigerant Center (which
meets SAE Standard J 1991) during any A/C system repair and recharge procedure which requires that the system be evacuated.
Tracer Dye Leak Detection
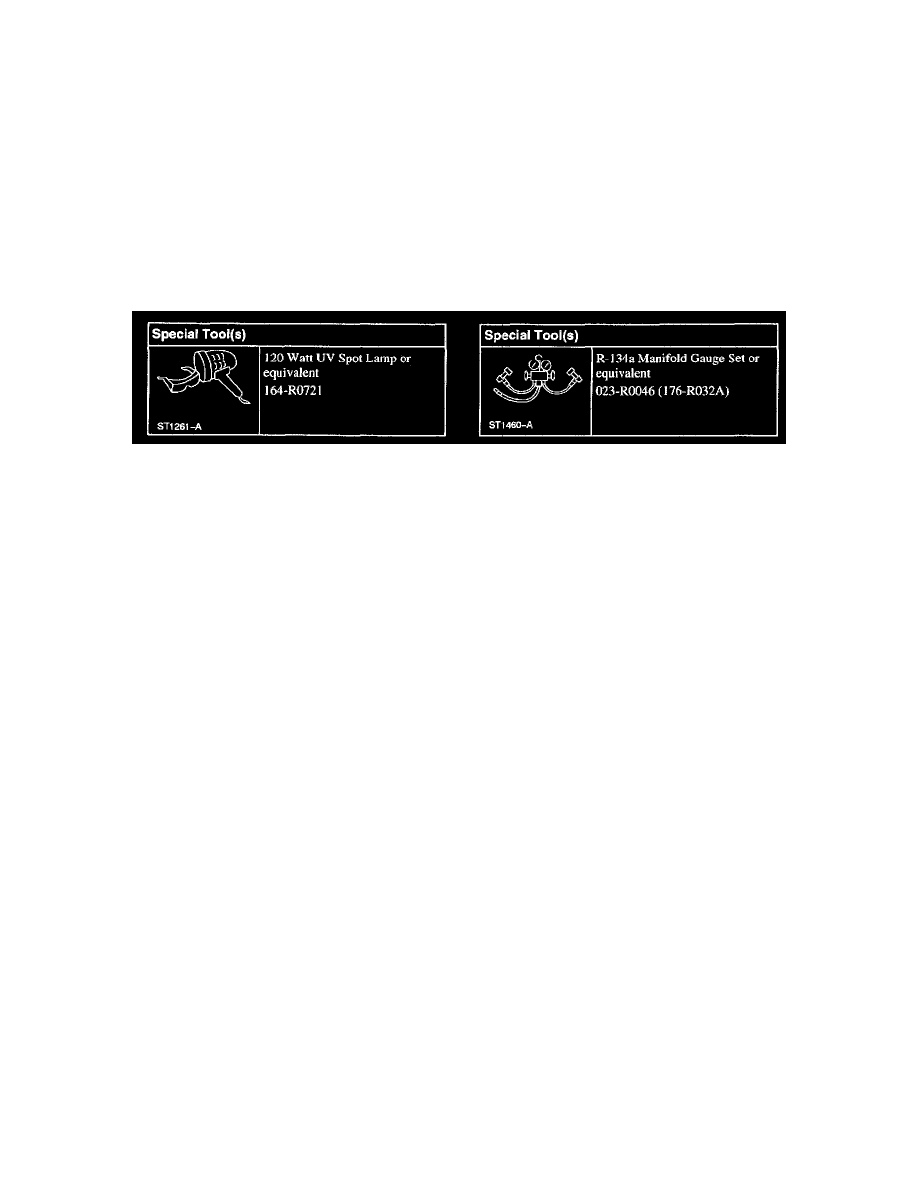
Special Tool(s)
SPECIAL TOOL(S)
NOTE:
-
Since 07/99 vehicles have a fluorescent tracer dye tablet inserted into the A/C system. If tracer dye is present, there is a green cross on the suction
accumulator.
-
If it is necessary to add tracer dye, use the dye injector. A/C systems require 7.4 ml (0.25 oz) of Fluoro-Light/P Fluorescent Tracer Dye.
-
Some vehicles may have signs of refrigerant oil at the spring lock couplers. This may be caused from the assembly process which applies to the
fittings before installation to aid in assembly. When a spring lock coupler is suspected of leaking, always wipe the fitting clean and verify the leak
with R-134a Automatic Calibration Halogen Leak Detector.
-
The exact location of leaks can be pinpointed by the bright yellow-green glow of the tracer dye. Since more than one leak may exist, always
inspect each component.
1. Check for leaks using a 120 Watt UV Spot Lamp. Always scan all components, fittings and lines of the A/C system.
2. After the leak is found and repaired, remove any traces of dye with a general purpose oil solvent.
3. Verify the repair by operating the system for some minutes and inspecting with the UV lamp again.
