
Cougar V6-153 2.5L DOHC VIN L SFI (2001)
5. Remove the rear window weatherstrips.
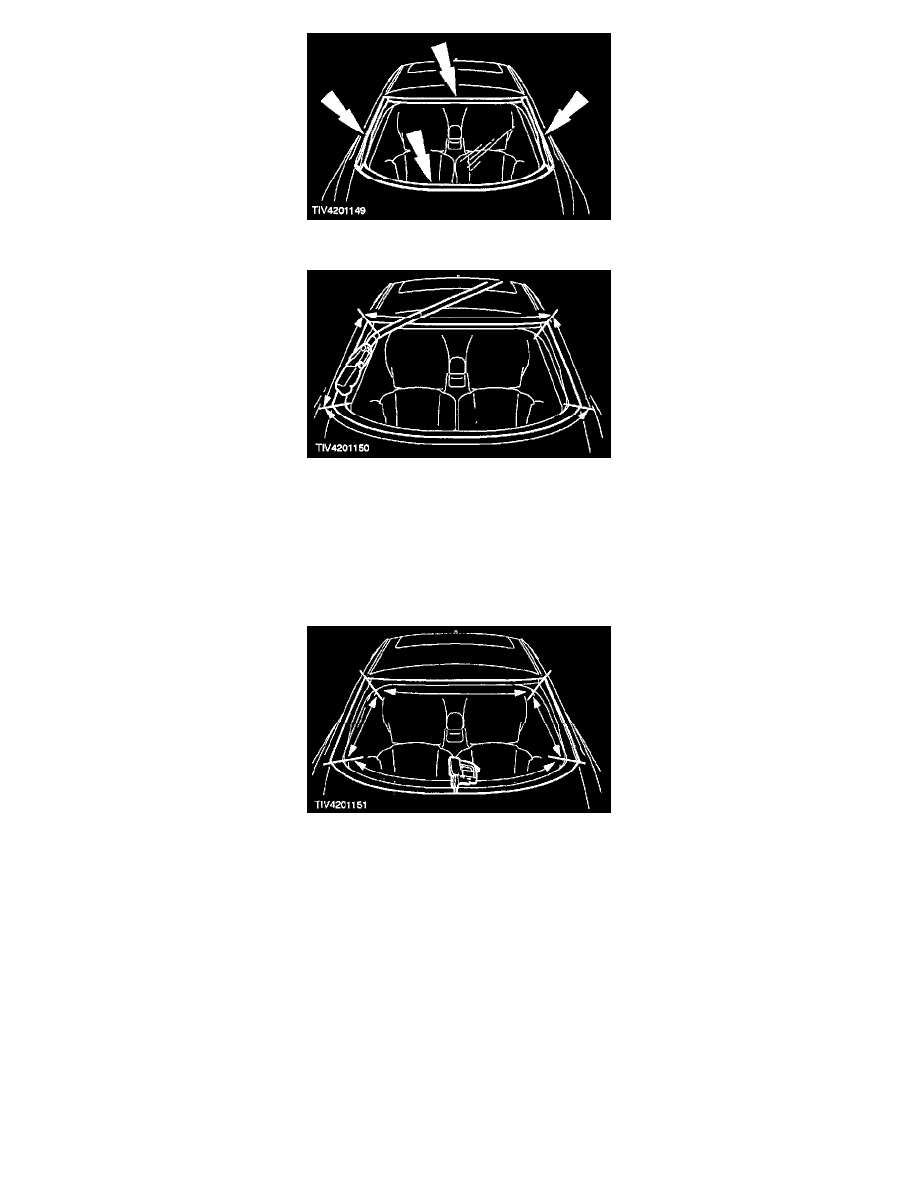
6. Cut around the rear window using the pneumatic knife fitted with a 24 mm hooked blade.
WARNING: WEAR GLOVES AND EYE PROTECTION WHEN WORKING WITH THE GLASS CUTTING TOOL AS THE
CUTTING OPERATION MAY PRODUCE SPLINTERS. WHEN USING THE CUTTER WEAR EAR PROTECTORS. FAILURE TO
FOLLOW THESE INSTRUCTIONS MAY RESULT IN PERSONAL INJURY.
NOTE: If the same rear window is to be re-installed, make sure the cutter blade is kept low when cutting in the area of the heated rear window
connectors.
7. Use the interior auto glass cut out knife to cut out the PU adhesive, using the four inch cutter blade.
WARNING: WEAR GLOVES AND EYE PROTECTION WHEN WORKING WITH THE GLASS CUTTING TOOL AS THE
CUTTING OPERATION MAY PRODUCE SPLINTERS. WHEN USING THE CUTTER WEAR EAR PROTECTORS. FAILURE TO
FOLLOW THESE INSTRUCTIONS MAY RESULT IN PERSONAL INJURY.
NOTE:
^
Lubricate the PU adhesive where it meets the glass with EC7784 lubricant or equivalent (10:1 ratio of water to soap) to aid Interior auto glass
cut-out knife kit, when cutting the PU adhesive.
^
If the same rear window is to be re-installed, make sure the cutter blade is kept low when cutting in the area of the heated rear window
connectors.