
Cougar/XR7 L4-140 2.3L SOHC Turbo (1983)
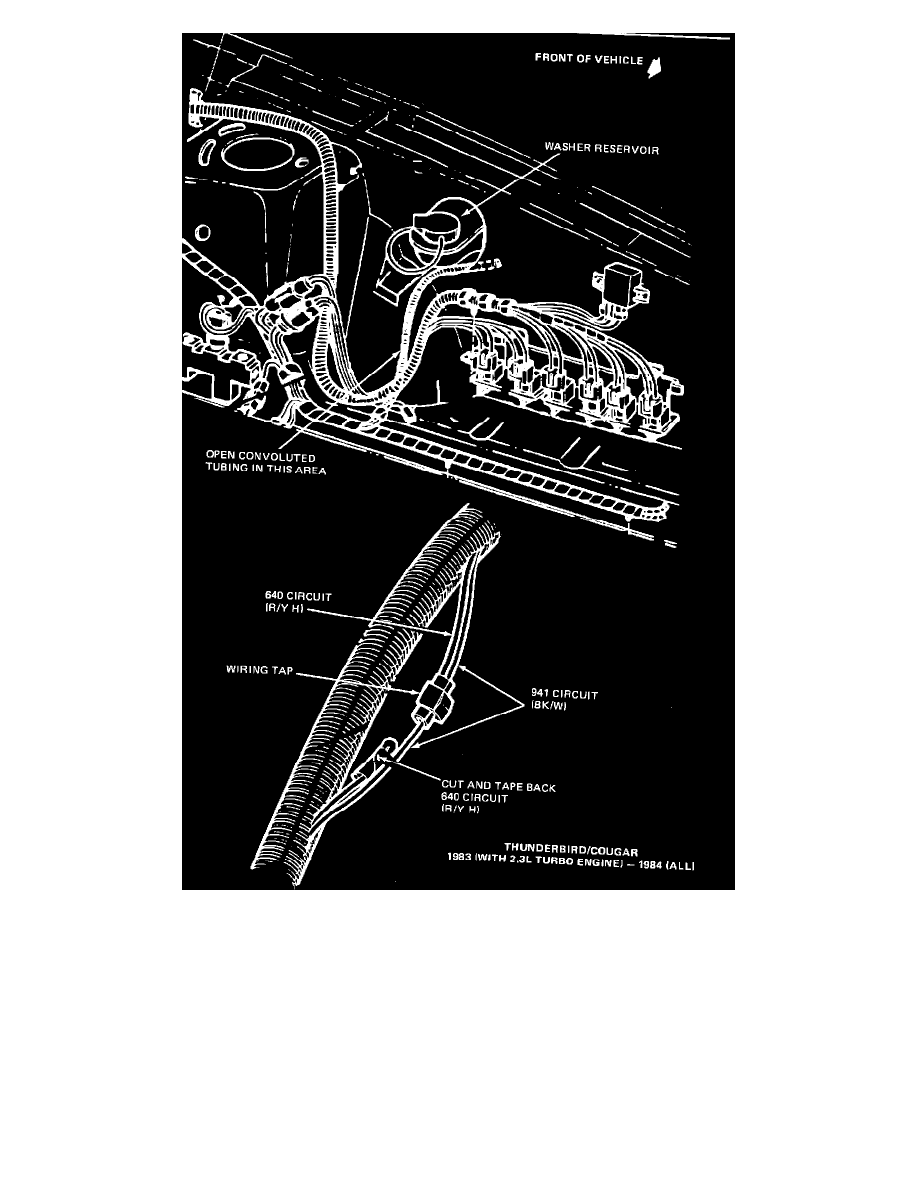
FIGURE 8
1983 (WITH 2.3L TURBO ENGINE) - 1984 (ALL)
1.
Open convoluted tubing in area as shown in Figure 8 and pull out the red/yellow hash (640 circuit) and the black/white stripe (941 circuit) wires.
2.
Cut the red/yellow hash wire and tape back the end coming from the power source (see Figure 8).
3.
Using a wiring tap (Part No. C7AZ-14487-B), take the remaining red/yellow hash wire and tap into the black/white stripe wire (see Figure 8).
4.
Cover the wiring tap completely with electrical tape and install wires back into the convoluted tubing.
NOTE:
The wiring tap will not completely fit into the convoluted tubing, therefore, cover the convoluted tubing in the area where the wiring
tap is protruding with electrical taps.
5.
To check the system, drain reservoir and activate the washer switch. The low fluid warning light should come on only when switch is activated.