
Cougar/XR7 V8-4.6L VIN W (1997)
4. Install clip to spring lock coupling.
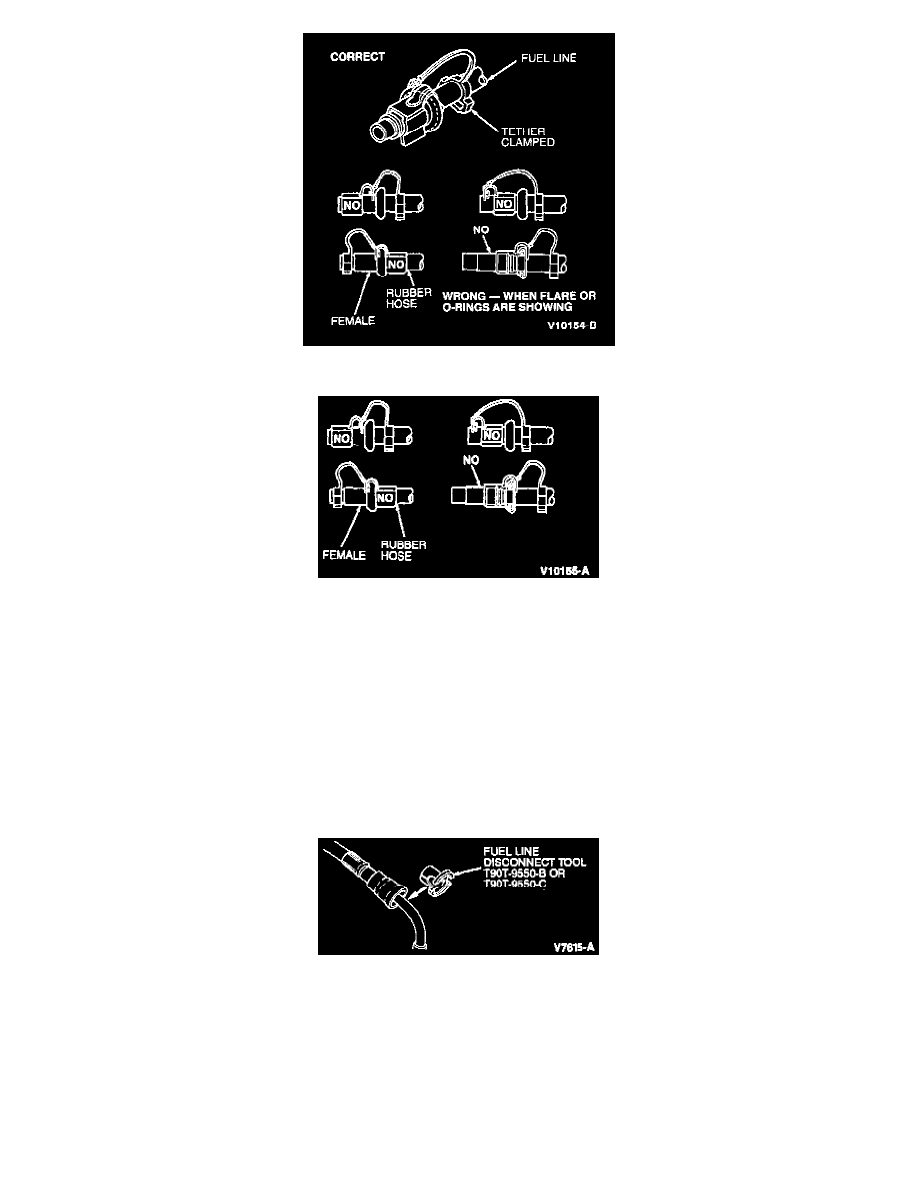
5. Make sure clip is correctly installed.
Push Connect Fitting
REMOVAL
1. Inspect visible internal portion of fitting for dirt accumulation. If more than a light coating of dust is present, clean the fitting before disassembly.
NOTE: This fitting consists of a body, spacers, O-rings and a retaining clip. The clip locks the fitting on to the fuel or vapor tube depending on
the application.
2. Some adhesion between the seals in the fitting and the tubes will occur with time. To separate, twist the fitting on the tube; then push and pull the
fitting until it moves freely on the tube.
NOTE: If necessary, drain fuel tank.
3. To disengage the tube from the fitting, snap the Fuel Line Disconnect Tool T9OT-9550-B 5/16-inch (gray) and T9OT-9550-C 3/8-inch (blue)
(Part of T9OT-9550-S) with either tab on the fuel tube to be disconnected. Push the disconnect tool into the connector to release the internal
locking fingers.
NOTE: Some fuel tubes have a secondary bead which aligns with the outer surface of the clip. These beads can make tool insertion difficult.