
Cougar/XR7 V8-4.6L VIN W (1997)
Extension Housing: Service and Repair
Removal
1. Disconnect the battery ground cable.
NOTE: When the battery has been disconnected or reconnected, some abnormal drive symptoms may occur while the Powertrain Control Module
(PCM) relearns its adaptive strategy. The vehicle may need to be driven 16 km (10 miles) or more to relearn the strategy.
2. Raise vehicle on a hoist.
3. Remove muffler inlet pipe and resonator.
4. Drain automatic transmission fluid.
5. Remove driveshaft.
6. Disconnect and remove the Vehicle Speed Sensor (VSS) from the extension housing.
7. Position a transmission jack under the transmission and raise it slightly.
8. Remove the engine rear support-to-crossmember bolts.
9. Remove the crossmember-to-frame side support retaining bolts and remove the engine and transmission support insulator and engine and
transmission support and engine damper mounting body bracket.
10. Lower the jack under the transmission and allow the transmission to hang.
11. Remove six extension housing bolts. Slide extension housing off output shaft. Remove and discard extension housing gasket.
NOTE: The extension housing bolts have been coated with a sealant. More break torque may be required to remove these bolts.
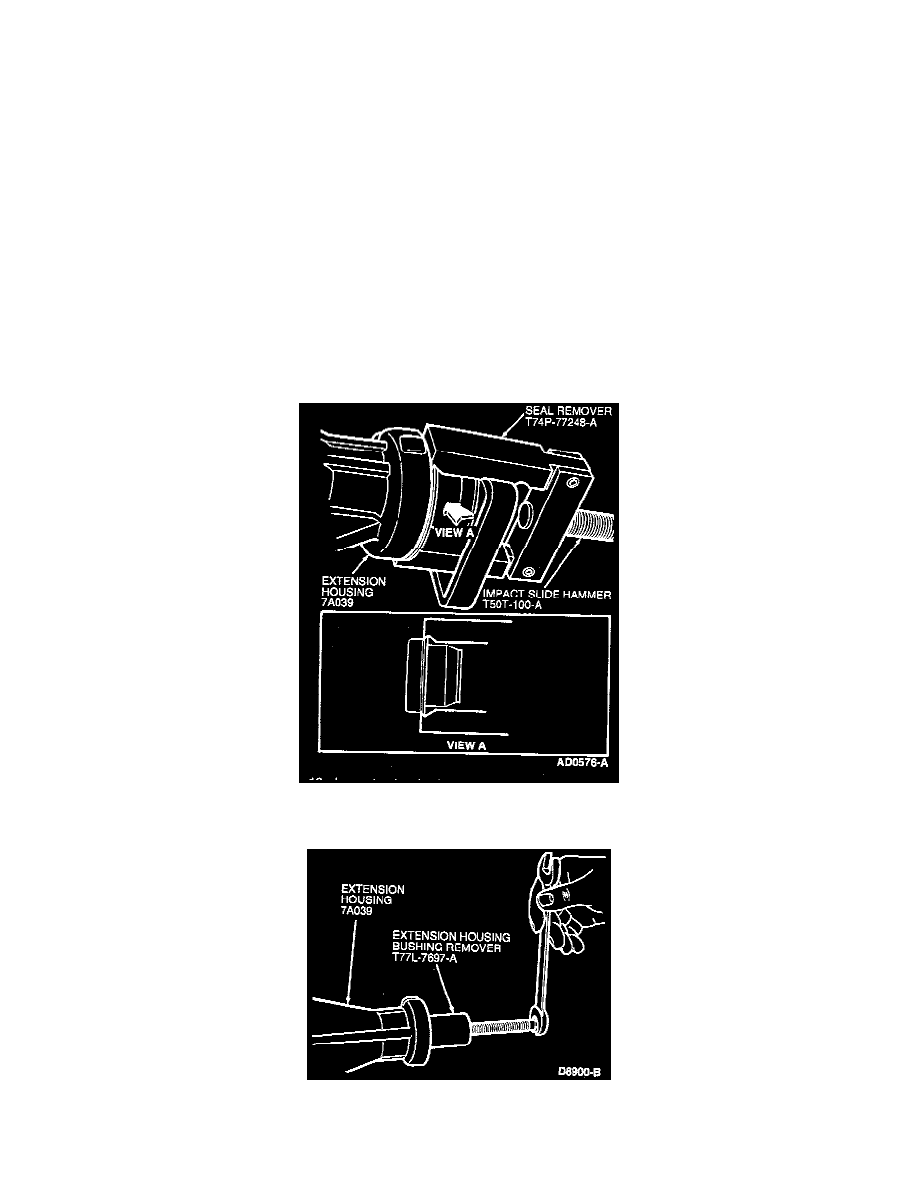
12. Remove extension housing seal using Seal Remover T74P-77248-A. Make sure seal remover lips are firmly seated under the flange on the
extension housing seal.
13. Inspect extension housing bushing. If necessary, remove extension housing bushing using Extension Housing Bushing Remover T77L-7697-A.