
Cougar/XR7 V8-4.6L VIN W (1997)
5. From rear of rear axle housing, install drive pinion assembly (drive pinion, drive pinion bearing adjustment shim), differential pinion bearing cone
and roller and differential drive pinion collapsible spacer) into the rear axle housing.
UNIVERSAL JOINT FLANGE INSTALLATION
1. Apply small amount of SAE 80W-90 Premium Rear Axle Lubricant XY-80W90-QL or -KL or equivalent meeting Ford specification WSP-M2C
197-A to rear axle universal joint flange splines.
2. Align mark on rear axle universal joint flange with mark on pinion shaft.
NOTE: If installing new rear axle universal joint flange, disregard mark on pinion stem.
3. With drive pinion in place in rear axle housing install rear axle universal joint flange using Companion Flange Replacer TOOL-4858-E or
equivalent.
CAUTION: The rear axle universal joint flange must never be hammered on or installed with power tools.
4. Install new pinion nut on pinion shaft (apply small amount of SAE 80W-90 Premium Rear Axle Lubricant XY-80W90-QL or -KL or equivalent
meeting Ford specification WSP-M2C 197-A on washer side of nut).
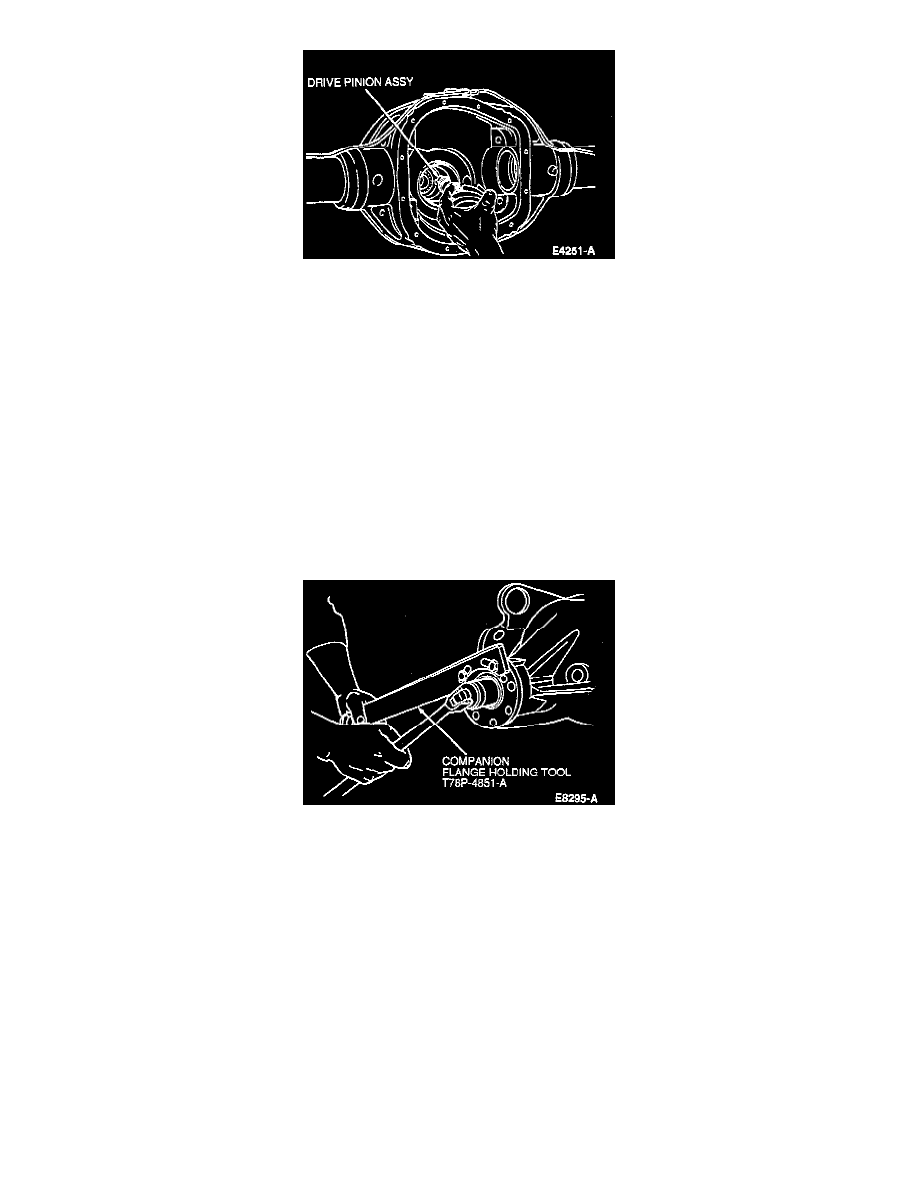
5. Hold rear axle universal joint flange with Companion Flange Holding Tool T78P-4851-A while tightening nut.
6. Tighten pinion nut. Rotate pinion occasionally to make sure differential pinion bearing seats properly. Take frequent differential pinion bearing
torque preload readings until original recorded preload reading is obtained.
NOTE: Never back off pinion nut to reduce preload. If reduced preload is required, install new differential drive pinion collapsible spacer and
pinion nut.
7. If the original recorded preload is less than specification, tighten used differential pinion bearings to 0.9-1.6 Nm (8-14 in. lbs.) and new
differential pinion bearings to 1.8-3.2 Nm (16-28 in. lbs.). If the preload is higher than specification, tighten to original reading as recorded.
DIFFERENTIAL CASE INSTALLATION
Perform Differential Case Installation procedure.
See: Differential Carrier/Service and Repair