
Grand Marquis V8-281 4.6L SOHC (1992)
7.
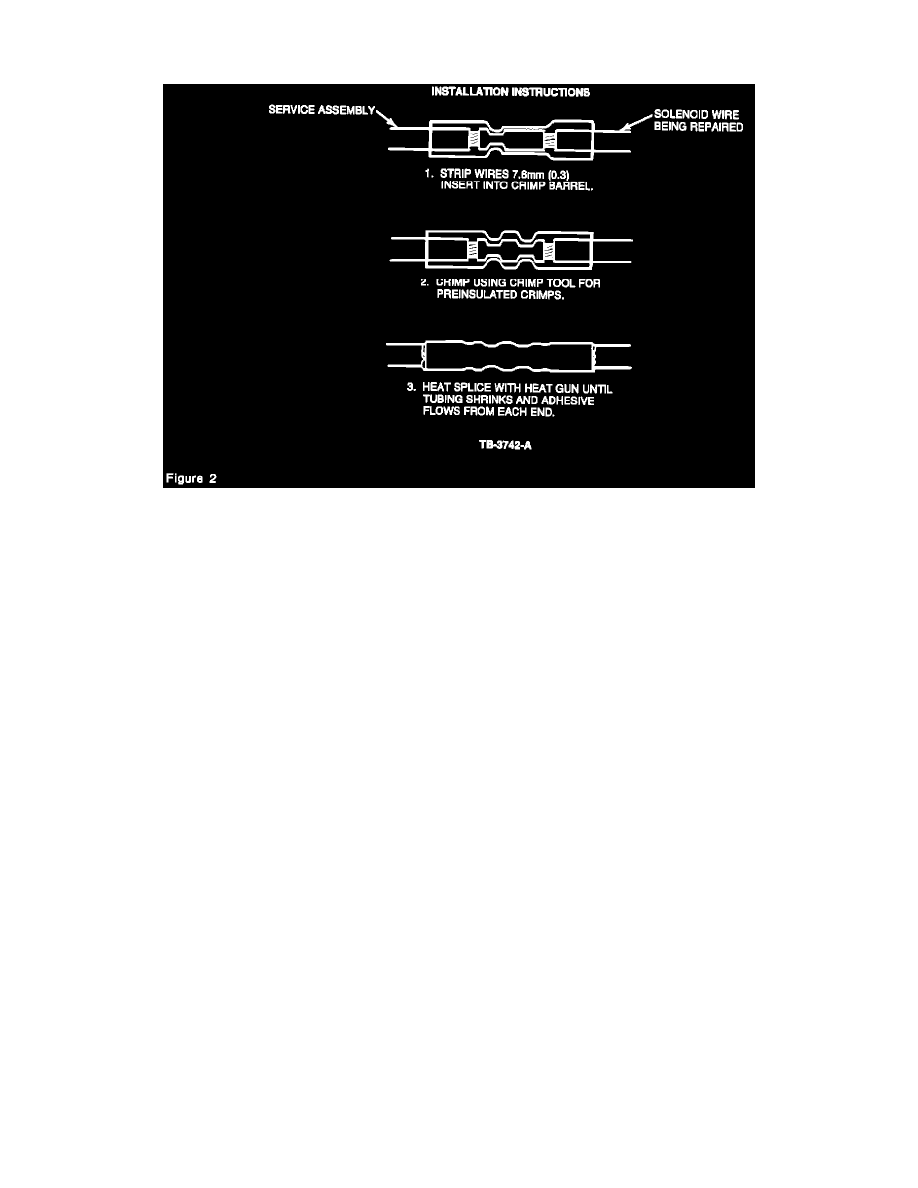
Strip wire 5/16" (8 mm).
8.
Insert wire into butt connector of Service Wire and Connector Assembly (F4VY-14A411-A) and crimp using tool for pre-insulated crimps. Figure
2.
9.
Heat splice with heat gun until tubing shrinks and adhesive flows from each end.
10.
Pull sleeving back over the splice and up to the back of the connector.
11.
Fully tape over the slit and wire up to the back of the connector.
12.
Replace harness retainer and tape it 6" (150 mm) from the end of the connector.
13.
Assemble connector to starter. Insert harness retainer into floating hole on battery cable.
14.
Install negative battery cable.
PART NUMBER
PART NAME
CLASS
F4VY-14A411-A
Wiring And Connector Assembly
AG
OTHER APPLICABLE ARTICLES: NONE
WARRANTY STATUS: Eligible Under The Provisions Of Bumper To Bumper Warranty Coverage
OPERATION DESCRIPTION
TIME
941803A
Repair Connection
0.6 Hr.
DEALER CODING
BASIC PART NO.
CONDITION CODE
14A411
X4
OASIS CODES: 201100, 203200, 601300