
Grand Marquis V8-281 4.6L SOHC (1992)
Front Door Window Regulator: Service and Repair
Window Operational
Caution: When servicing regulator assembly, regulator cable tension must not be altered. Cable tension is preset at production. Improper adjustment
may result in premature regulator failure or erratic operation.
Removal
1. Remove door armrest, door trim panel and watershield. See: Body and Frame/Doors, Hood and Trunk/Doors
2. Remove door glass.
3. Disconnect power motor wiring connector.
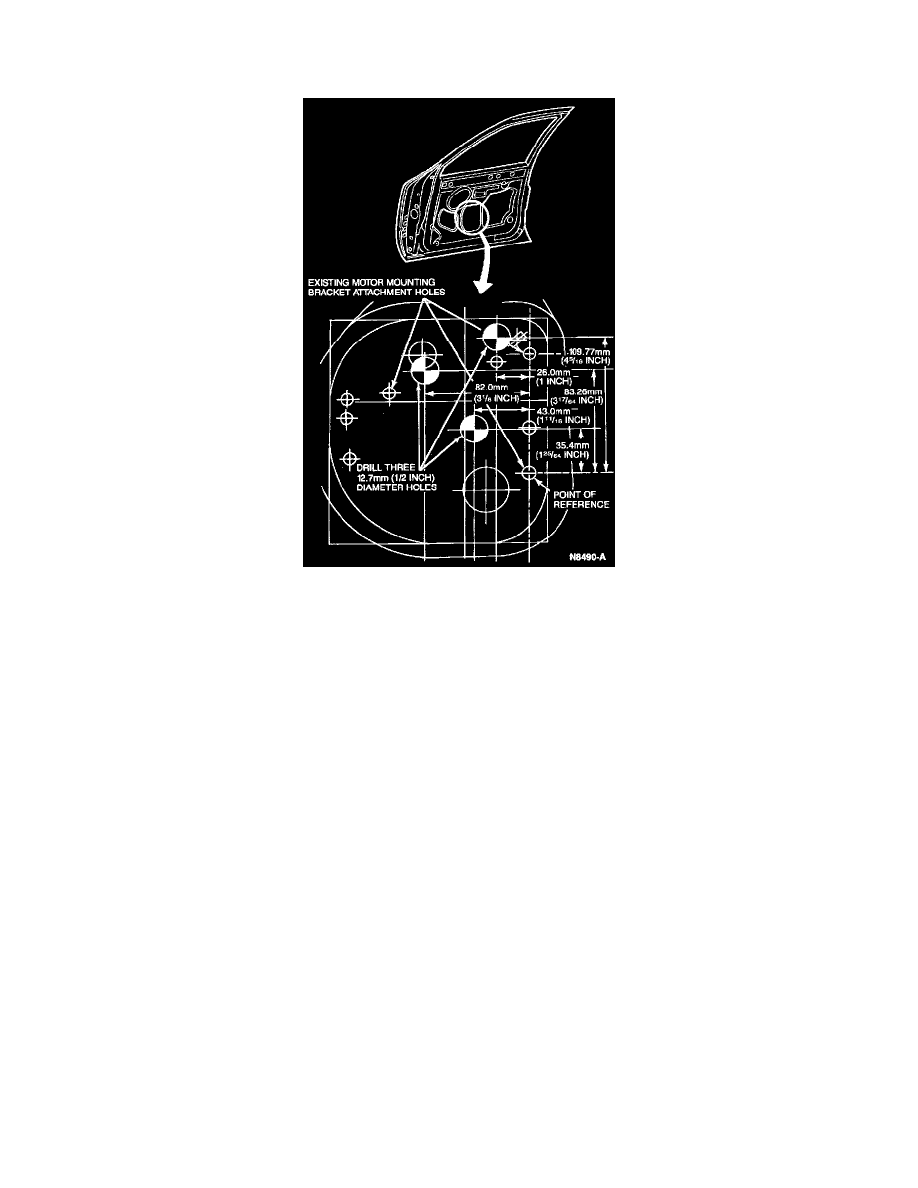
4. Remove three 1/4-inch rivets attaching motor bracket to inner panel and two 1/4-inch rivets attaching lower bracket of regulator to inner panel.
Use drift punch to knock out center pins for each rivet. Using a 1/4-inch diameter drill, drill out remainder of rivet. Use care not to enlarge sheet
metal holes in the door inner panel.
5. Remove two upper regulator retaining nuts.
6. Remove regulator from door.
Installation
1. Lubricate regulator mechanism with Teflon(r) Lubricant D2AZ-19590-A (ESB-M1C111-A) or equivalent.
2. Install regulator into access hole in inner panel.
3. Position regulator using upper regulator studs and tabs on motor mounting bracket.
4. Install rivets attaching regulator to door inner panel (1/4-20 X 1/2 inch screw and 1/4-20 nut and washer assemblies or equivalent metric fasteners
may be used as alternates).
5. Install two upper regulator retaining nuts.