Grand Marquis V8-302 5.0L VIN F TBI (1984)

Clutch Pulley Removal
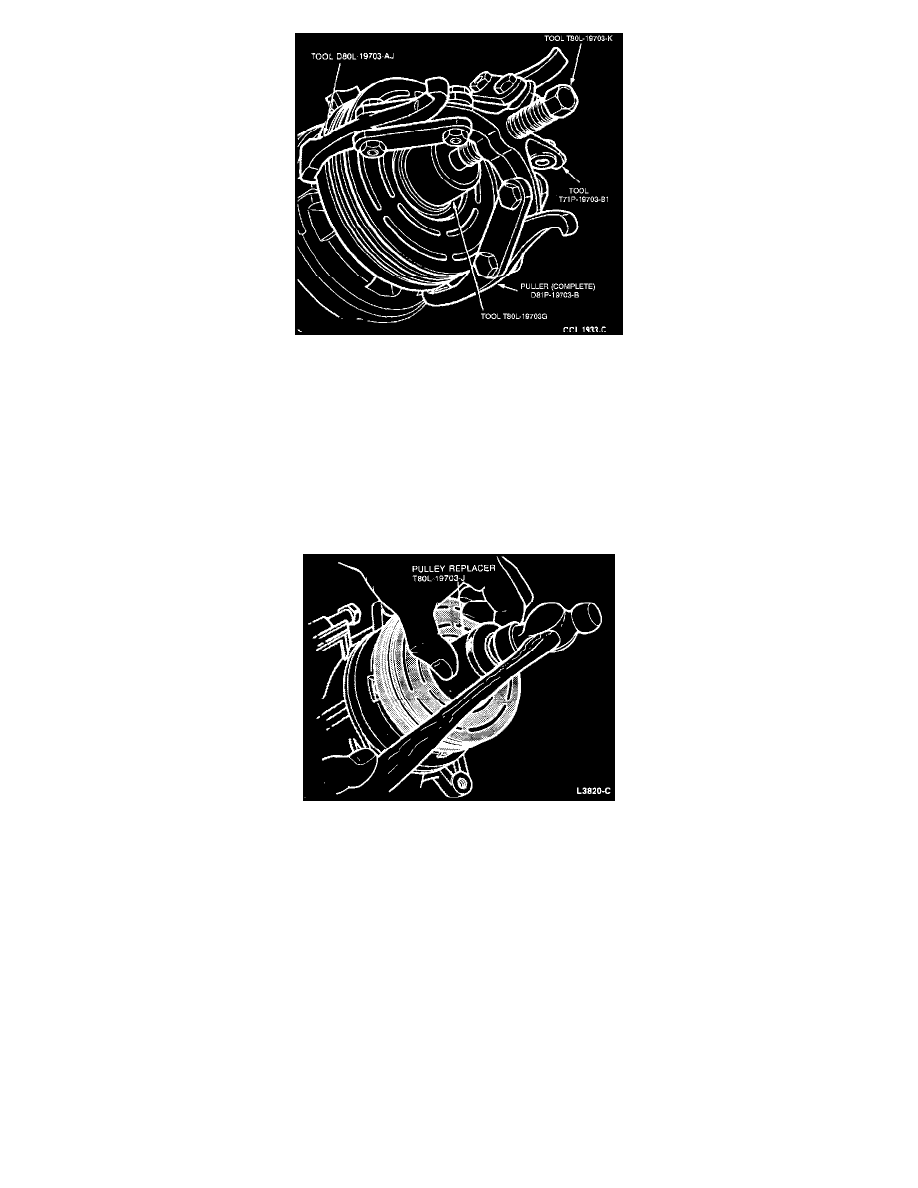
4. Pull the pulley and the bearing assembly from compressor. Use Tools T8OL-19703-G and D81P-19703-B or equivalent, if the pulley cannot be
removed from compressor by hand.
5. Remove the snap ring connecting the clutch field coil to the front of the compressor.
6. Remove the clutch field coil from the compressor.
INSTALLATION
1. Position the clutch field coil to the compressor, engaging the locator pin on the compressor head with the hole in the clutch field coil.
2. Install snap ring to retain clutch field coil on the compressor with bevel side of the snap ring out.
3. Clean the pulley bearing surface of the compressor head to remove any dirt or corrosion.
Clutch Pulley Installation
4. Install the pulley and bearing on the compressor. The bearing is a slip fit on the compressor head and, if properly aligned, should slip on the
compressor head. If difficulty is encountered installing the pulley, gently tap the pulley on the compressor using Tool T80L-19703-J or equivalent.
Be sure the pulley bearing is aligned with the compressor head.
5. Install the pulley retaining snap ring with the bevel side of the snap ring out.
