
Grand Marquis V8-302 5.0L VIN F TBI (1984)
Control Module Location
^
Located as shown in the chart.
^
Features an integral timer that delays closing the relay for about 90-150 seconds after the ignition switch is turned off.
^
The timer feature minimizes possible false readings that may occur when the engine is restarted without sufficient time for oil to drain back into
the oil pan.
Car Line
Nomenclature
Location
Electronic Relay Locations
T-Bird/Cougar Check Oil
Warning Lights
R.H. side of steering column
Panel
on I/P bracket
LTD/Marquis
Check Oil
Warning Lights
R.H. side of steering column
(upper tier)
on I/P bracket
Mercury Grand Check Level In cluster
R.H. lower reinforcement
Marquis
of I/P
Continental
Check Oil
Warning Lights
R.H. side of steering column
Panel
on I/P bracket
Lincoln Town Low Oil Level Warning Lights
R.H. lower reinforcement
Car
Panel
of I/P
Mark VII
Check Oil
Warning Lights
R.H. lower reinforcement
Panel
of I/P
Warning Lights
^
Momentarily glow when ignition switch is turned to "start" as "prove-out" that bulb is working.
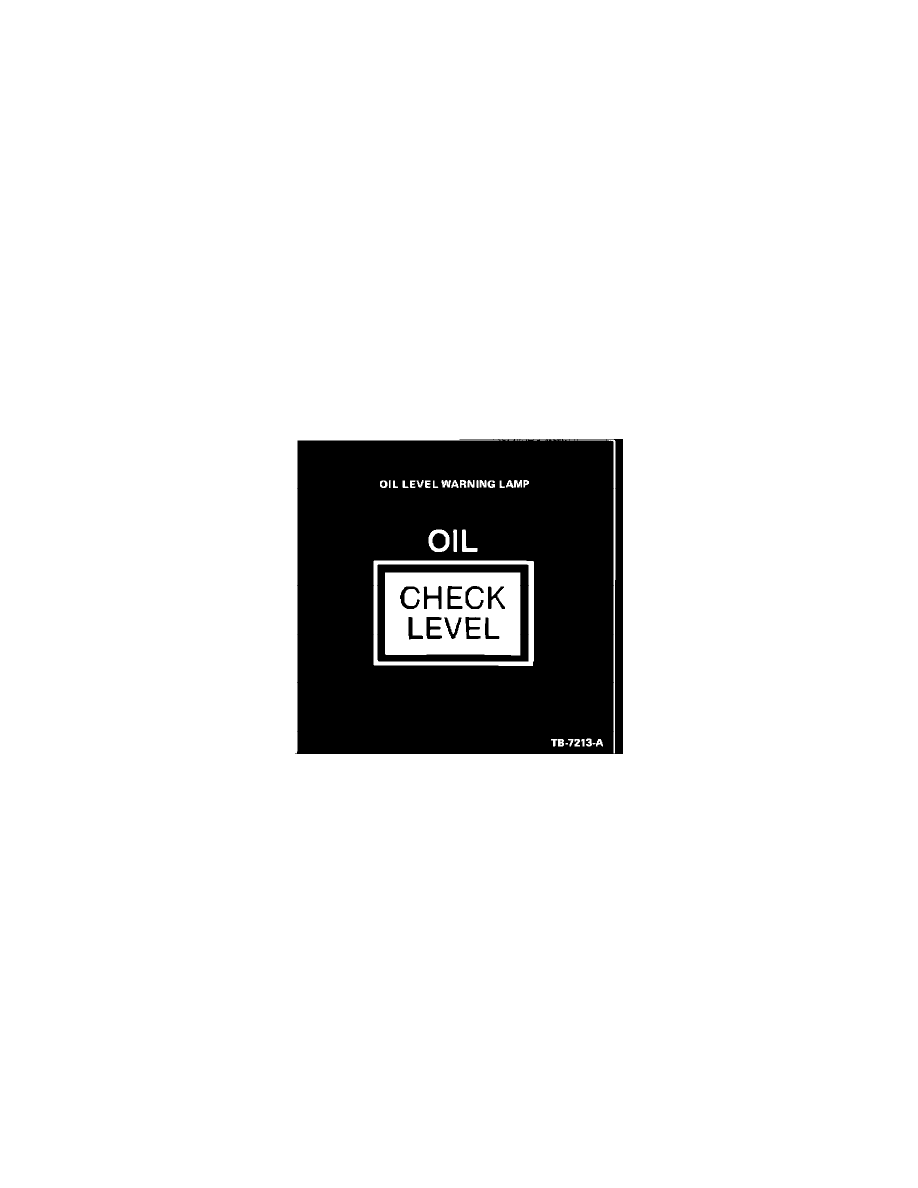
Figure 18
Figure 18: Low Oil Level Warning Lamp
Description and Features
^
Sensor in oil pan signals indicator light on instrument panel when oil level is low (approximately 1-1/2 quarts).
^
This system does not replace the oil pressure warning system.
Sensor Test Connect positive lead of a VOM to sensor terminal and negative lead to sensor housing with sensor submerged in oil (engine full). Meter
should read "open" (greater than 100,000 ohms). With sensor out of oil (oil drained), resistance should be less than 4,000 ohms.
NOTE:
Sensor must be horizontal when this test is conducted. It is best to conduct test with sensor in pan with hot oil to assure that oil properly drains
from sensor. If removed from pan, sensor must be submerged in warm oil first to assure proper orientation of the float before testing. The
sensor must be held horizontally during bench testing to assure that the float remains correctly oriented.
Removal and Installation
Sensor
Removal and Installation
1.
With engine off, drain at least 1.9 liters (2 quarts) of oil from engine, 2. Disconnect electrical connector.
3.
Remove sensor with a 26 mm socket or end wrench.