
Grand Marquis V8-302 5.0L VIN F TBI (1984)
4.
Reverse Steps 1 through 3 for installation.
NOTE:
Whenever it becomes necessary to remove the oil level sensor from the oil pan, make sure that when replacing it, the following torque
values are used:
When replaced using all plastic gasket, torque to 25-35 ft.lbs.
When replaced using plastic with rubber O-ring gasket, torque to 20-30 ft.lbs.
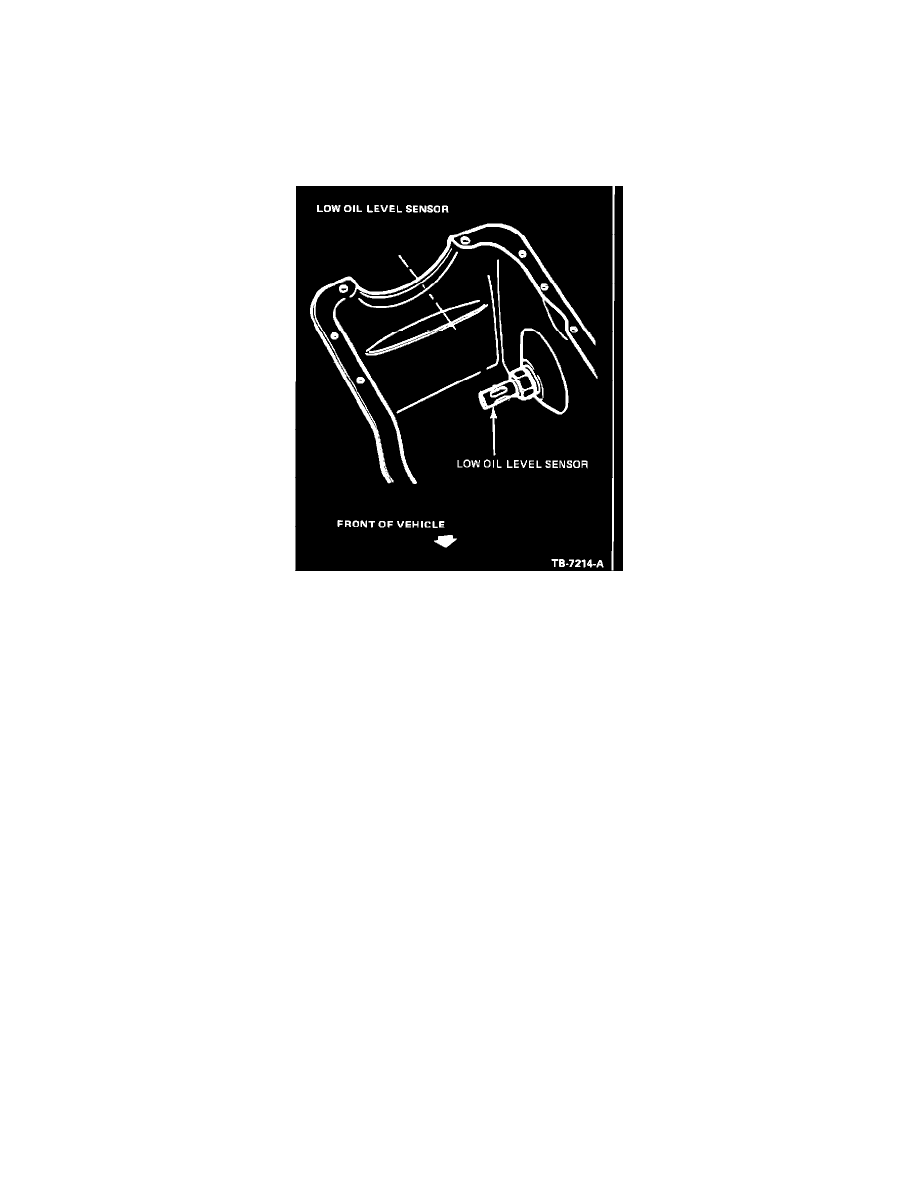
Figure 19
Figure 19: Low Oil Level Sensor
Bench Check of Sensor
^
Connect positive lead of VOM to sensor terminal and negative lead to sensor housing.
^
Hold sensor in horizontal position to assure proper orientation of the float.
^
Submerge sensor in warm oil to assure that oil properly drains from the float area of the sensor.
^
With sensor submerged in oil (engine full), meter should read at least 100,000 ohms.
^
With sensor out of oil (oil drained), resistance should read less than 4,000 ohms.
Diagnosis and Testing
System Check
^
Oil must be a "full" mark on the dipstick, and "hot" to assure that oil properly drains from float area of the sensor.
^
Turn on ignition and start engine.
^
Warning light should come on with ignition in start (prove-out) then go off.
^
Drain two quarts of oil from the oil pan.
^
After a delay of approximately 150 seconds, turn ignition on and start the engine.
^
The warning light should come on and stay on.
Troubleshooting Hints
Does Not Operate
^
Check fuse.
^
Check low oil level relay.
^
Check low oil level sensor.
Adjustments
^
There are no adjustment procedures.