
Grand Marquis V8-302 5.0L VIN F TBI (1984)
Valve Body: All Technical Service Bulletins
A/T - AOD No Forward Drive Condition
Article No. 85-10-12
TRANSMISSION - AUTOMATIC - AOD - NO FORWARD DRIVE AFTER COAST DOWN FROM FOURTH GEAR
FORD 1983-1985 FORD, THUNDERBIRD, LTD, MUSTANG
LINCOLN-MERCURY 1983-85 MERCURY, COUGAR, MARQUIS, CAPRI, LINCOLN, MARK, CONTINENTAL
LIGHT TRUCK 1983-85 E & F SERIES
Some AOD-equipped vehicles with transmissions built between March, 1983 and April 19, 1985, may exhibit a no forward drive condition after coast
down from fourth gear. This condition may occur if a small particle of contamination causes the 3-4 shift valve to stick in the forward clutch exhaust
position.
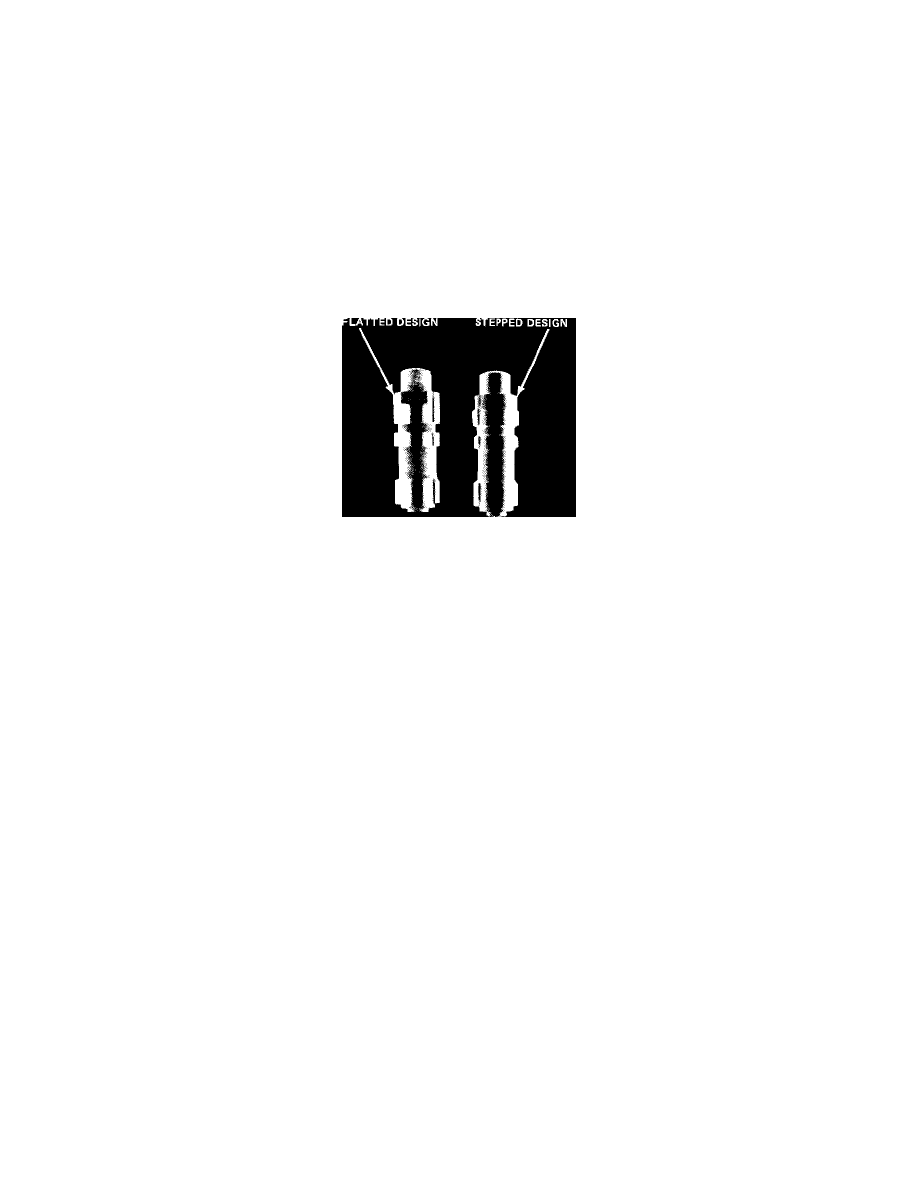
Figure 11 - 3-4 SHIFT VALVE DESIGN
To service this condition, install a new 3-4 shift valve that has a design with flats on the valve. This will allow contamination to pass and be trapped in
the main control filter assembly. The new valve was incorporated in production April 19, 1985. Refer to Figure 11 for visual differences between 3-4
shift valve design levels.
PROCEDURE:
1.
Verify that the transmission was built between March 1, 1983 and April 9, 1985.
2.
Remove the main control assembly from the vehicle according to the Main Control Removal Procedure in Section 17-20 of the appropriate model
year Car or Truck Shop Manual.
3.
Partially disassemble the valve body to expose the valve body face by following Steps 1 and 2 of the Valve Body Disassembly Procedure in
Section 17- 20 of the Shop Manual. This involves removing the separator plate, valve body gasket and all check balls.
4.
Attempt to verify the concern by visually checking the 3-4 shift valve to see if a small particle of contamination is blocking the valve.
5.
Remove the 3-4 shift valve bore sleeve from bore No. 5 as illustrated in the Shop Manual. The valve should fall out freely. Remove all springs and
the 3-4 TV modulator valve.
6.
Thoroughly clean the bore passage with solvent.
7.
Pour solvent cleaner over the valve body face, spill solvent from passages, and blow dry with clean compressed air.
8.
Replace the 3-4 shift valve with the flatted design (Part No. E5AZ-7F259-A). Reassemble the 3-4 TV modulator valve and spring, the new
3-4 shift valve and spring, the throttle plug sleeve, and the retaining clip in bore No. 5 as illustrated in the Shop Manual.
9.
Reassemble the valve body by reversing Steps 1 and 2 of the Valve Body Disassembly Procedure. Be sure to use a new valve body gasket.
10.
Reinstall the valve body by reversing Steps 1 and 2 of the Valve Body Disassembly Procedure. Be sure to use a new valve body gasket.
11.
Reinstall the valve body on the transmission according to the Valve Body Installation Procedure in Section 17-20 of the Shop Manual.
PART NUMBER
PART NAME
CLASS
E5AZ-7F259-A
3-4 Shift Valve
C
OTHER APPLICABLE ARTICLES: None