
Grand Marquis V8-4.6L Flex Fuel (2010)
Pressure Regulating Solenoid: Service and Repair
Electronic Pressure Control (EPC) Solenoid
Removal
1. WARNING: Before servicing a vehicle equipped with a fire suppression system, depower the system by following the procedure in
Vehicle Jacking and Lifting. Failure to follow the instructions may result in serious personal injury.
Remove the manual control lever. For additional information, refer to Manual Control Lever Shaft and Seal See: Automatic
Transmission/Transaxle/Seals and Gaskets/Service and Repair/Manual Control Lever Shaft and Seal.
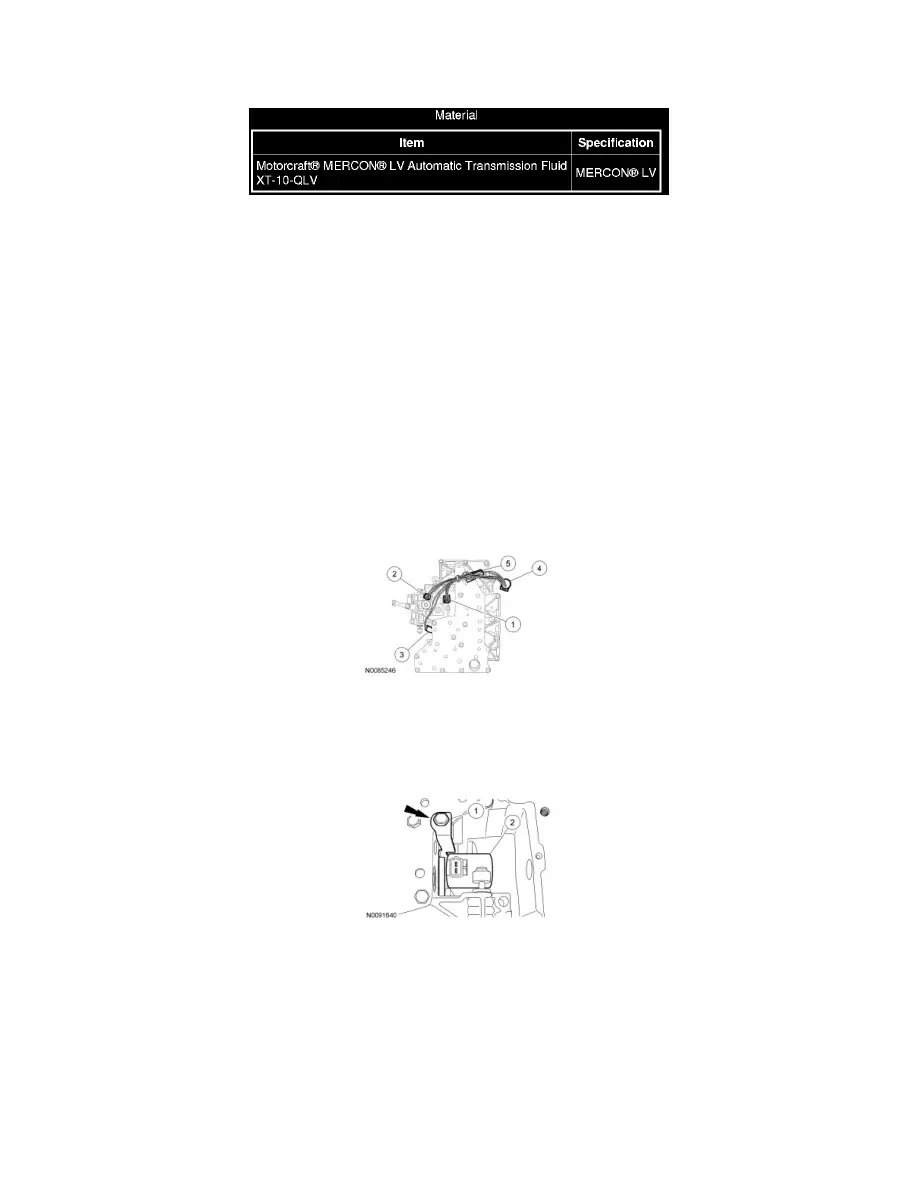
2. Disconnect the transmission internal harness from the solenoids.
1. Disconnect Shift Solenoid A (SSA) and Shift Solenoid B (SSB).
2. Disconnect the Torque Converter Clutch (TCC).
3. Disconnect the Electronic Pressure Control (EPC) solenoid.
4. Disconnect the transmission internal harness connector.
5. Disconnect the Transmission Fluid Temperature (TFT) sensor.
3. Remove the EPC solenoid.
1. Remove the bolt and EPC solenoid bracket.
2. Remove the EPC solenoid.
Installation
1. NOTE: Lubricate the EPC solenoid O-rings with transmission fluid.
Install the EPC solenoid.
1. Install the EPC solenoid.
2. Install the EPC solenoid bracket and bolt.
-
Tighten to 10 Nm (89 lb-in).