
Grand Marquis V8-4.6L SOHC VIN 6 (1996)
Shift Interlock Solenoid: Service and Repair
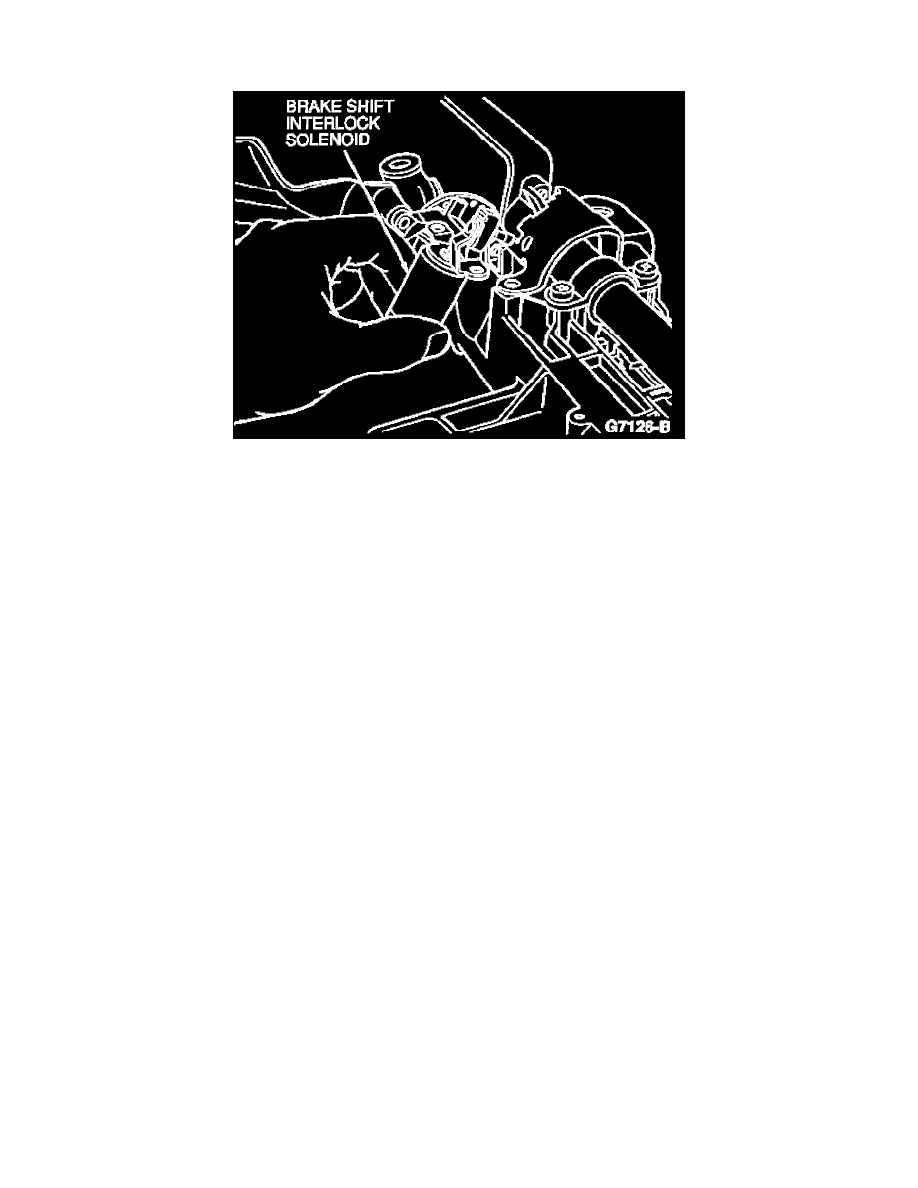
Brake Shift Interlock Solenoid
Brake Shift Interlock Solenoid
Removal
1. Disconnect battery ground cable and air bag backup power supply.
2. Remove lower RH and LH mouldings from instrument panel by pulling up and snapping out of retainer.
3. Remove five retaining screws from instrument panel lower cover and remove cover.
4. Remove instrument panel reinforcement.
5. Disconnect transmission range selector cable from actuator housing by removing one screw.
6. Remove four column attaching nuts and lower column assembly.
7. Remove electrical harness from brake shift interlock (BSI) solenoid assembly.
8. Remove three screws attaching BSI solenoid and insert plate to column assembly and remove solenoid and insert plate. Separate solenoid from
insert plate by removing tinnerman clip.
Installation
1. Position BSI solenoid and insert plate in place and attach to column assembly with three screws as shown.
2. Connect electrical harness to BSI solenoid.
3. Attach column assembly to half car beam with four nuts.
4. Connect transmission range selector cable to column assembly with one screw.
5. Attach instrument panel reinforcement brace with three bolts.
6. Attach instrument panel lower trim cover with five bolts.
7. Install RH and LH mouldings on instrument panel.
8. Connect air bag backup power supply and battery ground cable.