
Grand Marquis V8-4.6L VIN V Flex Fuel (2006)
Hose/Line HVAC: Service and Repair
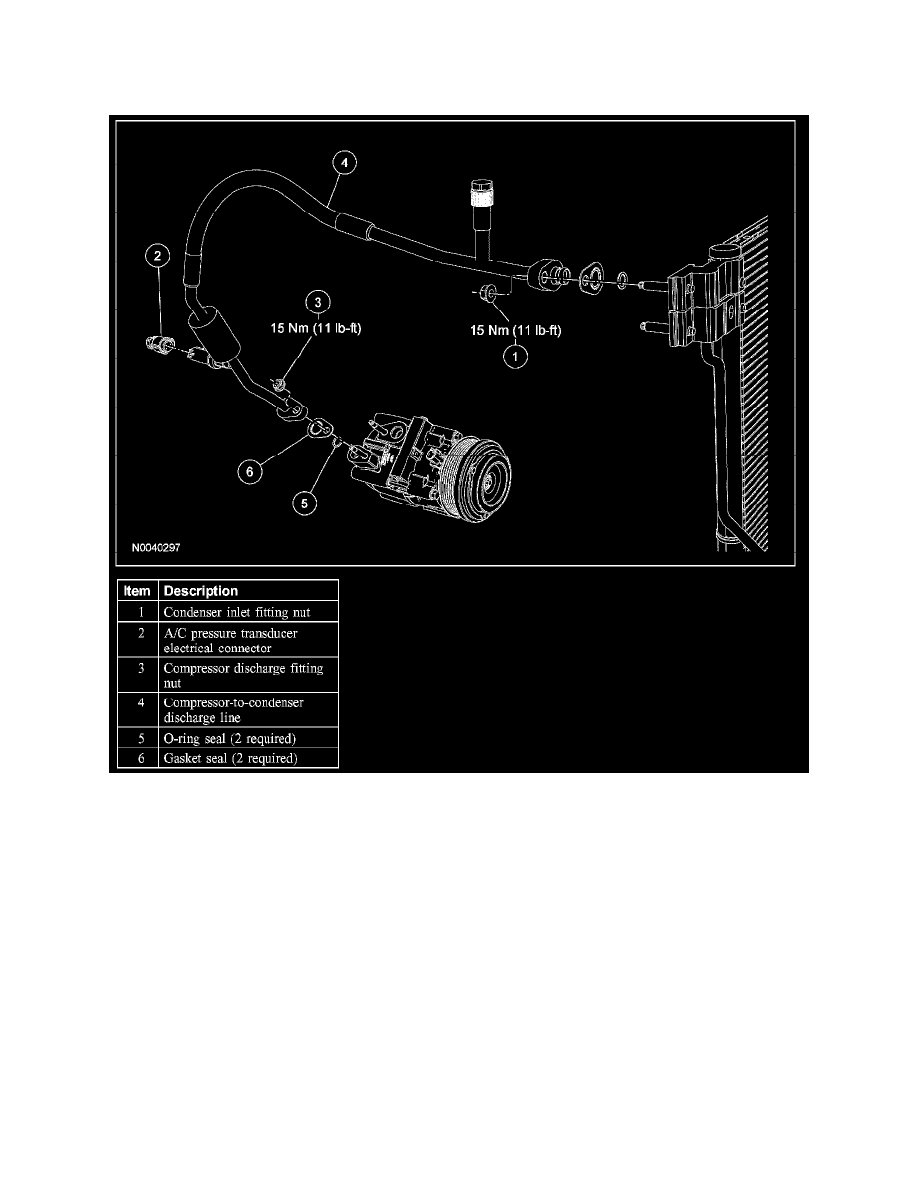
Compressor To Condenser Discharge Line
COMPRESSOR TO CONDENSER DISCHARGE LINE
Removal and Installation
NOTE: Installation of a new suction accumulator is not required when repairing the air conditioning system, except when there is physical evidence of
contamination from a failed A/C compressor or damage to the suction accumulator.
1. Recover the refrigerant.
2. Remove the condenser inlet fitting nut and disconnect the fitting.
-
Discard the O-ring seal and gasket seal.
-
To install, tighten to 15 Nm (11 lb-ft).
3. Disconnect the A/C pressure transducer electrical connector.
4. Remove the compressor discharge fitting nut and disconnect the fitting.
-
Discard the O-ring seal and gasket seal.
-
To install, tighten to 15 Nm (11 lb-ft).
5. Remove the compressor-to-condenser discharge line.
6. To install, reverse the removal procedure.
-
Install new gasket seals and O-ring seals.
-
Lubricate the refrigerant system with the correct amount of clean PAG oil.
7. Evacuate, leak test and charge the refrigerant system.